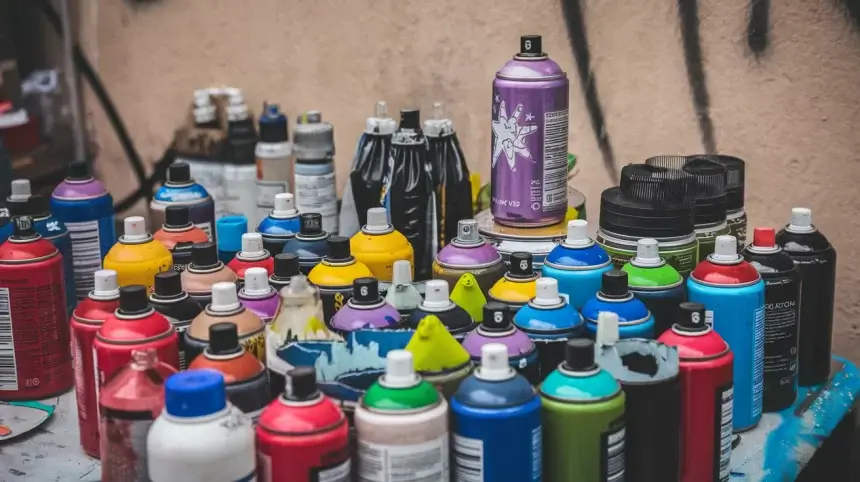
Upgrade your surfaces into magnificent displays of creativity! Beyond simple applications, spray painting opens doors to techniques that transform everyday items into captivating pieces.
These fresh approaches will enhance your creative journey from cosmic textures to stone-like patterns.
Imagine creating finishes so polished that others wonder about their origin. These methods excel on various materials – from wooden pieces to metalwork and synthetic surfaces.
Whether refreshing your home pieces or creating new displays, these approaches deliver outstanding outcomes within your budget.
Ready to advance your artistic abilities? These methods suit various skill levels, from newcomers to seasoned artists, ensuring success for every creator. Replace ordinary finishes with personalized touches that showcase your artistic vision.
Let’s explore these game-changing techniques that will transform your creative projects forever.
13 Spray Paint Techniques to Enhance Your Projects
1. Ombre Effect
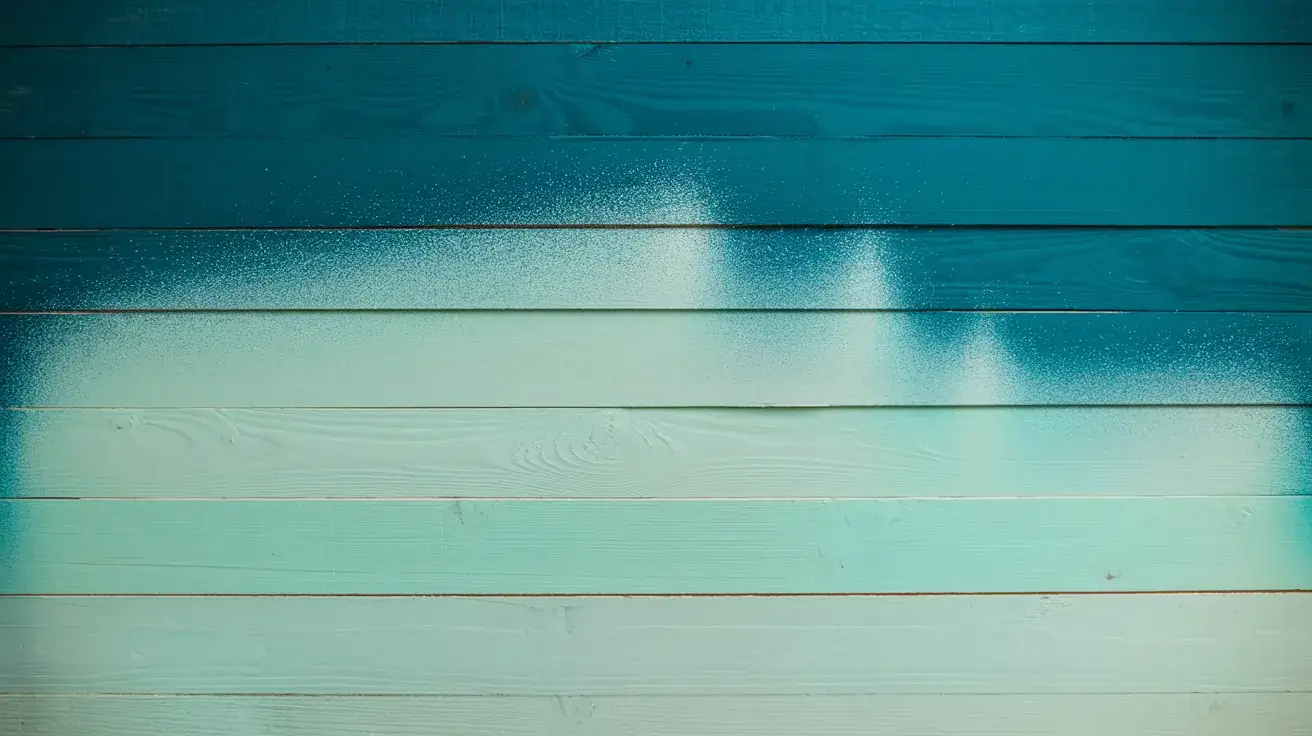
Create stunning transitions between colors with this elegant technique. Start by applying your lighter shade at one end, then gradually introduce the darker tone as you move toward the opposite side.
Maintain consistent distance and movement for smooth blending. Multiple thin layers work better than heavy applications. For vertical pieces, start at the top and work downward.
Let each layer set briefly before adding the next. Consider using colors from the same family for harmonious results.
Essential tips: practice your spray control on test surfaces first, work in a well-ventilated space, and keep your movements fluid. This method transforms ordinary items into sophisticated pieces.
2. Stenciling with Spray Paint
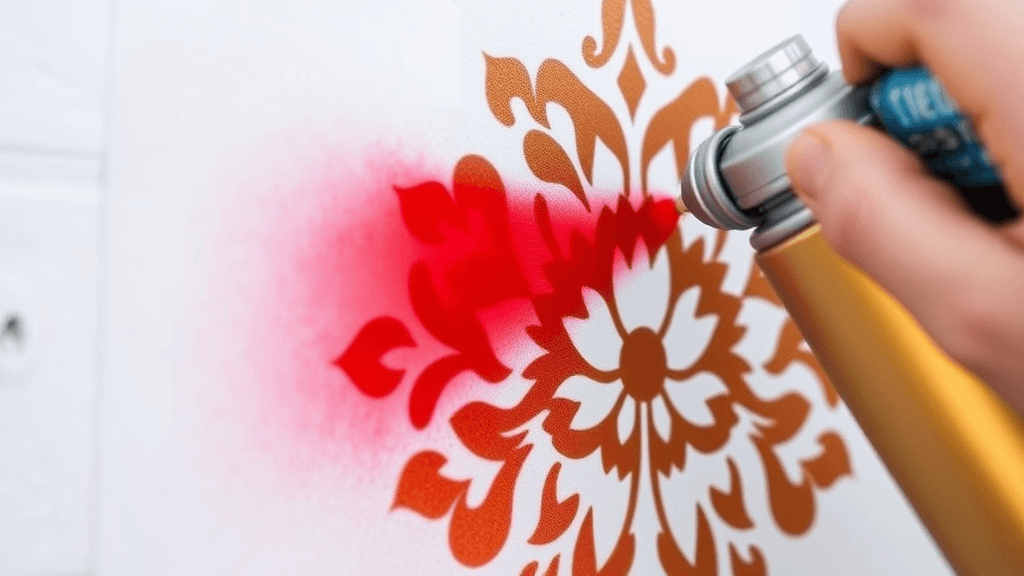
Take your creative vision to new levels with stencils.
Begin by securing your stencil firmly using removable adhesive. Ensure all edges lie flat to prevent color from seeping underneath.
Hold your can at the optimal distance – about 8-10 inches away. Apply light, even coats rather than heavy ones to avoid pooling. Move in steady sweeping motions parallel to your surface. For crisp edges, remove the stencil while the paint remains slightly wet.
Consider layering different stencils and colors for complex designs. This technique allows endless possibilities for personalization.
3. Distressed and Vintage Finish
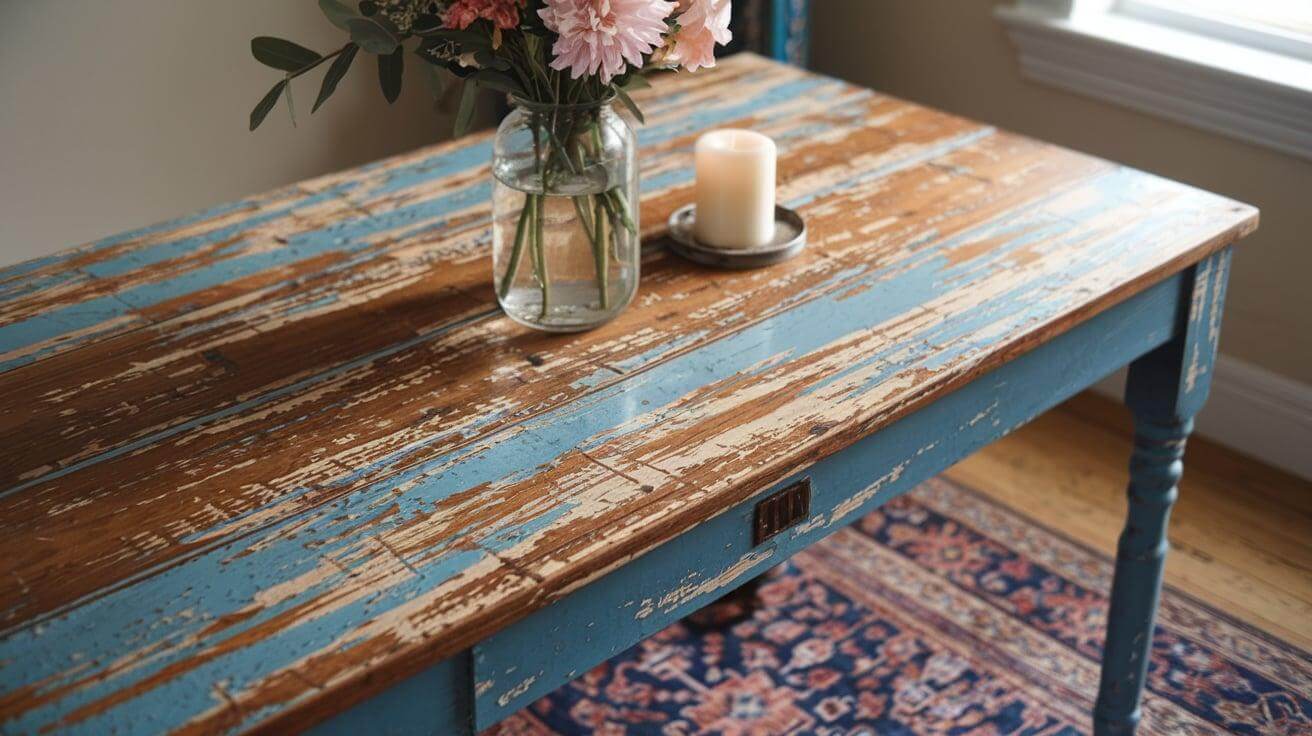
Achieve an aged appearance by combining strategic application with controlled wear techniques. Start with a base coat in your chosen color.
Once dry, apply a contrasting shade as your top layer. Create natural-looking wear patterns by focusing on edges and high-contact areas.
Use fine-grit paper to reveal hints of the base coat beneath. Work gradually – you can always remove more, but adding back requires starting over.
Consider typical wear patterns on authentic aged pieces for realistic results. This finish adds character and history to new pieces.
4. Textured Spray Paint
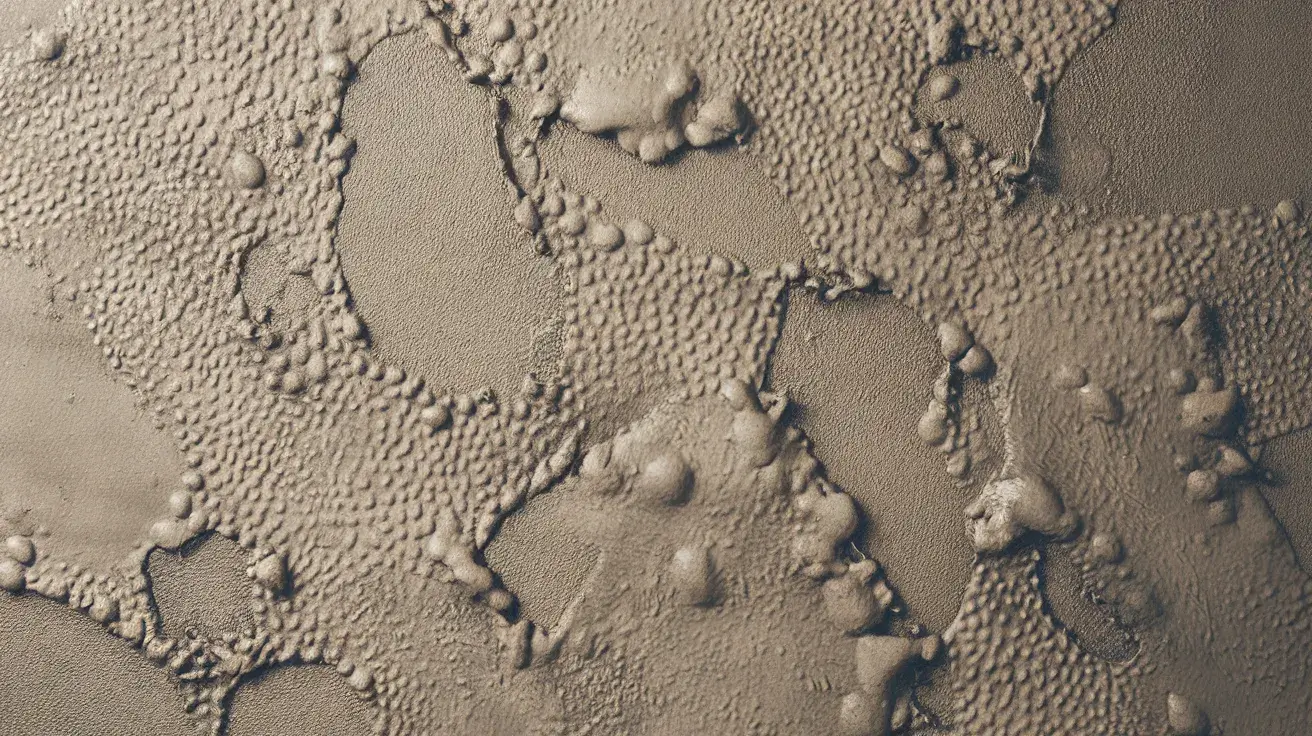
Add dimension to flat surfaces with specialized textured formulas. Shake the can thoroughly – proper mixing ensures consistent results.
Apply in steady, even passes to build up the texture gradually. Different distances create varying effects – closer spraying produces deeper texture, while further distances give subtle results.
Consider the final use of your piece when selecting texture depth. Allow each layer to set completely before adding more. This technique excels on plain surfaces, transforming them into interesting focal points.
5. Metallic Spray Paint
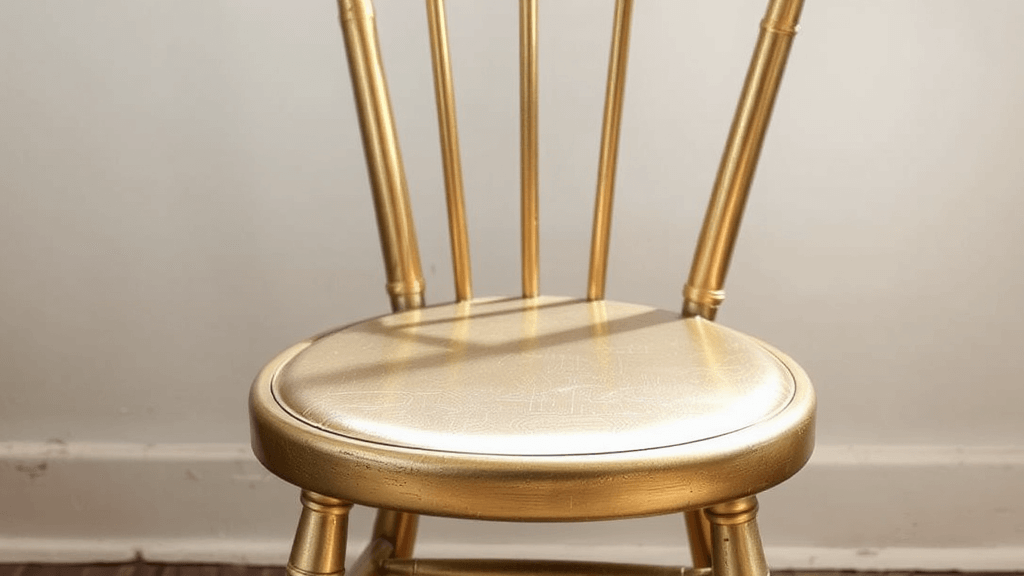
Transform ordinary items into gleaming showpieces with metallic finishes. Preparation makes the difference – ensure surfaces are smooth and clean for maximum shine.
Apply thin, even coats in a controlled environment to avoid dust settling in wet paint. Multiple light layers create deeper shine than single heavy coats.
Allow proper drying time between applications. Consider temperature and humidity – both affect the final finish. This technique brings elegance to frames, hardware, and decorative pieces.
6. Marble Effect
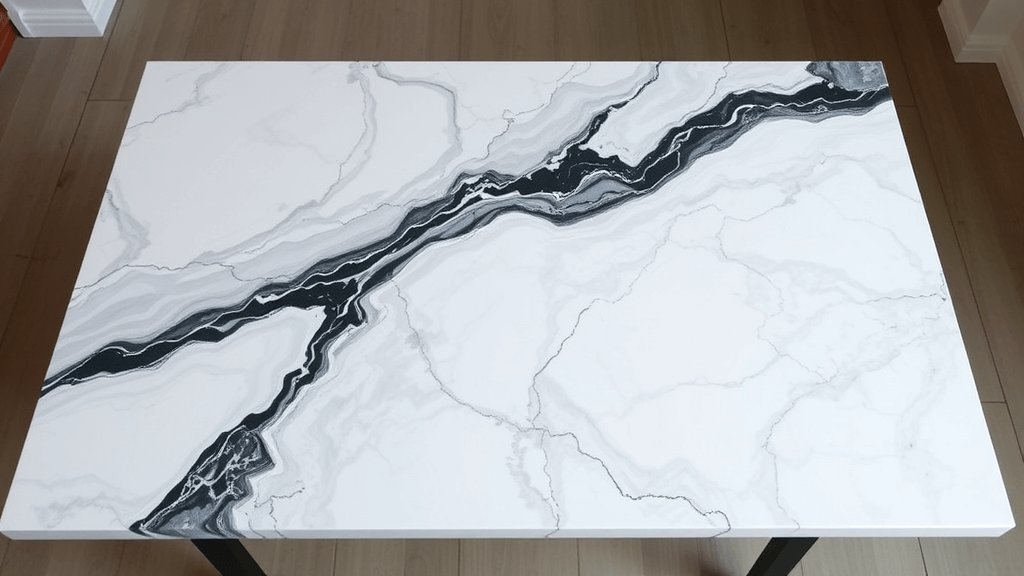
Create sophisticated stone-like patterns without the weight or cost. Start with a light base coat, then add swirls of complementary colors while still wet.
Use gentle air currents or specialized tools to blend the colors naturally. Work in small sections to maintain control over the pattern development. Consider studying natural marble patterns for inspiration.
Allow each layer to set partially before adding detail work. This method transforms simple surfaces into elegant statement pieces.
7. Splatter Paint
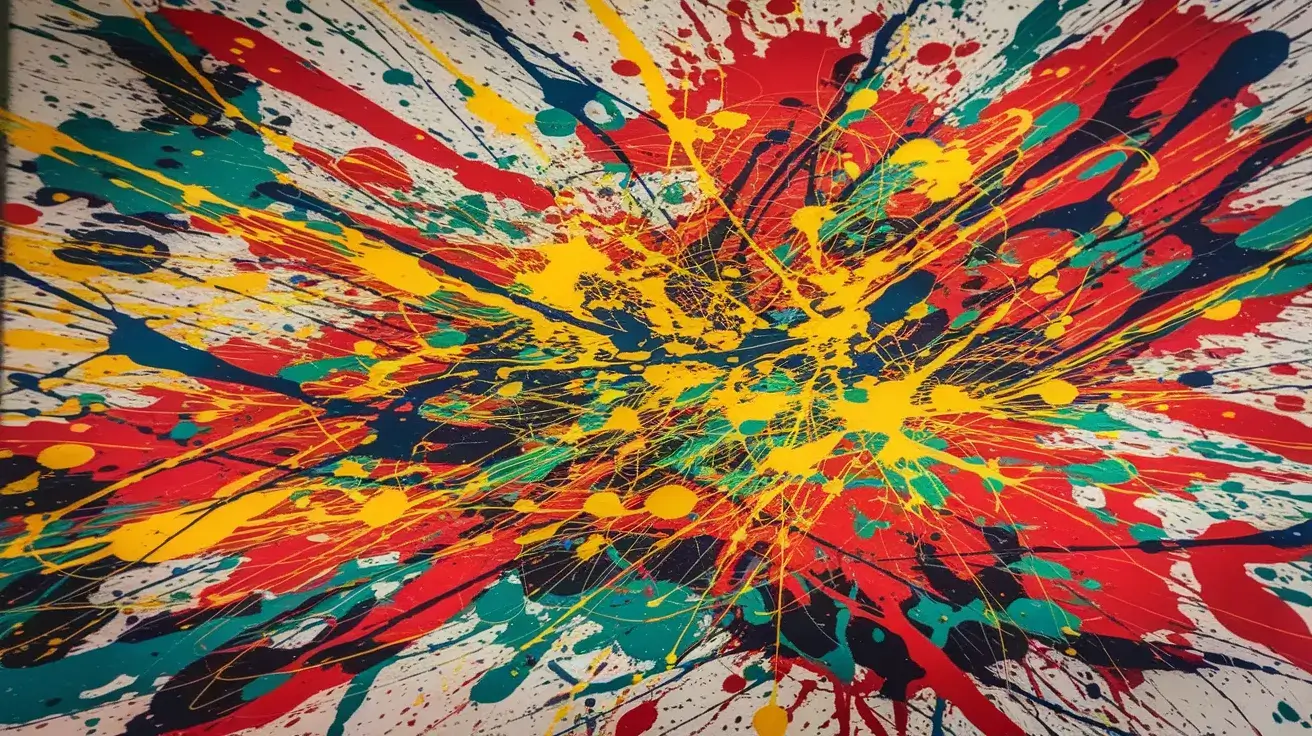
Embrace controlled chaos with this dynamic technique. Adjust your spray nozzle for different pattern sizes. Practice your motion control on test surfaces first.
Create depth by using multiple colors, starting with darker shades and moving to lighter ones. Consider the overall composition – even random patterns need balance.
Work in layers, allowing each to dry partially before adding more. This approach brings energy and movement to your pieces.
8. Frosted Glass Effect
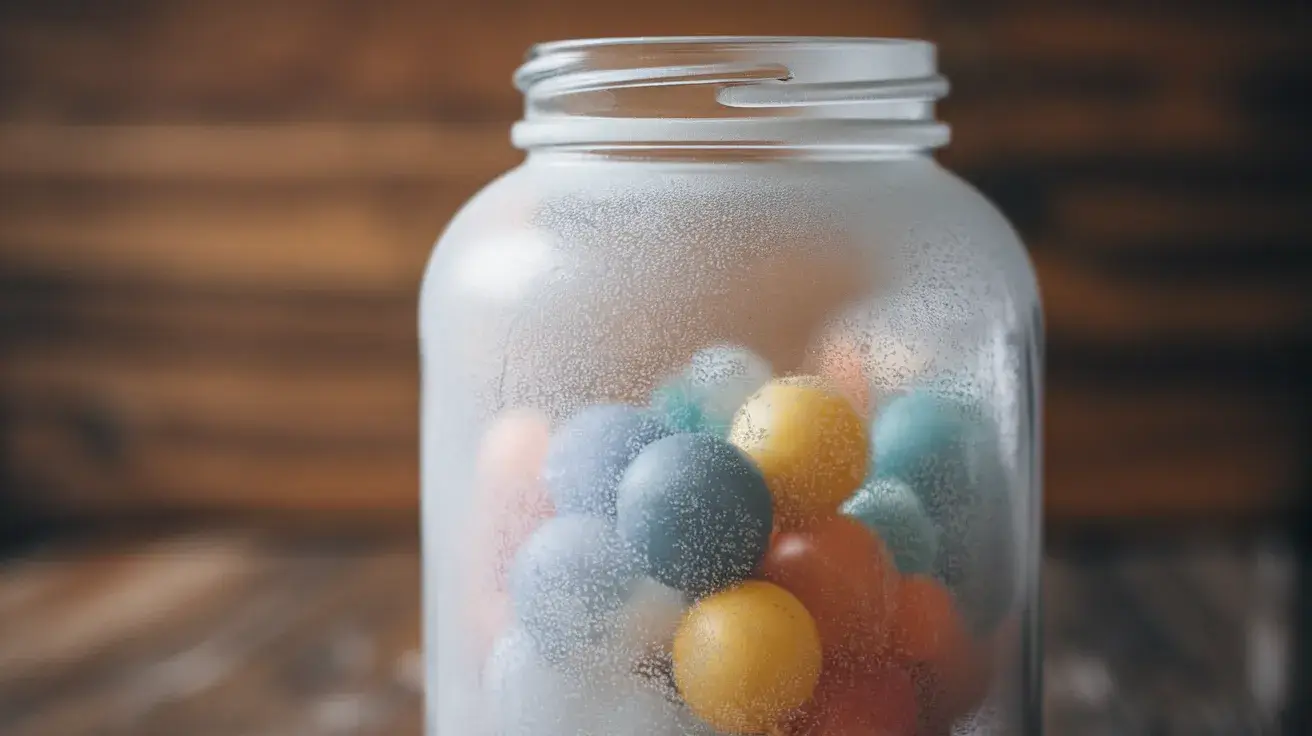
Transform clear glass into sophisticated frosted surfaces. Clean thoroughly before starting – any residue affects the final finish.
Apply in light, even coats from multiple angles for consistent coverage. Consider masking areas for clear sections or patterns. Work in moderate temperatures for optimal results.
Allow each layer to set before evaluating coverage. This technique creates privacy while maintaining light transmission, perfect for windows and decorative glass pieces.
9. Reverse Spray Painting
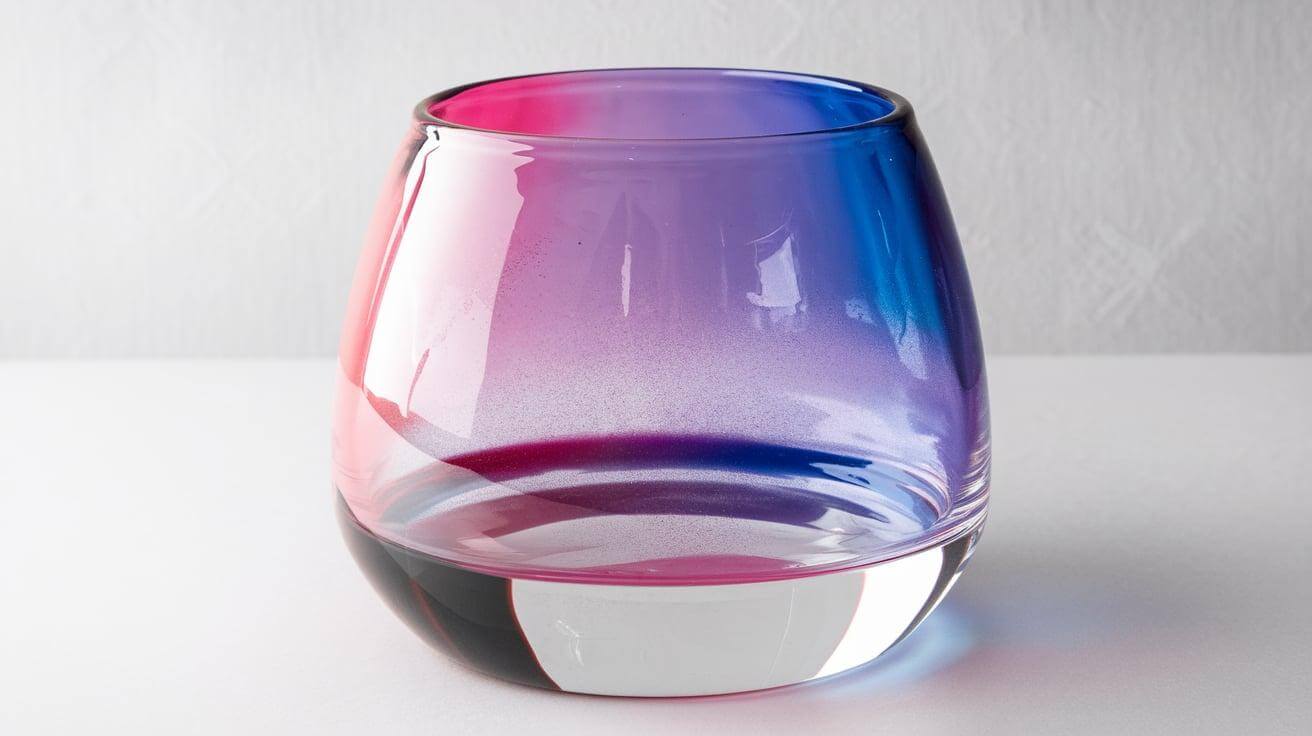
Create unique effects by working from the opposite side of clear surfaces. Begin with your detailed elements, then build background layers.
Consider how colors layer and interact when viewed through the material. Work slowly – rushed applications show through in the final result.
Allow proper drying time between colors to maintain crisp definitions. This method produces fascinating depth and professional-looking results on glass and clear synthetic materials.
10. Spray Painting with Writing Surface Paint
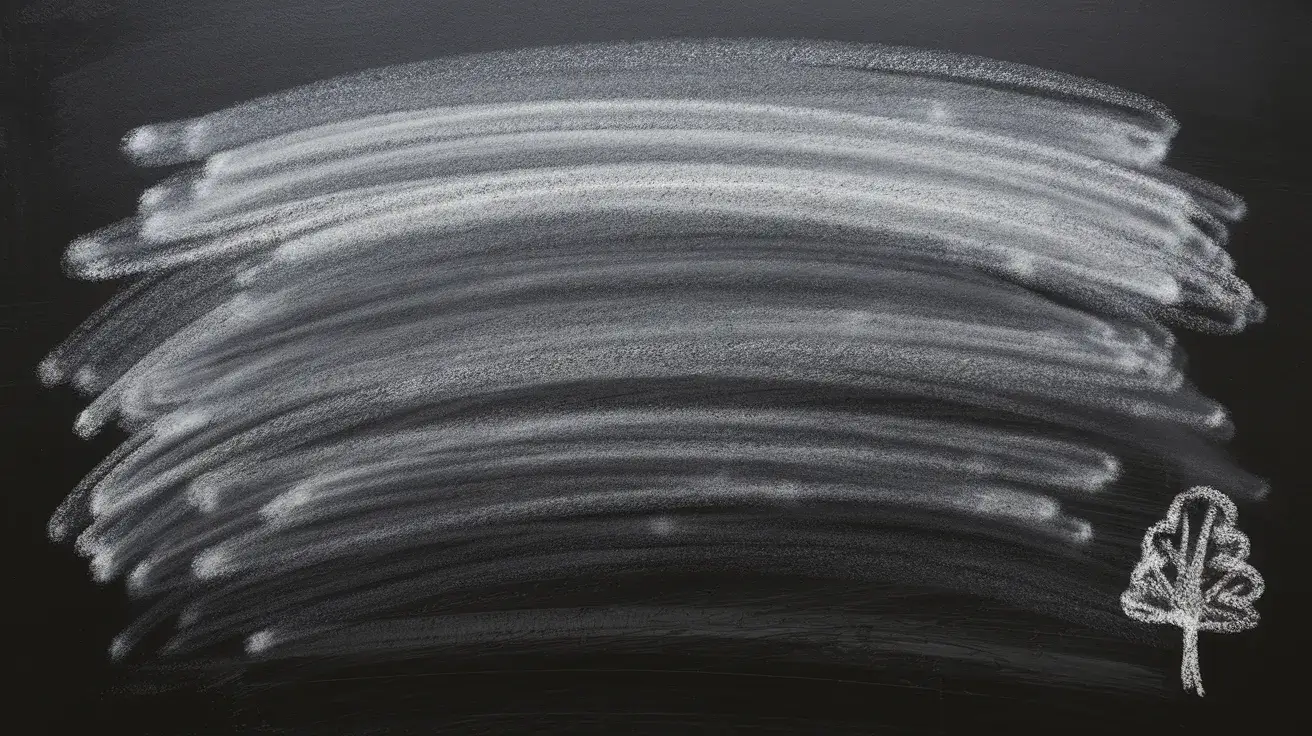
Add functionality to your surfaces with specialized formulas. Prepare thoroughly – proper adhesion requires clean, smooth surfaces.
Apply thin, even coats in a controlled environment. Multiple light layers provide better results than single thick ones. Allow complete curing time before use.
Consider adding frames or borders for visual interest. This technique creates practical surfaces perfect for notes, menus, or creative displays.
11. Gradient Blending
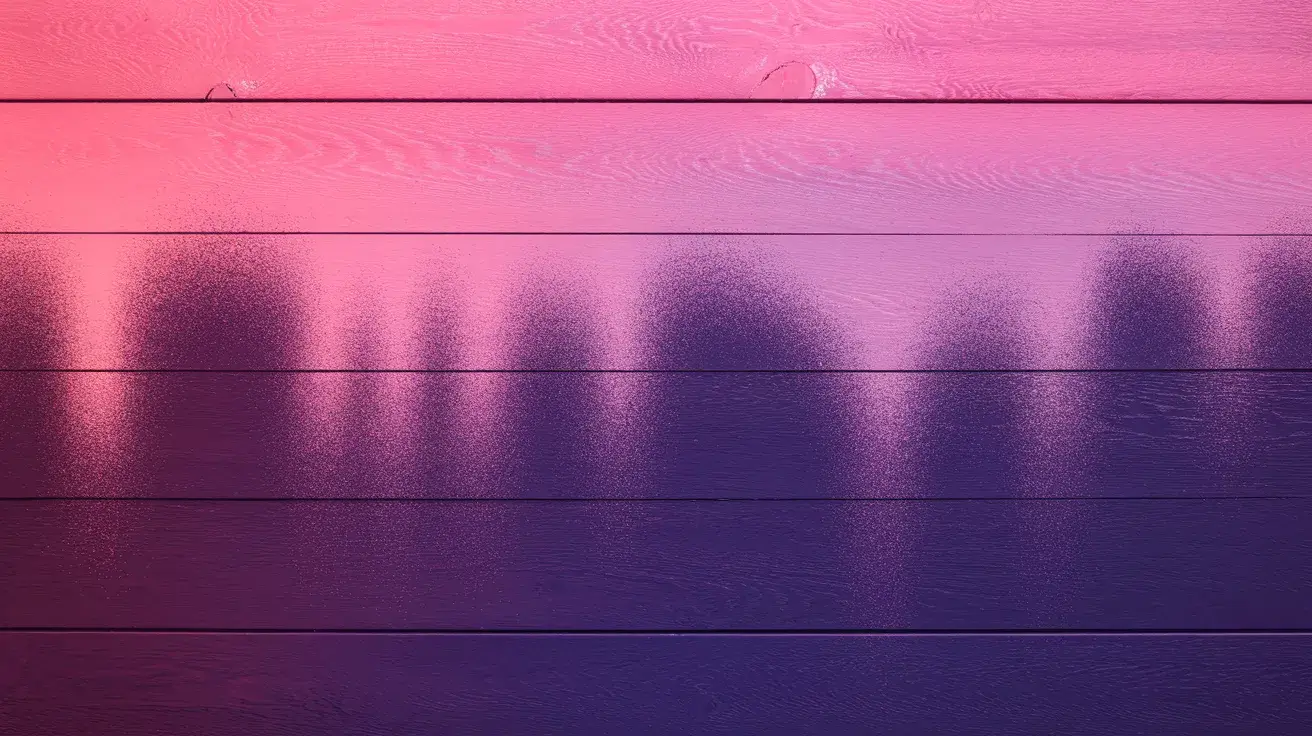
Master smooth color transitions with this refined technique. Position your piece to work with gravity for smoother blending. Start with your lightest shade, gradually introducing darker colors.
Maintain consistent distance and motion for even application. Consider using colors that complement each other naturally.
Work in optimal conditions – temperature and humidity affect blending. This method creates sophisticated effects perfect for modern decor pieces.
12. Spray Painting for Surface Imitation
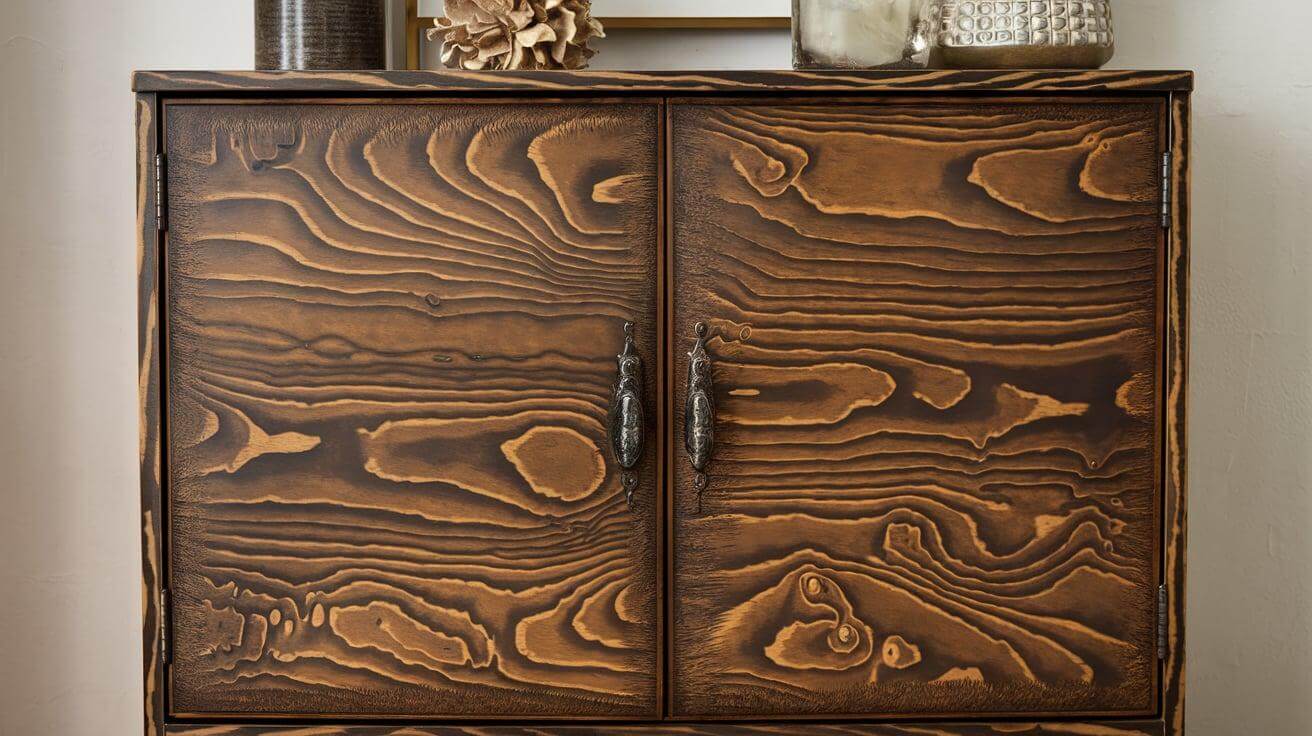
Create convincing imitations of premium materials. Begin with appropriate base colors, then build texture through specialized application techniques.
Study your target material’s natural patterns and variations. Layer colors strategically to create depth and authenticity. Consider adding subtle variations for realistic results.
Work systematically across your surface for consistent coverage. This approach allows high-end looks without premium material costs.
13. Reflective Spray Paint
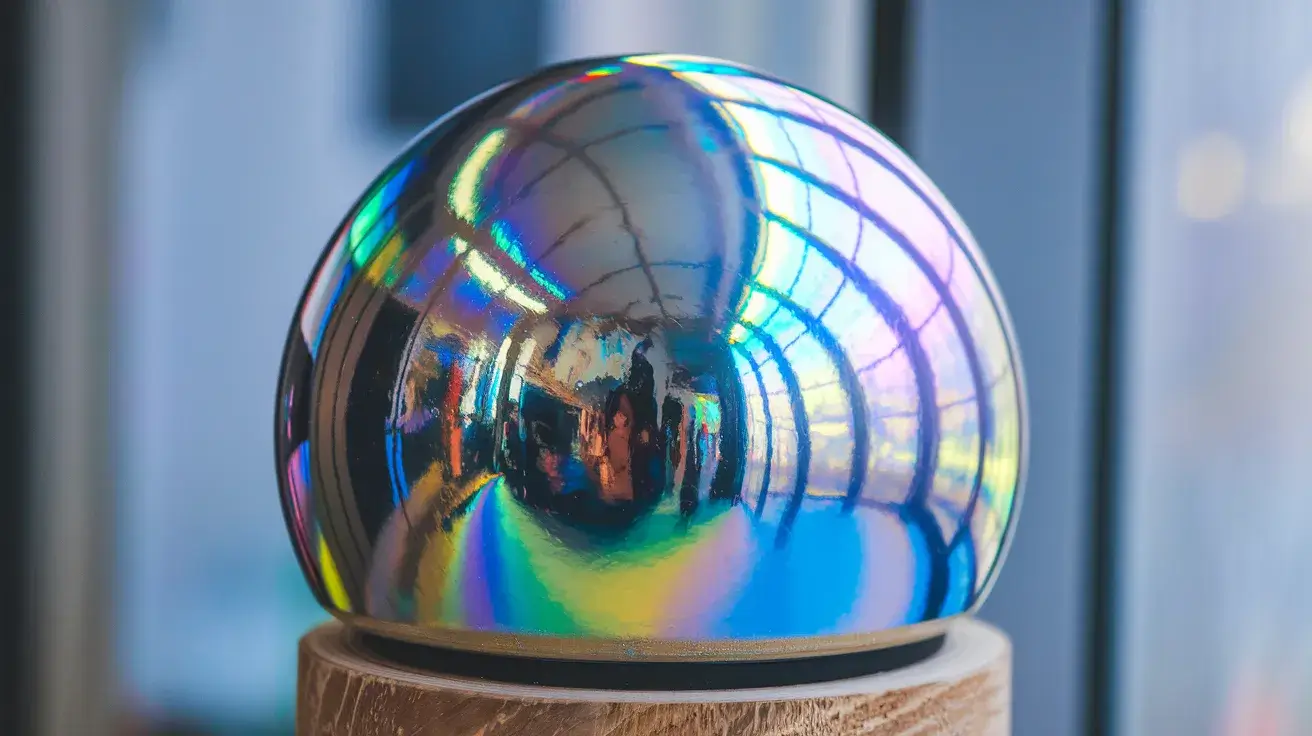
Achieve eye-catching light-catching effects. Apply over properly prepared surfaces for maximum impact. Build depth through multiple thin layers rather than heavy applications.
Consider how light interacts with your piece’s final position. Work in clean, dust-free environments for best results. Allow complete drying between coats for optimal shine development.
This technique creates stunning displays that shift and change with viewing angles.
Essential Tips for Success
Preparation and Safety
- Protection First: Shield your area with dual layers – plastic beneath and cloth on top. Use protective gear, including hand covers and eye protection. Ensure fresh air flow when working inside spaces. These steps safeguard both you and your surroundings.
- Proper Mixing: Mix your container for a full two minutes, ensuring the contents blend thoroughly. This creates a smooth, consistent application. Using a clock helps maintain adequate mixing time for optimal results.
- Surface Preparation: Apply base coating first to enhance adhesion and create an even foundation. This step prevents imperfections and ensures professional results.
- Thin Applications: Create multiple light layers instead of one thick coat. Allow 20 minutes between applications for proper setting. This approach delivers superior finish quality.
- Edge Technique: Begin your motion before reaching the item’s edge and continue past it. This prevents material buildup and ensures consistent coverage.
Key Points to Avoid
- Temperature Awareness: Choose moderate weather for your projects. Work in temperatures between 50°F-90°F with humidity under 85% for best outcomes.
- Foundation Layer: Never skip your base coat – it’s essential for durability and excellence. This step determines your final results.
- Distance Control: Maintain 10 inches between the container and the surface to prevent running or uneven layers. Practice on test materials to find ideal spacing.
- Fresh Materials: Reserve new containers for finishing layers. End portions often lack consistency, potentially affecting your final appearance.
Conclusion
These thirteen artistic techniques elevate simple surfaces into remarkable creations. Each method opens new possibilities for your creative endeavors, from subtle gradients to eye-catching metallic finishes.
Whether refreshing home pieces or starting fresh projects, these approaches suit various skill levels and materials.
Remember that excellence comes through practice and patience. Start with simpler methods like stenciling or solid metallic coats before advancing to complex marble effects or reverse applications.
Take time to understand how different surfaces respond to various techniques, and always prepare your workspace properly.
These methods transform ordinary items into conversation pieces, bringing fresh life to outdated elements and creating custom additions to your space.
Each technique offers unique opportunities to express your artistic vision, turning everyday objects into personal masterpieces that reflect your style.

