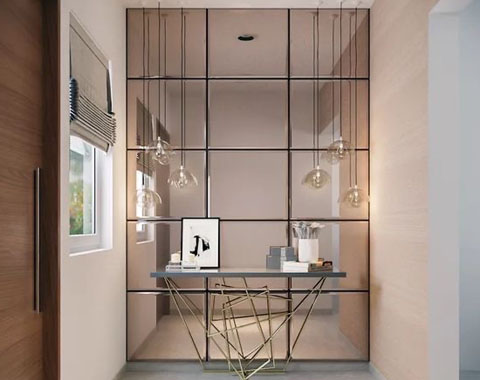
With the modern and ever-growing world of interior design, people tend to look to the most creative and cost-effective ways of modernizing house spaces. Everyone totally approves of the aesthetics of the mirrored walls because of the illusion of spaciousness that it reflects and also the touch of glamour that it adds to the interiors of the living room.
Mirrored walls have endured throughout time as a classic design choice, but keeping them contemporary with the trend is a difficulty. A clever and surprisingly straightforward solution—tape—has emerged in the quest to modernize these reflective wonders.
Tape to the rescue, you heard correctly! With the ultimate use of the tape, you can now revamp your living room mirror walls without breaking the bank or investing in complex renovations that are time-consuming as well.
Let’s look into the ways of donning your mirrored walls in the living room with tape and how you can do it creatively!
Different Ways to Transform Your Mirrored Walls with The Wonder Tape
There are several ways the tape can open an array of possibilities for transforming and modernizing the mirrored walls in your living room. Some of them are:
1. Diamond
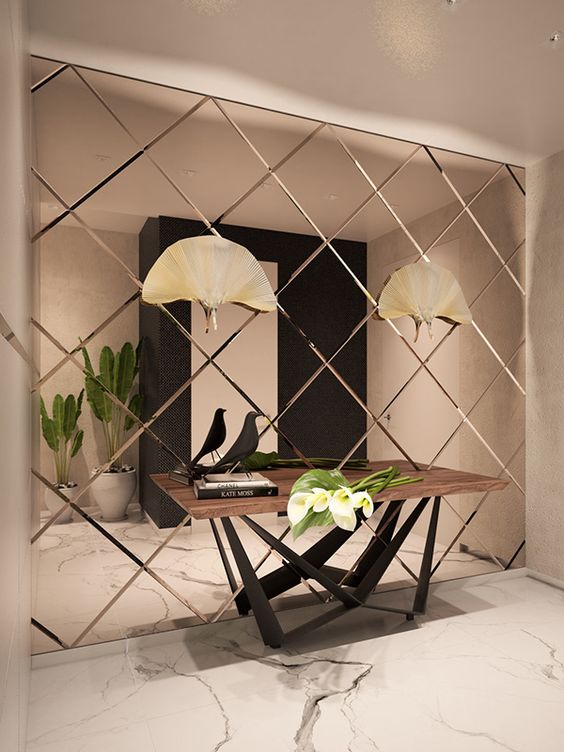
On the mirrored wall, draw the rough measurement of diamond-shaped patterns. Make sure these patterns are drawn equally so they don’t give a shabby look later. Once these patterns are drawn on theliving room mirror wall, start using the tape on these drawn patterns neatly without any clumsiness. This diamond pattern on this mirrored wall gives a very luxurious appearance to the living room. The lights and the overall decoratives add to the classiness of this space.
2. Squaring
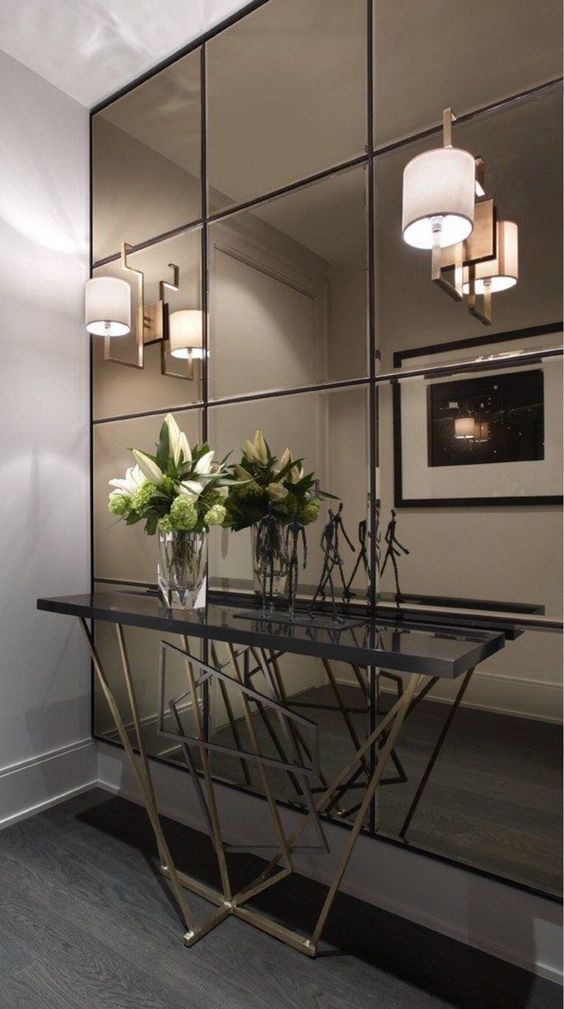
The squaring pattern on the mirrored walls always gives a very attractive appearance. Divide the complete mirrored wall into equal squares taking measurements and a rough draw. Now on the measured square sketch, paste the tape equally on the borders inside out. Do it very neatly so that it reflects a very tidy look. You can make the living room mirror wall a piece of art with this small decor hack!
3. Unequals
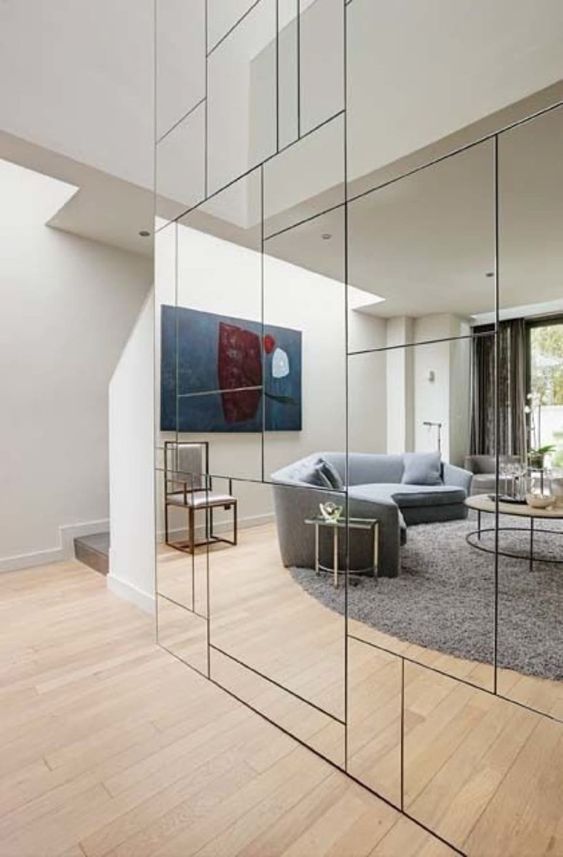
A very easy yet extremely appealing use of the tape for this living room mirror wall is something that you will surely love. Mark, the different-sized squares and rectangles on the mirror wall, keeping in mind that these measurements are straight and look super enticing. Draw the rough measurement of the pattern and give it a check if it looks good or not.
If only you’re completely satisfied, start pasting the tape on the borders inside out on the rough pattern draw. Do it very cautiously so that post finishing, it looks neat and clean. This mirrored wall will surely make your living room look super amazing that will make you keep staring at it again and again.
4. Vertical Sectioning
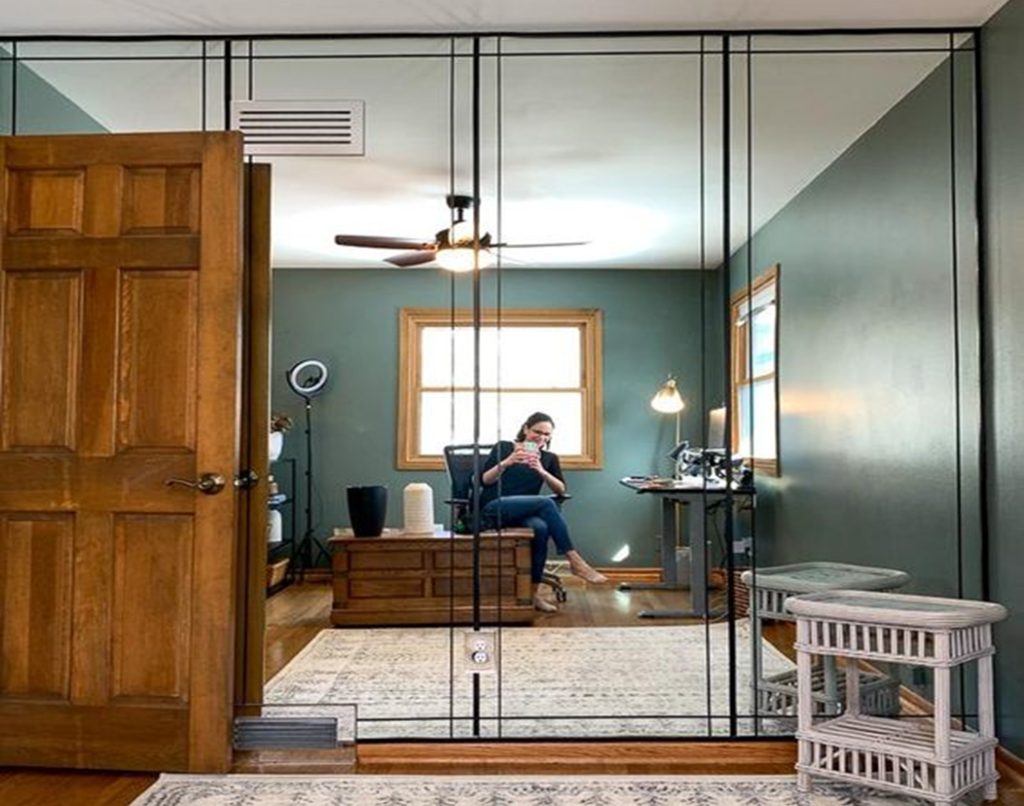
The super easy and super artistic vertical sectioning of the living room mirror wall with the tape gives a super clean look to the overall appearance. Draw a roughly vertical pattern on the mirror wall taking equal measurements. Vertical sectioning can be done with a single vertical line or even multiple lines as well, depending on personal preferences. On the rough drawing of the pattern, start applying tape very neatly and gently so that it doesn’t take a second chance for you to reapply the tape. After the tape is applied, give it last clean touch by checking if everything is in place. This basic mirror decor gives a very sophisticated look to the living room.
5. Different Shapes
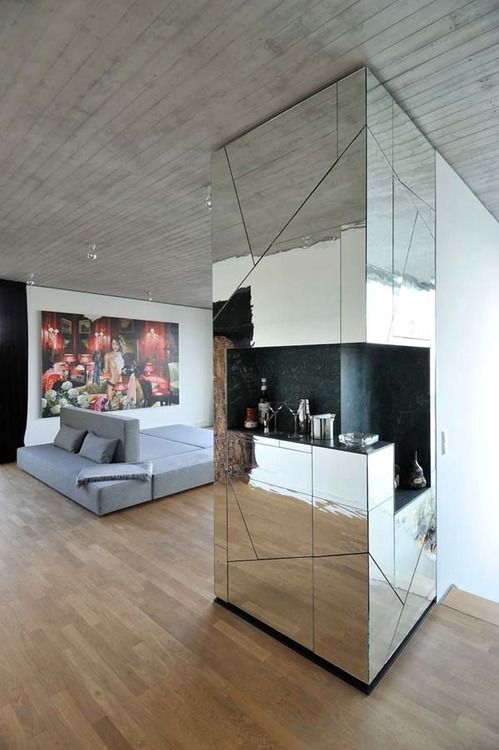
To start this super complex but creative design on your living room mirror wall, draw a pattern of multiple shapes on a page first, considering the mirror wall’s measurements and imagining the post-completion look. Now, draw this pattern with the rough sketch on the mirror wall and give it a look after the drawing. Start pasting the tape on the pattern drawn. Do it clearly and neatly so that it gives a clean look, not a messy one. This ultimate pattern of different shapes on the mirrored wall gives a very creative and expensive look to the overall living room.
6. Hexagonal Pattern
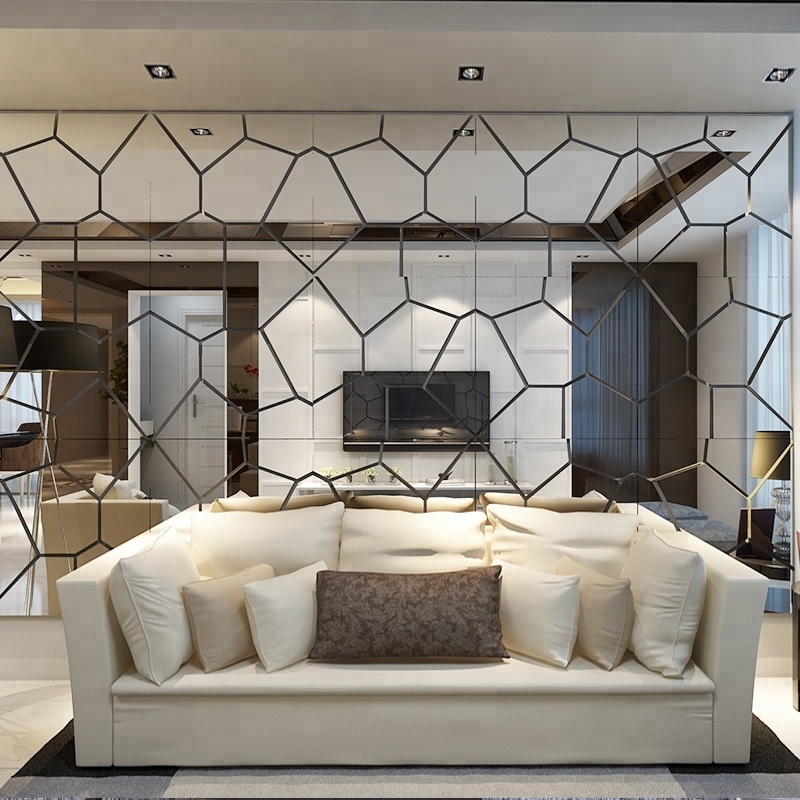
The hexagonal pattern in the living room mirror wall is an exquisite interior design. All you have to it draw different hexagonal patterns on the mirror wall with a rough sketch. See to it that the pattern is drawn carefully and neatly. Start pasting the tape on the rough hexagonal sketch and do it neatly so that the design comes in a crystal clear pattern. This hexagonal pattern on the mirrored wall gives a very sophisticated and classic look to the overall space.
These are the few designs for adorning the living room mirror wall that modernizes the space and gives it a super rich look with the illusion of a bigger space. Now that we know about these beautiful designs, let’s also learn how we can decide on which design can be best suited using tape and how these designs can be integrated into these mirrored walls.
Utilizing Tape to Integrate Designs
There are many designs available to create on mirrored walls with this ultimate tape, but which design suits the space and how it can be done is a bit of a task. Let us help you with this task to make it a bit easier and more fun for you.
1. Review the Space
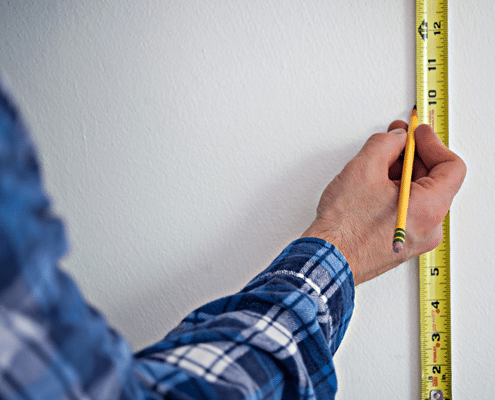
The living room can be of different sizes, and so does the wall. Measure the mirrored wall with the measurement tape and look for the patterns that fit perfectly to that wall. Ensure that the pattern doesn’t break and gives a proper illusion of a bigger space. Some patterns go with the bigger mirrored walls, like a diamond, hexagonal patterns, etc.; some patterns look good with smallerliving room mirror walls, such as vertical sectioning, horizontal bars, etc. A pattern, if it suits the wall, can elevate the overall appearance of your living room but, if not chosen correctly, keeping in mind the measurements, can break the look of your space.
2. Research Through Patterns

The Internet has got it all, so take your time and all your brain to search for the best pattern that could suit your living room mirror wall. Some apps and websites help you see your interior design as a 3D model, just needed are the correct measurements of the space. You can take the help of such apps and check if the designs look perfect in the space as per your imagination or not. This app can help you find mistakes and choose the correct and right patterns.
3. Get the Suitable Tape
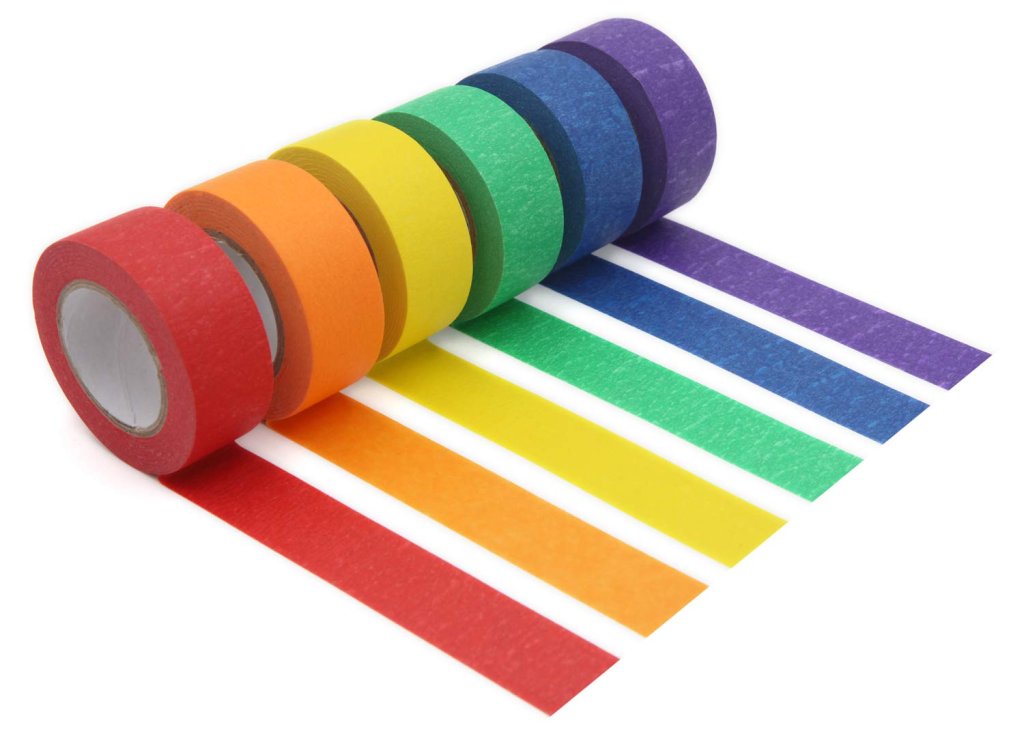
Tapes are available in the market in different sizes, colors, and thicknesses. Get the tape that fits the pattern that is finalized. Go for the color and tape width that makes your pattern appear even more beautiful on the living room mirror wall. Also, it’s important to note that the adhesive on the tape should be very strong so that it doesn’t come out of the mirror in the later course of time.
4. Always Draw the Rough Sketch
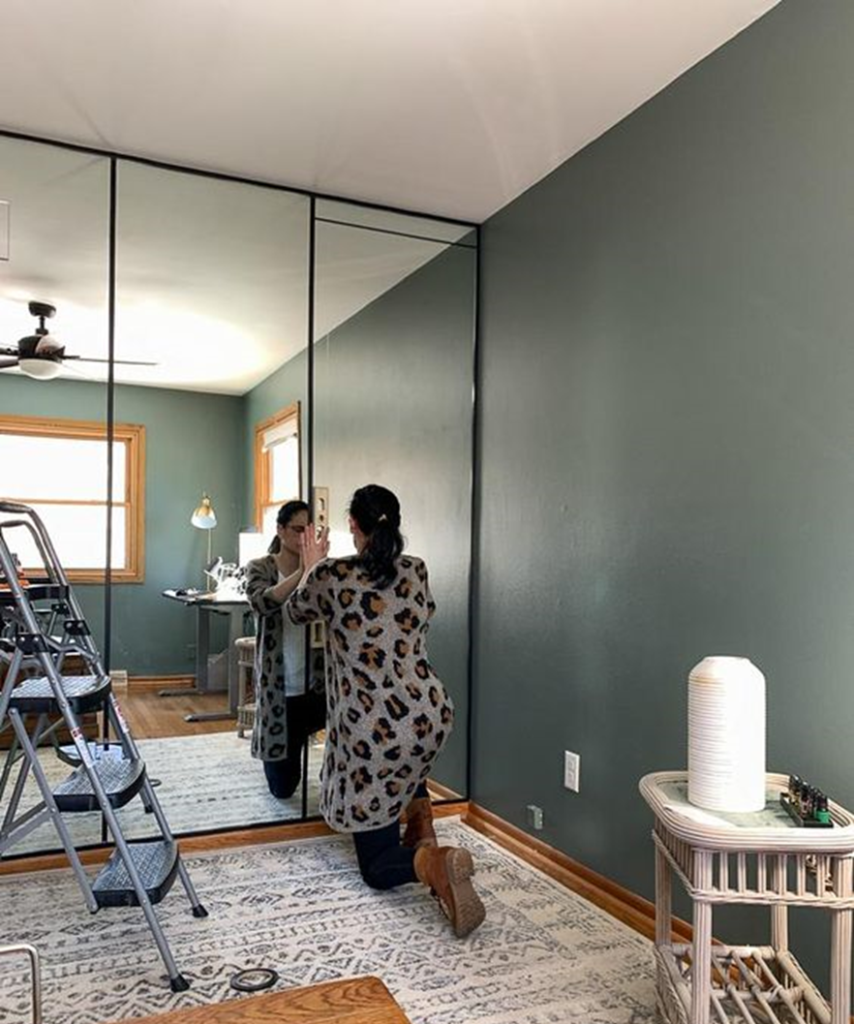
Applying the tape directly on the mirror wall without measurements and a rough sketch can be a big mistake. Deciding on the pattern and then drawing the rough sketch on the living room mirror wall will ensure that post finishing the taping, everything looks clean, and the design becomes even more beautiful without giving a shabby or clumsy look. Ensure that the tape is pasted exactly on the rough sketch so that you don’t give second chances to the taping.
5. Start Applying Tape
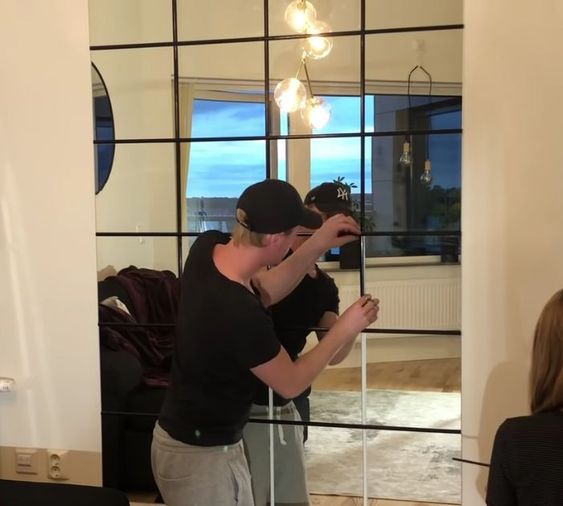
Once the rough pattern is drawn on the mirror wall, start applying tape very cautiously and carefully. Make sure that it is done slowly on the sketch. Cut the tape end very neatly and cleanly wherever needed. Applying tape can break or make the look of your entire living room mirror wall, so ensure that it is done very neatly so as to have a clean and clear design.
6. Give a Final Finish
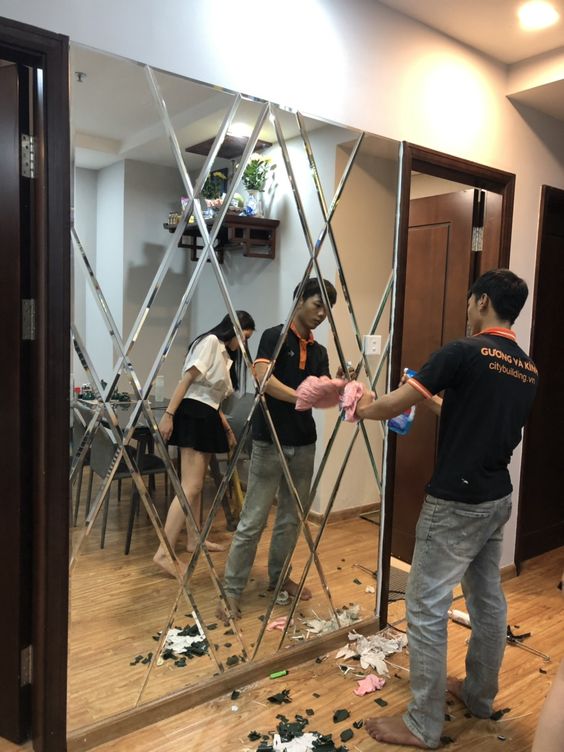
Check for the entire design and get rid of unnecessary tape tails or cuts. Also, see the rough sketch drawn, the tapes are fixed onto it, and extra sketches are erased to avoid a shabby look. Give it a final look, and voila, your living room mirror wall is ready in a super innovative and budget-friendly way with the ‘Wonder Tape!’
Making sure of the above things can give your living room a new modern, and designer look with just a tape that will do wonders and turn you into your house’s interior designer!
To Summarize
The process of using this tape to modernize the living room mirror wall has been nothing short of amazing. With tape’s unassuming yet transformative powers, a once ordinary mirrored wall has been reborn into a mesmerizing tapestry of art and expression. Its kaleidoscope of colors, patterns, and textures has breathed life into the space and inspiration into those who behold it.
The magic of tape not only lies in the physical change but also in the imagination and creativity used to make this entire pattern on the mirrored wall. So let this story of tape and mirrors inspire everyone for a little bit of creativity with the potential to effect incredible change in the most unanticipated ways.
Let us know in the comments below how this inexpensive way of using tape inspired you to make extraordinary changes in your living room mirror walls.

