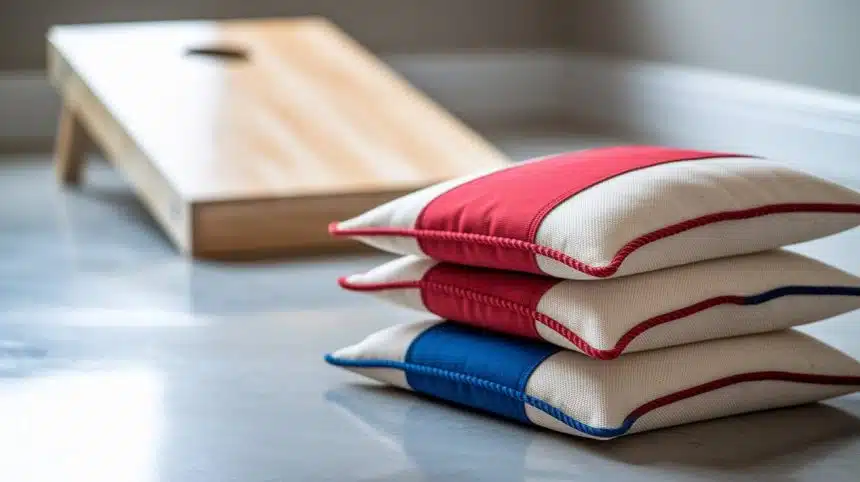
Have you been looking for a fun weekend project? Making cornhole bags at home might just be what you need. Many players find that homemade bags last longer than store-bought options during family get-togethers.
The good news? You don’t need fancy skills or tools to make high-quality cornhole bags. With some basic materials and a bit of time, you can create bags that work just as well as the expensive ones.
This blog will show you how to make cornhole bags step by step. From picking the right fabrics to filling them properly, you’ll learn everything you need for your project.
By the end of this blog, you’ll be ready to create your own custom cornhole bags that match your style and meet official game requirements.
What is Cornhole?
Cornhole is a simple lawn game where players toss bags filled with corn or plastic pellets at a slanted board with a hole. Points are scored when bags land on the board or go through the hole.
Benefits of Playing Cornhole:
- Easy to learn for all ages
- Can be played in small spaces
- Portable and simple to set up
- Works as both a casual and competitive activity
- Helps improve hand-eye coordination
- Brings people together for social fun
Why Make Your Own Cornhole Bags?
Making your own cornhole bags saves money. Store-bought sets can cost $30 or more, while homemade bags might cost half that amount.
You get to choose your own colors and designs. This lets you match your bags to your favorite teams or create custom looks for special events.
Homemade bags can be of better quality than some cheaper store options. When you make them yourself, you control the materials and can build them to last.
Choosing the Right Fabric for Your Bags
The fabric you choose affects how your cornhole bags perform and last. Good fabric makes the difference between bags that fall apart after a few games and ones that last for years.
1. Duck Canvas (10-12 Oz)
Duck canvas is the most common choice for cornhole bags. Its tight weave provides excellent durability that stands up to constant use. The 10-12 oz weight is heavy enough to withstand repeated throws without tearing at the seams.
2. Cotton Duck
Cotton duck is slightly lighter than standard duck canvas, making it a good option for beginner players who may not throw as hard. Though easier to work with when sewing, it may wear out faster than heavier fabrics after extended play.
3. Synthetic Fabrics
Synthetic fabrics offer water-resistant options for outdoor play in various weather conditions. These materials are less likely to absorb moisture from dew or light rain. However, they can feel different when thrown compared to traditional cotton fabrics.
4. Denim
Denim is often available from old jeans, making it a budget-friendly option. It’s very durable, but sometimes too heavy for regulation play. When sewing denim bags, you may need special needles for your sewing machine to handle the thick material.
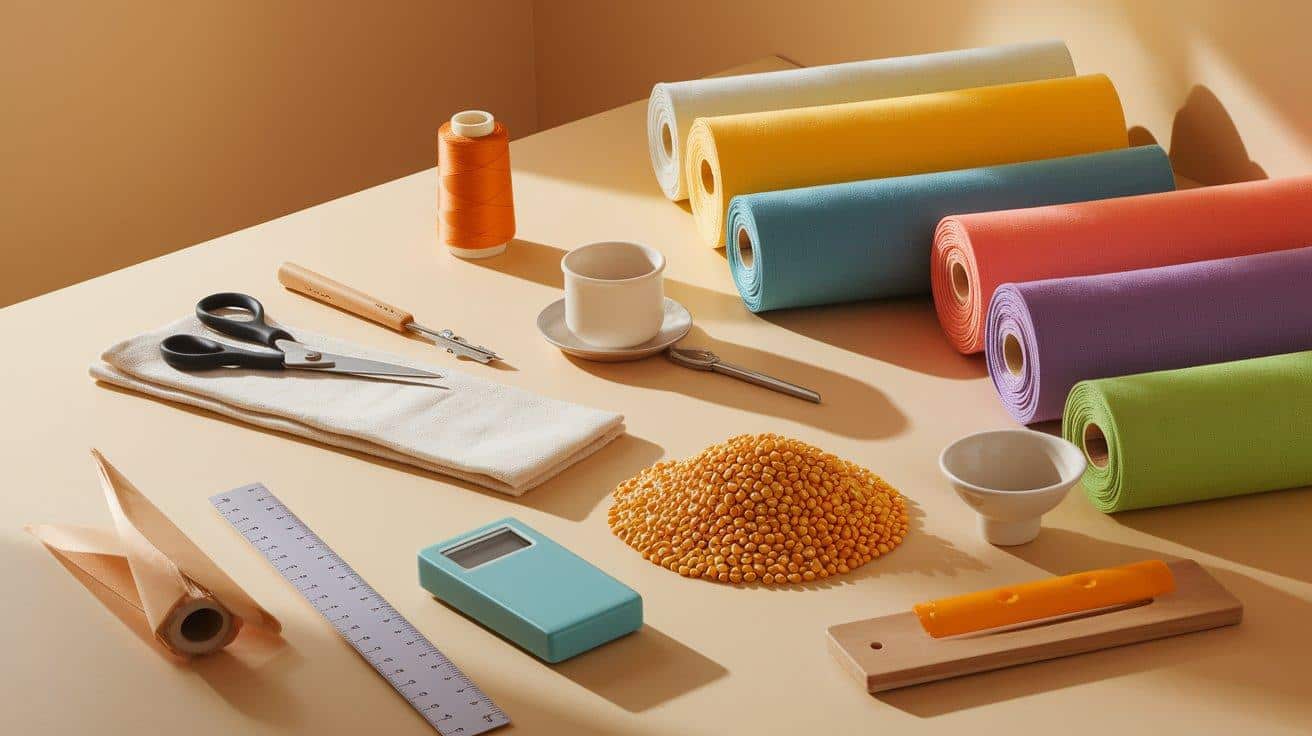
Tools and Materials You’ll Need
Before starting your cornhole bag project, gather all necessary supplies. Having everything ready will make the process smoother and faster.
| Item | Purpose | Notes |
|---|---|---|
| Duck canvas fabric | Outer shell | At least 1 yard (more for multiple sets) |
| Corn kernels or synthetic pellets | Filling | Approximately 2 cups per bag |
| Thread | Stitching | Heavy-duty polyester recommended |
| Sewing machine | Construction | Hand sewing is possible, but less durable |
| Scissors | Cutting fabric | Sharp fabric scissors work best |
| Measuring tape/ruler | Accurate sizing | Metal rulers help with straight cuts |
| Pins | Holding fabric in place | At least 10-12 pins per bag |
| Scale | Weighing bags | Digital kitchen scale works well |
| Funnel | Filling bags | Can be made from paper if needed |
| Cardboard | Template | For consistent sizing |
Step-by-Step Instructions for Making Cornhole Bags
Making cornhole bags takes about 15-20 minutes per bag once you get the hang of it. The process includes cutting, sewing, filling, and sealing the bags.
Step 1: Gather Your Materials
First, collect all the supplies you’ll need for this project. This preparation step saves time and prevents interruptions once you start working on your bags.
- Canvas fabric and matching thread
- Scissors, ruler, pins, and rotary cutter
- Scale, measuring cup, and funnel
- Corn kernels or synthetic fill
Step 2: Create a Template
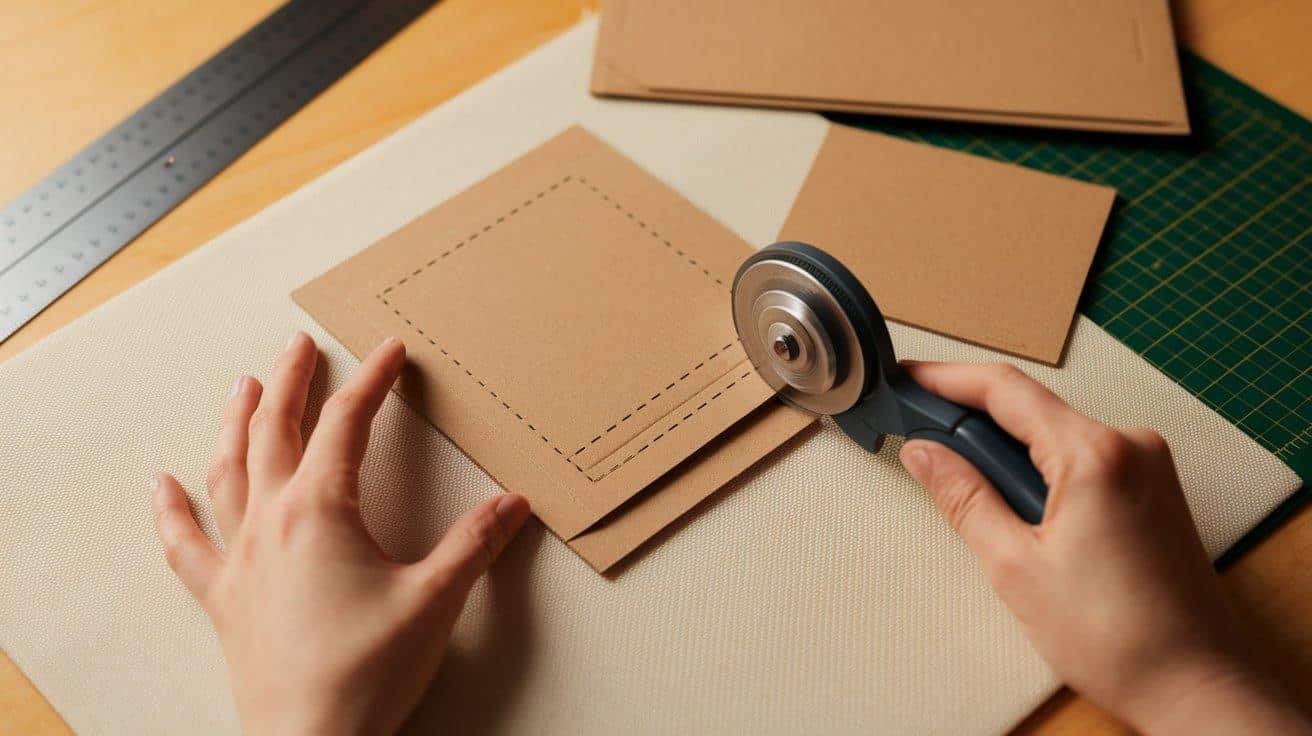
A good template ensures all your bags will be the same size, which is important for fair gameplay. The extra inch on each side allows for seam allowance.
- Cut a 7×7-inch cardboard square for your pattern
- Use the template to cut two 7×7-inch fabric pieces
Step 3: Pin the Fabric Pieces Together
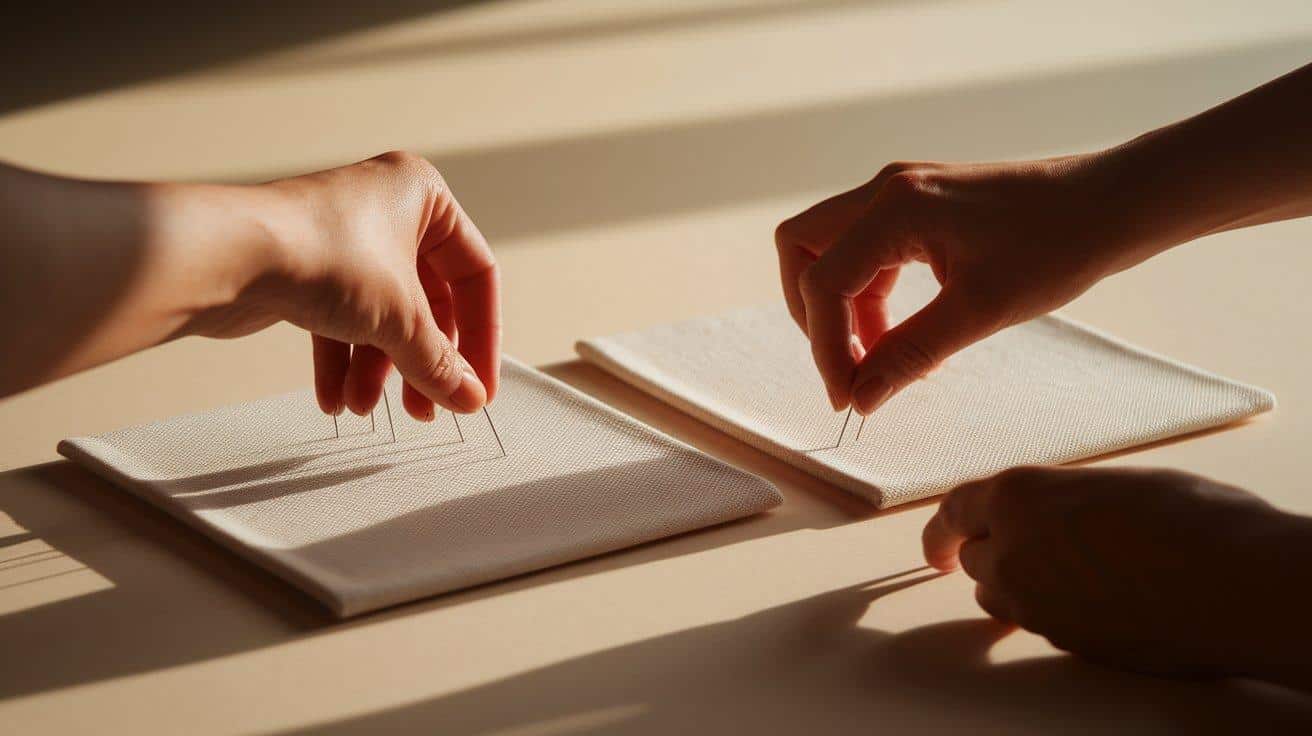
Proper alignment at this stage prevents crooked bags. Take your time with pinning as it makes the sewing process much easier and leads to better results.
- Align the fabric pieces perfectly.
- Pin edges to prevent shifting while sewing
Step 4: Sew the Bag
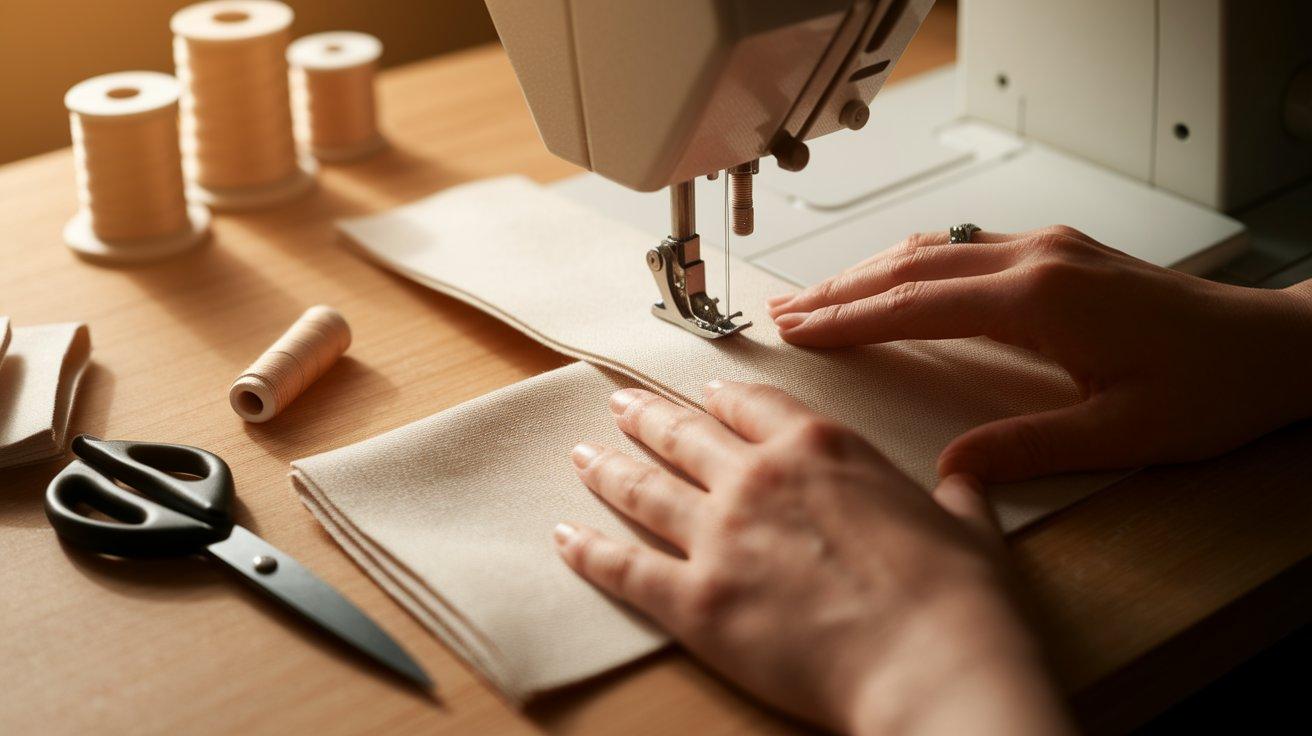
The sewing technique you use determines how long your bags will last. Double stitching creates stronger bags that can withstand hundreds of tosses without coming apart.
- Sew around edges with ½-inch seam allowance
- Leave a small opening on one side
- Add a second zigzag stitch for strength
Step 5: Trim and Turn the Bag
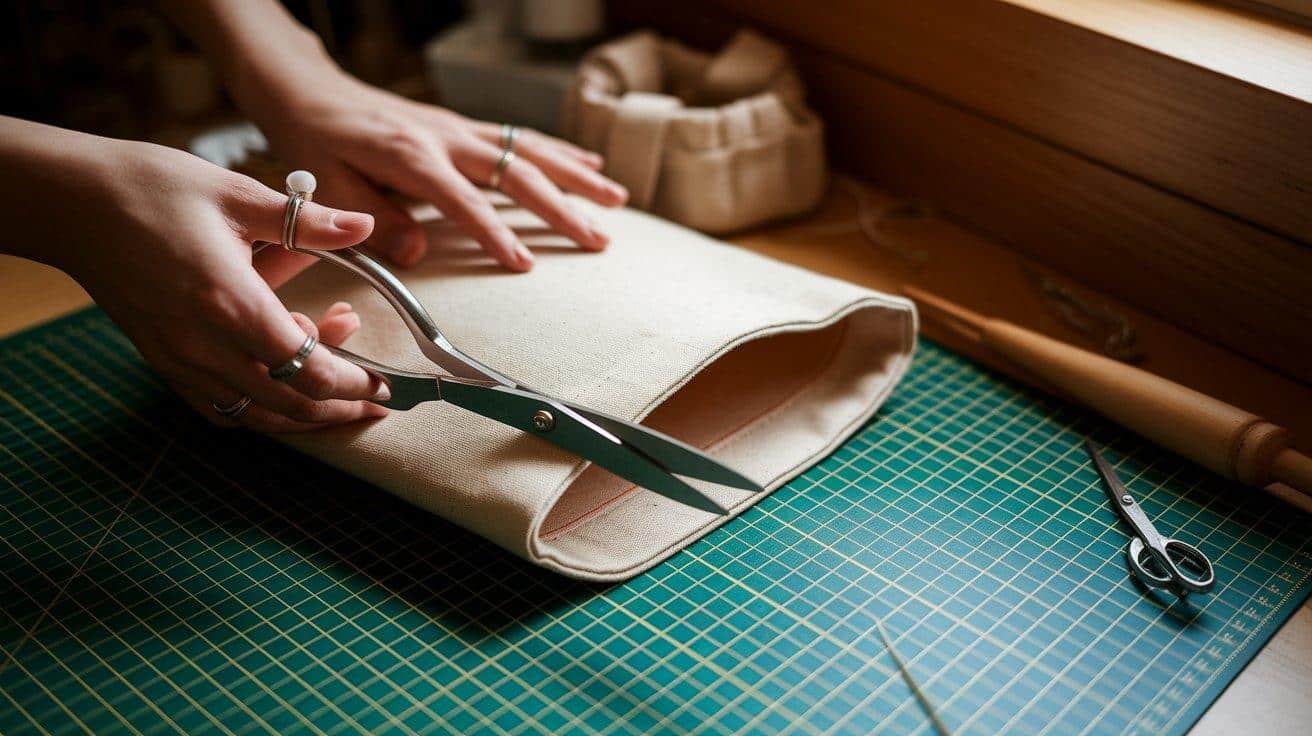
Trimming corners reduces bulk and makes crisper edges. This step helps your bags look more professional and sit flat when thrown.
- Trim corners to reduce bulk.
- Turn the bag right side out, pushing the corners out fully
Step 6: Fill the Bag
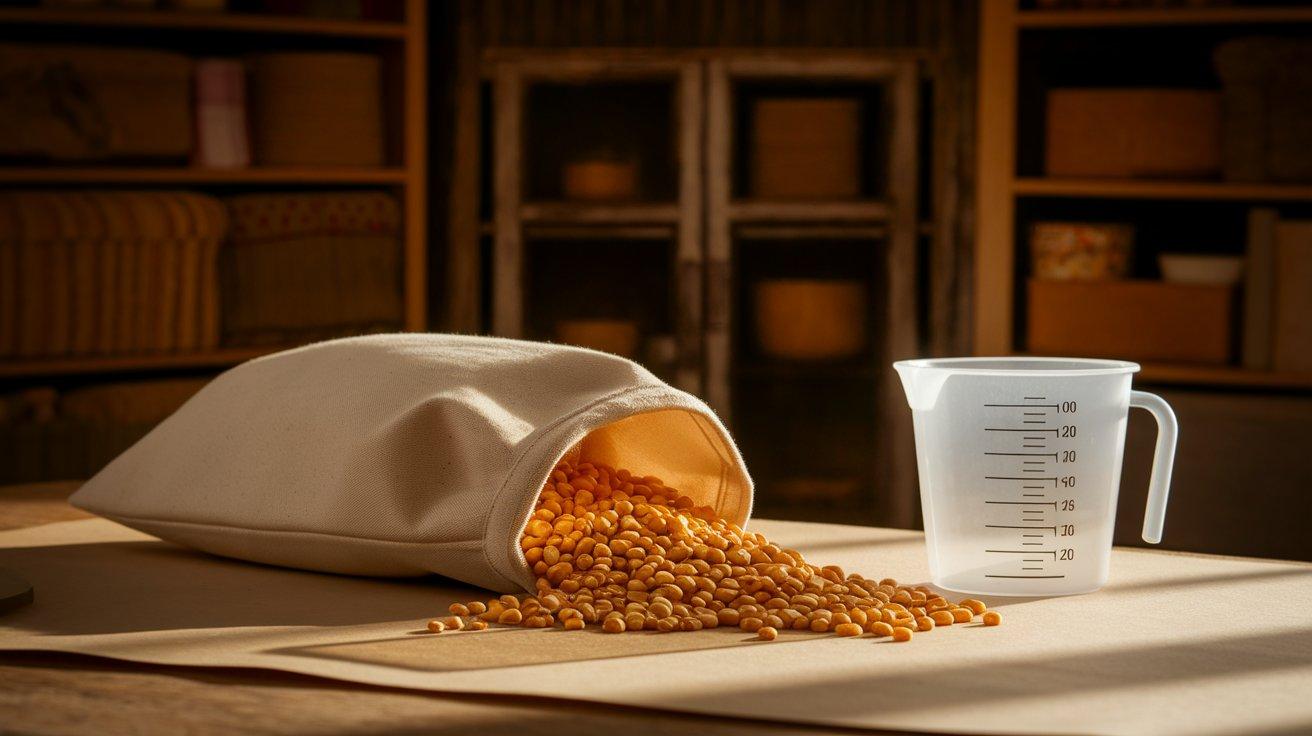
The amount of filling affects how the bag throws and lands. Too little makes the bag too light, while too much makes it too stiff to conform to the board.
- Use a funnel to add 2 cups of filling
- Check weight (should be 14-16 ounces)
- Distribute filling evenly inside the bag
Step 7: Seal the Bag
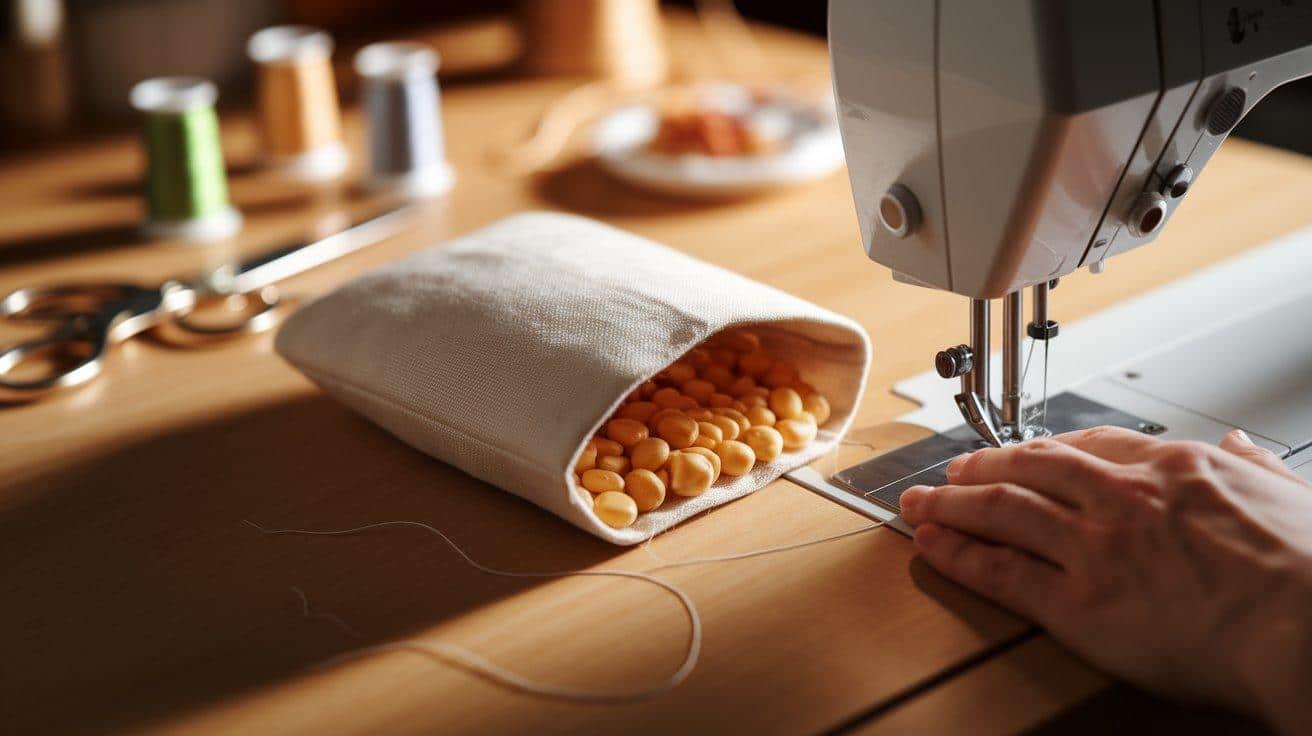
The final seam needs to be the strongest since it will be under the most stress during play. Take extra time to make this seal secure.
- Pin opening edges together neatly.
- Sew shut with a zigzag stitch for strength
- Backstitch several times for security
Video Tutorial
I’d like to give credit to OnlineFabricStore for their informative video, which served as a reference for this guide.
Personalizing Your Cornhole Bags
Adding your own touch to cornhole bags makes them special. You can try these methods:
- Use colored fabric that matches your favorite sports team
- Add iron-on patches or logos before sewing bags closed
- Stitch initials or designs onto the fabric surface
- Try different colored threads for contrast stitching
- Use stencils and fabric paint for custom designs
Tips for Maintenance and Care
- Store bags in a dry place when not in use
- Keep corn-filled bags away from moisture
- Spot clean with mild soap and water as needed
- Let the bags air dry completely if they get wet
- Check stitching regularly and repair loose threads
- Rotate bags during play for even wear
Conclusion
Making cornhole bags at home is easier than you might think. With just a few hours of work, you can create a full set of bags that will last for many games to come. The process is simple: cut fabric, sew, fill, and seal.
What makes this project worth doing is the money saved and the chance to create something just how you want it.
Your homemade bags will work just as well as store-bought ones—maybe even better since you made them with care.
Ready to start? Grab your materials and follow the steps outlined. Soon you’ll be tossing your own handmade bags and showing them off to friends. And if you make them, let me know how they turned out!
Frequently Asked Questions
How Long Do Homemade Cornhole Bags Last?
Homemade bags made with duck canvas and double-stitched seams typically last 1-2 years with regular play. Synthetic-filled bags last longer than corn-filled ones, especially in humid areas.
Can I Wash My Cornhole Bags if They Get Dirty?
Spot cleaning with mild soap is best. Avoid machine washing corn-filled bags as moisture causes rot. Synthetic-filled bags can be gently hand-washed and air-dried completely.
How Many Bags Can I Make from One Yard of Fabric?
One yard of 54-inch wide duck canvas yields about 8-10 complete bags. This is enough for a full regulation set with some fabric left over.