Have you ever ruined a project because your drill made a messy, jagged hole? That frustrating moment when your perfect piece of metal now has an ugly, oversized hole?
Don’t worry—you’re not the only one feeling defeated. Getting clean, precise holes in metal is one of the biggest headaches for DIYers.
That’s where step drill bits come in handy. These oddly shaped tools might look strange at first glance, but they’re game-changers for working with thin materials.
This guide will show you everything you need to know about using step drill bits. From picking the right one to making that first perfect hole, we’ve got you covered.
Let’s turn you into a step drill expert in no time.
What is a Step Drill Bit?
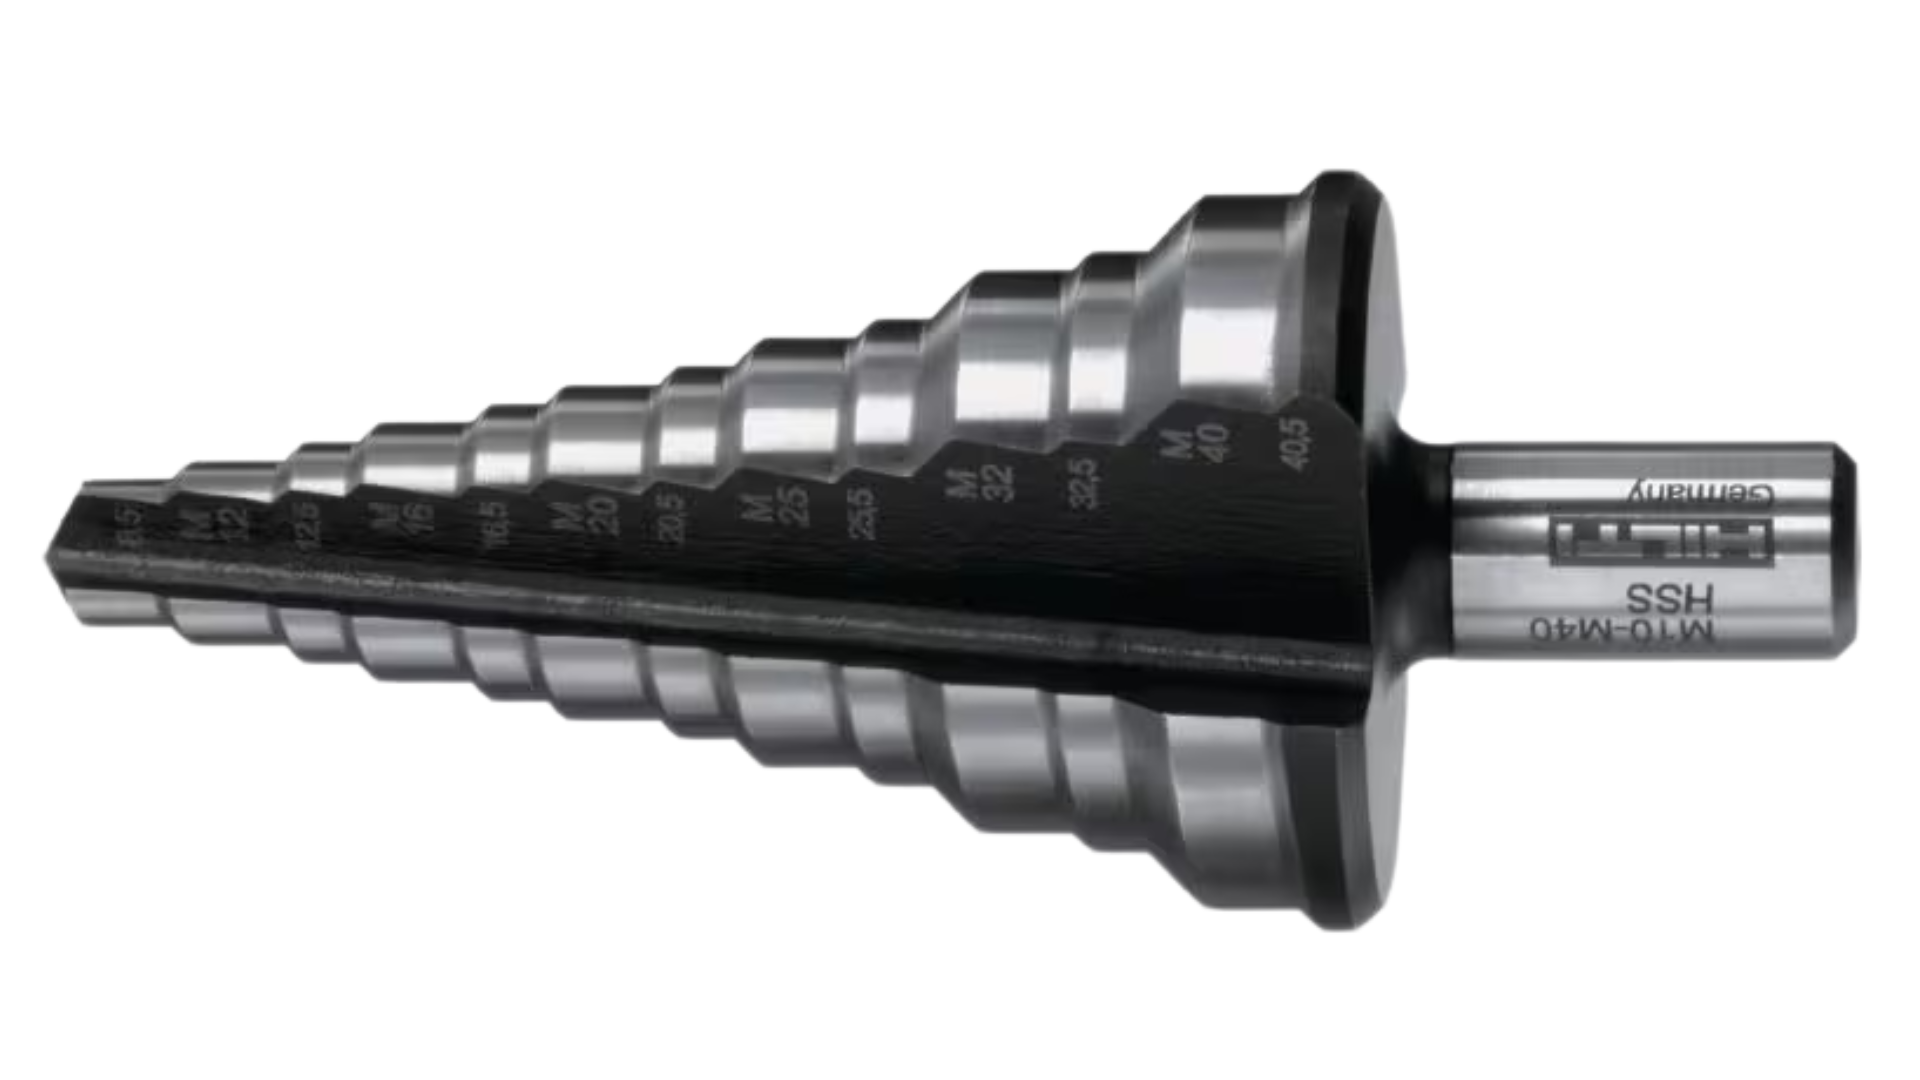
A step drill bit is a special tool that looks like a cone with multiple steps or levels. Each step is a different size, allowing you to drill holes of many sizes with just one bit.
These bits work best on thin materials like sheet metal, plastic, and thin wood.
People use step drill bits for many projects around the house and in workshops. They’re perfect for installing electrical boxes, putting in car accessories, making holes for wires, and setting up things like door locks.
What Makes a Step Drill Bit Special?
Unlike regular drill bits, which make just one size hole, step drill bits can make many different-sized holes with a single bit.
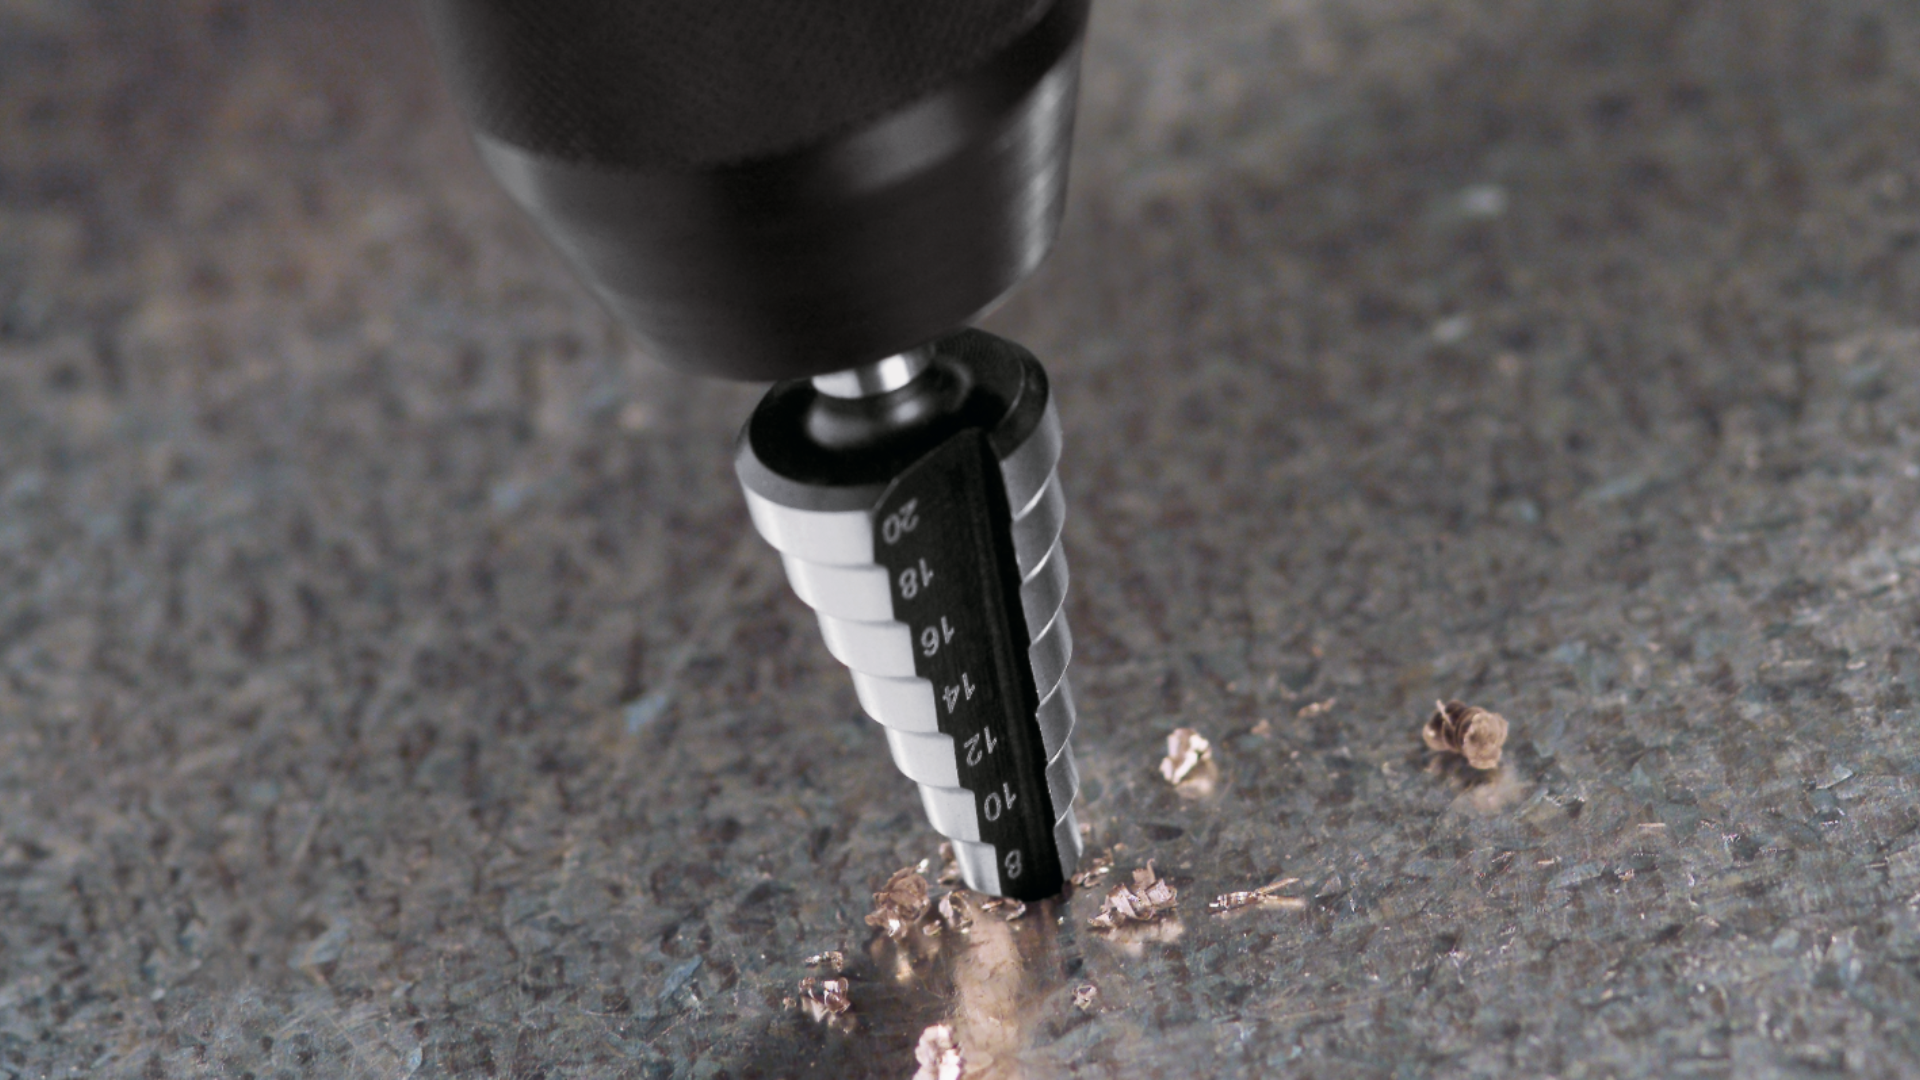
Their cone shape has multiple steps, each cutting a bigger hole than the one before it. The sharp tip at the end helps start the hole exactly where you want it without a center punch.
These bits need less pressure because the design spreads out the cutting edge. They cut without tearing the metal, leaving smooth edges without burrs.
How to Use a Step Drill Bit Correctly
Using a step drill bit might seem tricky at first, but with the right approach, it’s quite simple. Follow these steps to get clean, perfect holes every time. Having the right setup before you start makes all the difference.
Preparing Your Tools and Workspace
Before you start drilling, gather all the necessary tools and equipment:
| Tool | Purpose |
|---|---|
| Step Drill Bit | Creates holes of various sizes |
| Power Drill | Drives the step drill bit (cordless or corded) |
| Safety Glasses | Protects eyes from flying metal chips |
| Work Gloves | Protects hands from sharp edges |
| Marker or Pencil | Marks drilling locations |
| Clamps | Secures workpiece to prevent movement |
| Cutting Oil | Lubricates bit when drilling hard metals |
Set up in a clean area with good lighting. Clamp your workpiece to a stable surface so it doesn’t move while drilling. Put on your safety glasses and gloves before starting.
Metal chips can fly during drilling, so keep your workspace clear of other people.
Steps to Safely Drill Metal with a Step Drill Bit
Follow these four simple steps to get perfect holes with your step drill bit. Take your time with each step for the best results.
Step 1: Choose the Right Size
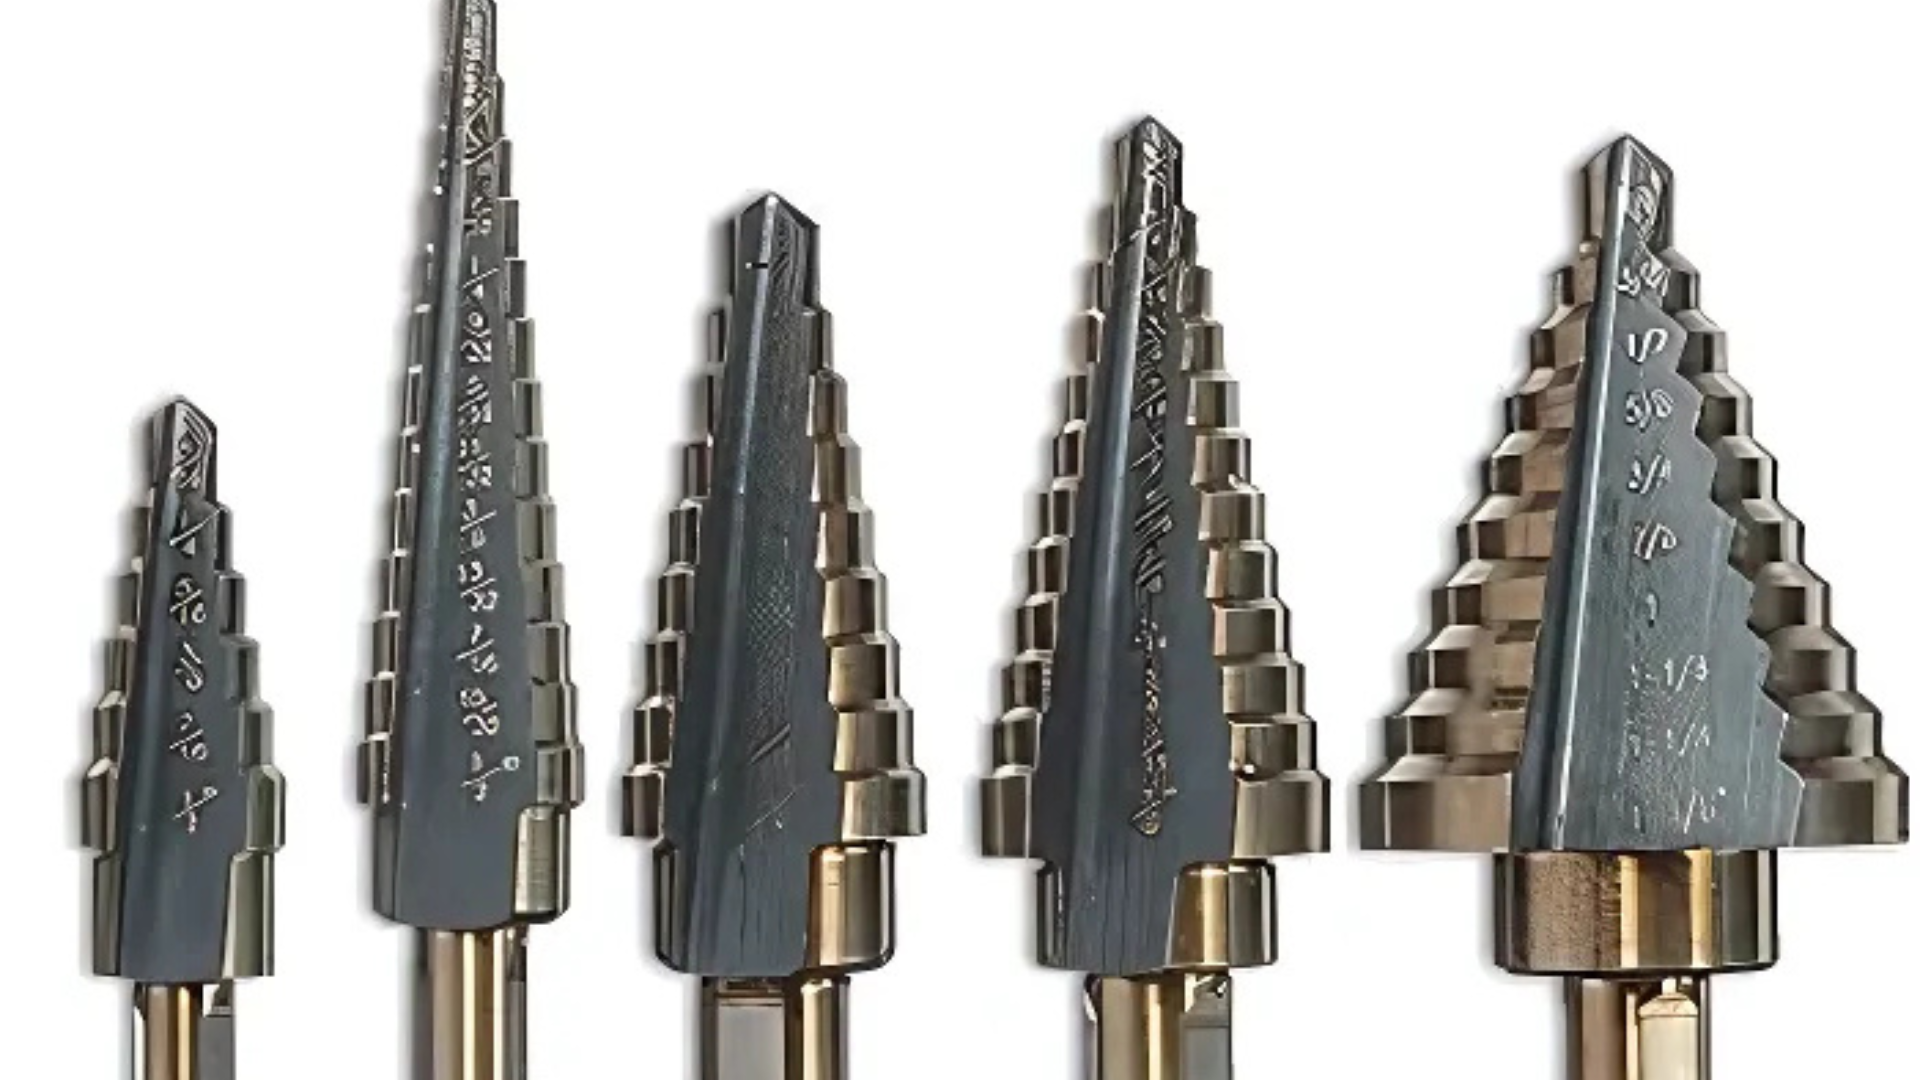
Look at the markings on your step drill bit to find the size you need. Each step usually has its diameter stamped on the bit. Match this to the hole size you want. For new users, it helps to wrap a small piece of tape around the step that marks your target size.
Pick a drill bit with your desired hole size somewhere in the middle of its range, not at the largest step. This will give you better control.
Step 2: Mark Your Drilling Area

Use a marker or pencil to make a clear dot where you want to drill. For more precise work, make a small cross or X. If needed, use a center punch to make a small dent. This helps keep the bit from wandering when you start.
For sheet metal, putting masking tape over your mark can help prevent the bit from slipping.
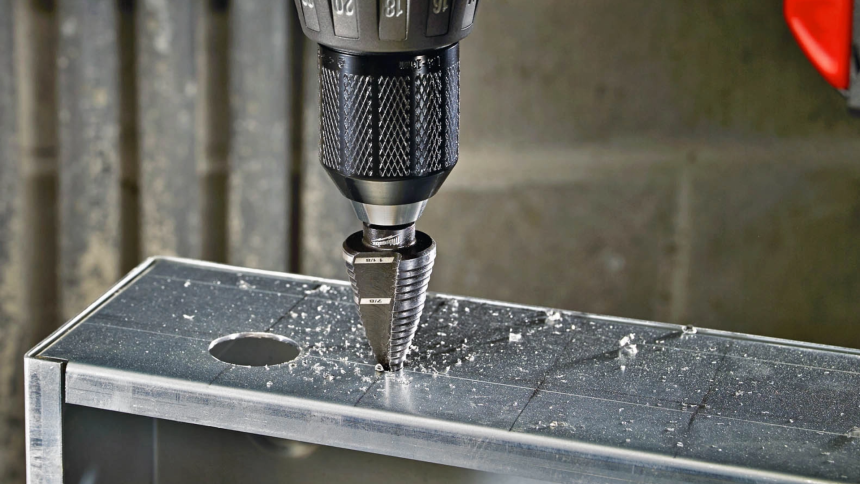
Step 3: Start Drilling Slowly
Set your drill to a medium-low speed. High speeds can cause overheating. Place the tip of the bit on your mark and start with very light pressure. Let the bit create a pilot hole first.
Once the pilot hole is made, increase pressure slightly, but keep the speed moderate. You’ll feel and see each step cutting as you go deeper. Stop when you reach the step size you want.
Step 4: Clean the Area
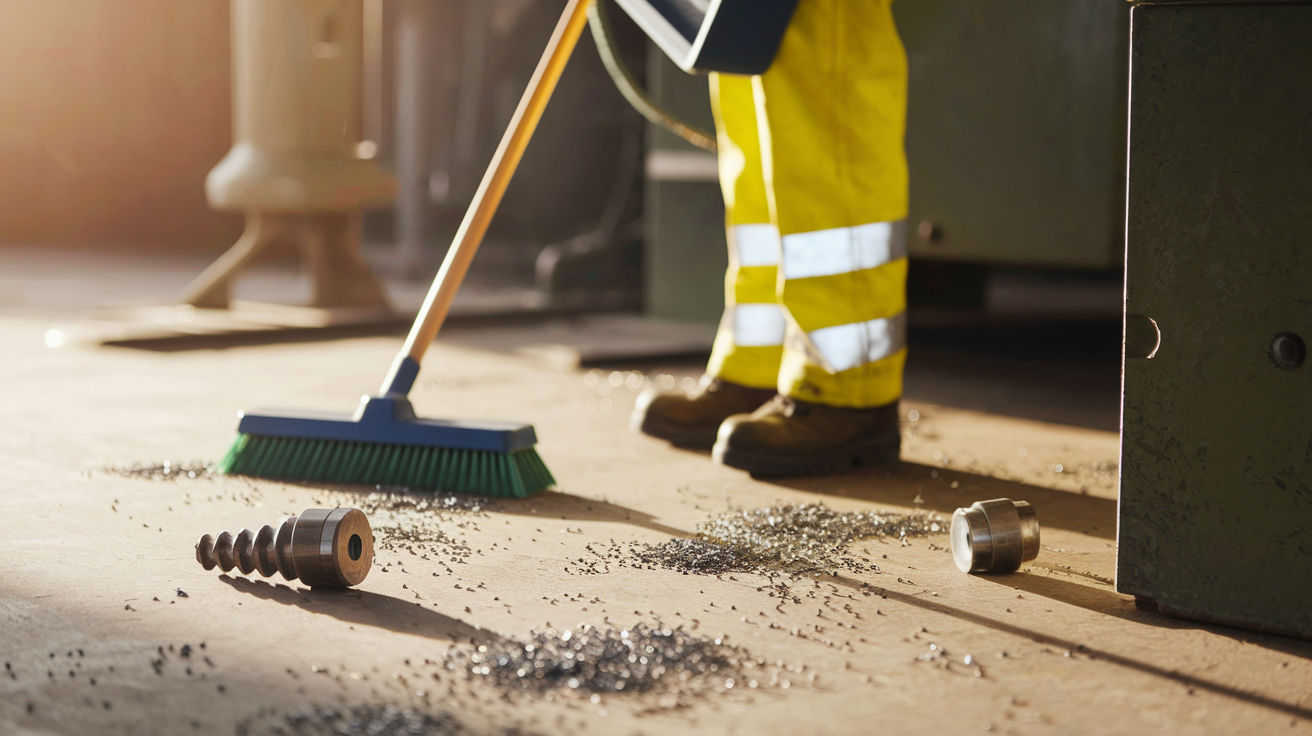
Once you’ve finished drilling, clean up the area right away. Remove any metal shavings with a brush or shop vacuum. These tiny metal pieces can be sharp and might cause injuries or scratches on your surfaces.
Check the edges of your new hole for burrs (rough edges). You can smooth these with a file or deburring tool for a professional finish. Wipe down your drill bit while it’s still warm to prevent debris from hardening on it.
Step Drill Bit Tutorial
Watch this video by HouseCallsdiy for a more detailed guide on using step drill bits effectively.
Maintenance and Care for Step Drill Bits
With proper care, step drill bits last longer and perform better. Regular maintenance keeps your bits sharp and ready for your next project.
Cleaning Your Drill Bit
After each use, clean your step drill bit to remove metal chips and debris. If left on the bit, these materials can cause rust and dull the cutting edges.
- Wipe the bit with a clean cloth right after use
- For stubborn debris, use a small wire brush to gently clean between steps
- Apply a light coat of WD-40 or machine oil to prevent rust
- Never soak step drill bits in water or cleaning solutions
Sharpening and Storing the Bit
Unlike regular twist bits, step drill bits require special sharpening. Most home users should replace a dull bit rather than try to sharpen it themselves.
- Store bits in their original case or a drill bit holder
- Keep bits in a dry place away from moisture
- Prevent bits from bumping into each other during storage
- Check bits for damage before each use
- For professional sharpening, contact a tool specialist who works with step drill bits.
With proper care, a quality step drill bit can last through many projects. The small amount of time spent maintaining your bits will save you money and frustration in the long run.
Conclusion
Step drill bits make drilling clean, precise holes in thin materials easier than ever before. Their stepped design lets you create multiple hole sizes with just one tool, saving you time and hassle.
Remember to start slow, use the right amount of pressure, and follow safety guidelines. Pick the right step size for your project, keep your workspace clean, and maintain your bits properly after each use.
While step drill bits cost a bit more than standard drill bits, their clean results and versatility make them worth the investment.
With practice and proper technique, you’ll soon be making perfect holes every time. Now that you know how to use them, your next drilling project will be smoother and more professional
The stepped design also creates less friction and heat, making the bit last longer.