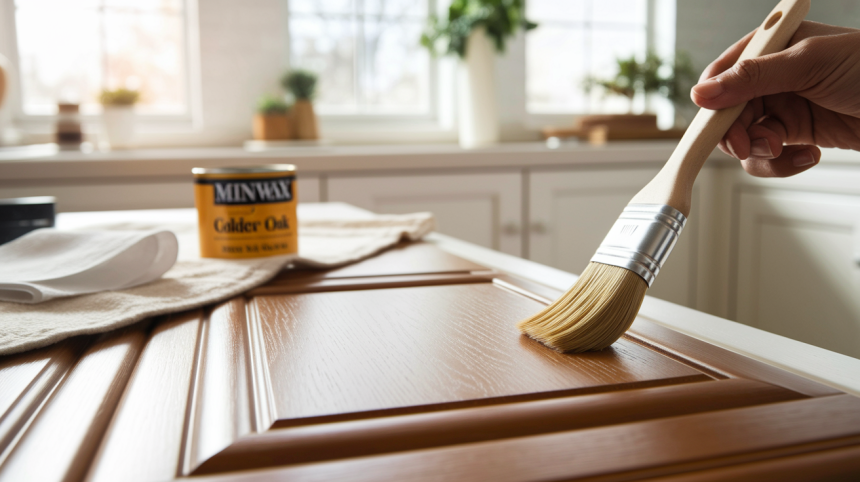
Are your kitchen cabinets looking dull?
Worn-out cabinets make the whole kitchen feel old. Many people think fixing them costs thousands. It doesn’t! You don’t need to hire experts. All you need is a weekend and some basic supplies.
Staining cabinets isn’t hard. The job breaks down into simple steps, and you can do it yourself. No special skills are required. Just take your time and pay attention to details.
This step-by-step guide shows you how to update your kitchen without spending too much money. The process is quick, and the results look great. Your friends will be impressed.
Ready to make your kitchen look fresh again? These steps will show you how.
Materials and Tools Needed
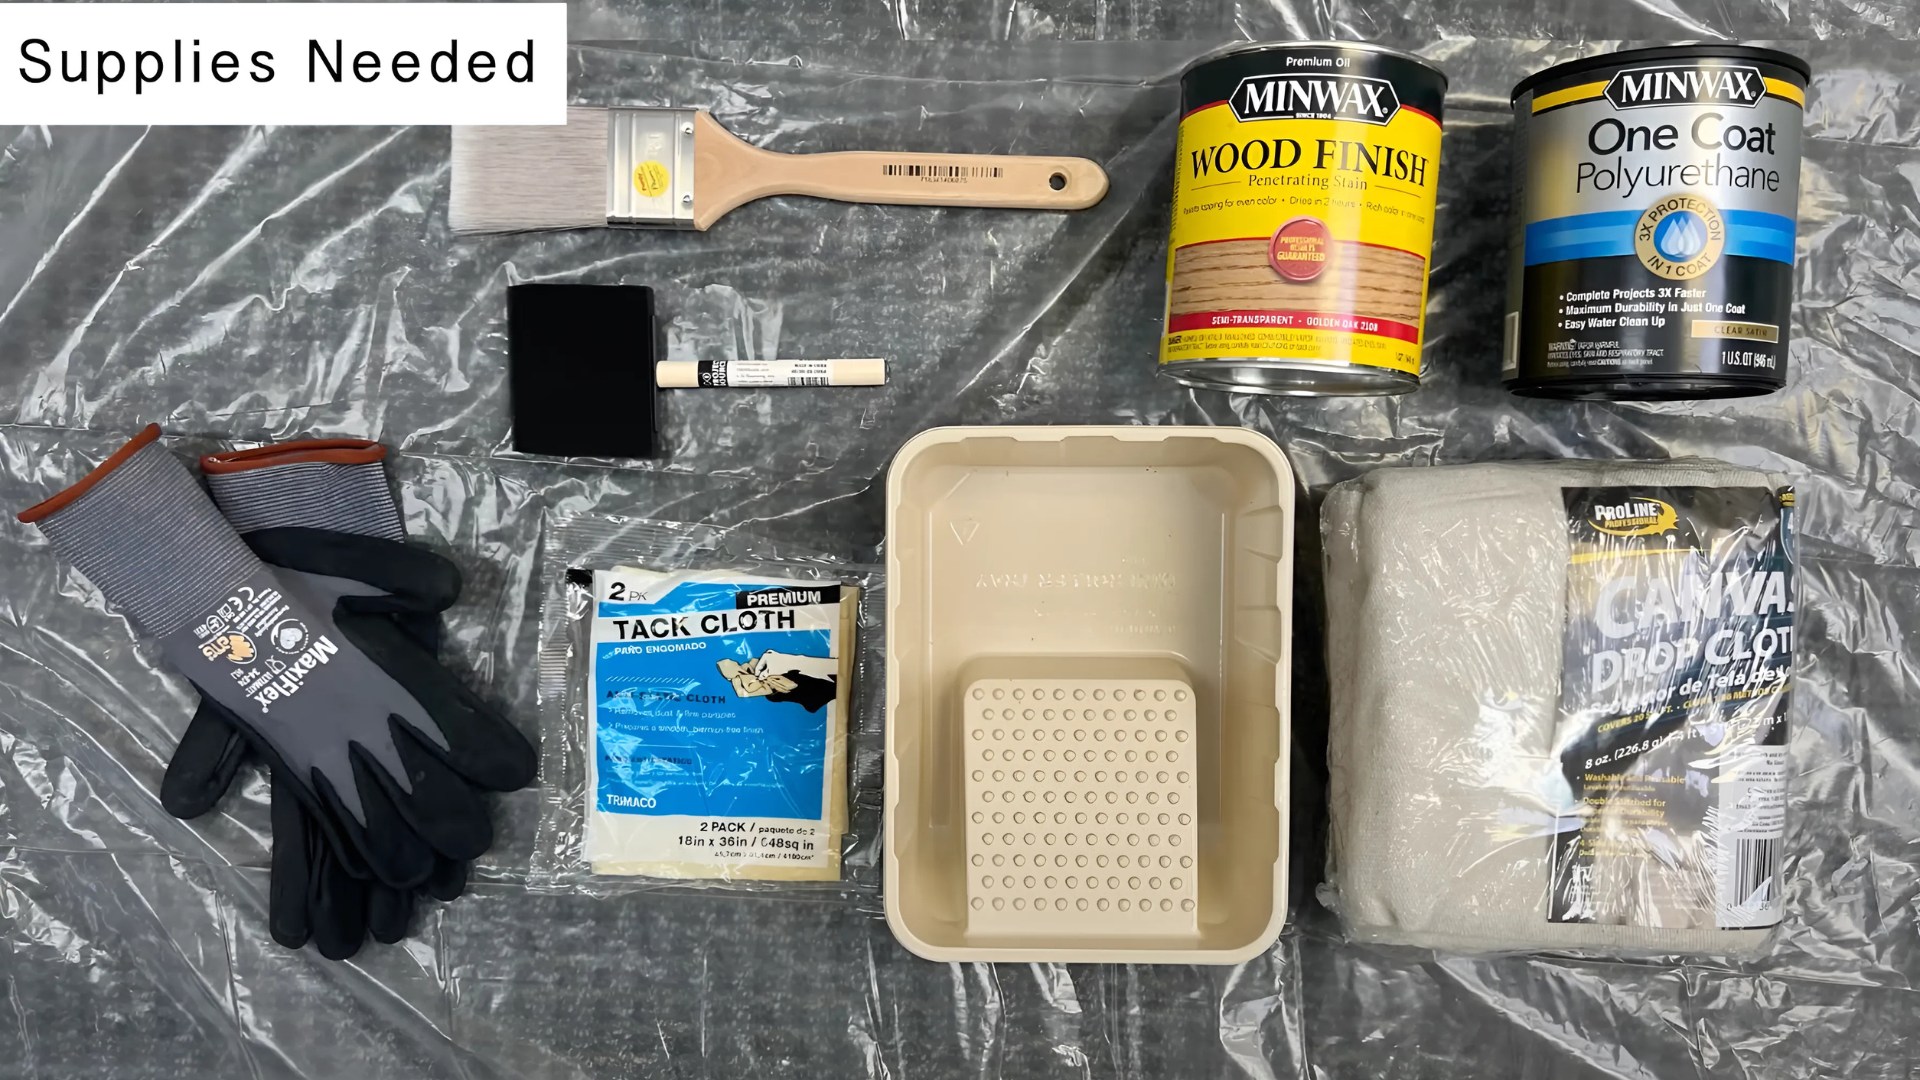
Before starting your cabinet staining project, gather everything you need. Having all supplies ready saves time and prevents frustrating trips to the store mid-project. Here’s what you’ll need:
Materials
| Material | Quantity |
|---|---|
| Minwax Golden Oak Stain | 1 can (1 quart) |
| Minwax Clear Polyurethane | 1 can (1 quart) |
| Canvas Drop Cloth | 1 (Large enough to cover your workspace) |
| Paper Towels | 1 roll |
Tools
| Tool | Quantity |
|---|---|
| Foam Brush | 1 (Medium size) |
| Soft Bristle Brush (Optional) | 1 (For detailed areas) |
| 220 Grit Sandpaper | 1 sheet |
| Paint Tray (Optional) | 1 (For pouring stain) |
Step-by-Step Process for Staining Kitchen Cabinets
Staining kitchen cabinets isn’t as tough as it might seem. The key is to take your time with each step and not rush the process. Your patience will pay off with beautiful results that last for years.
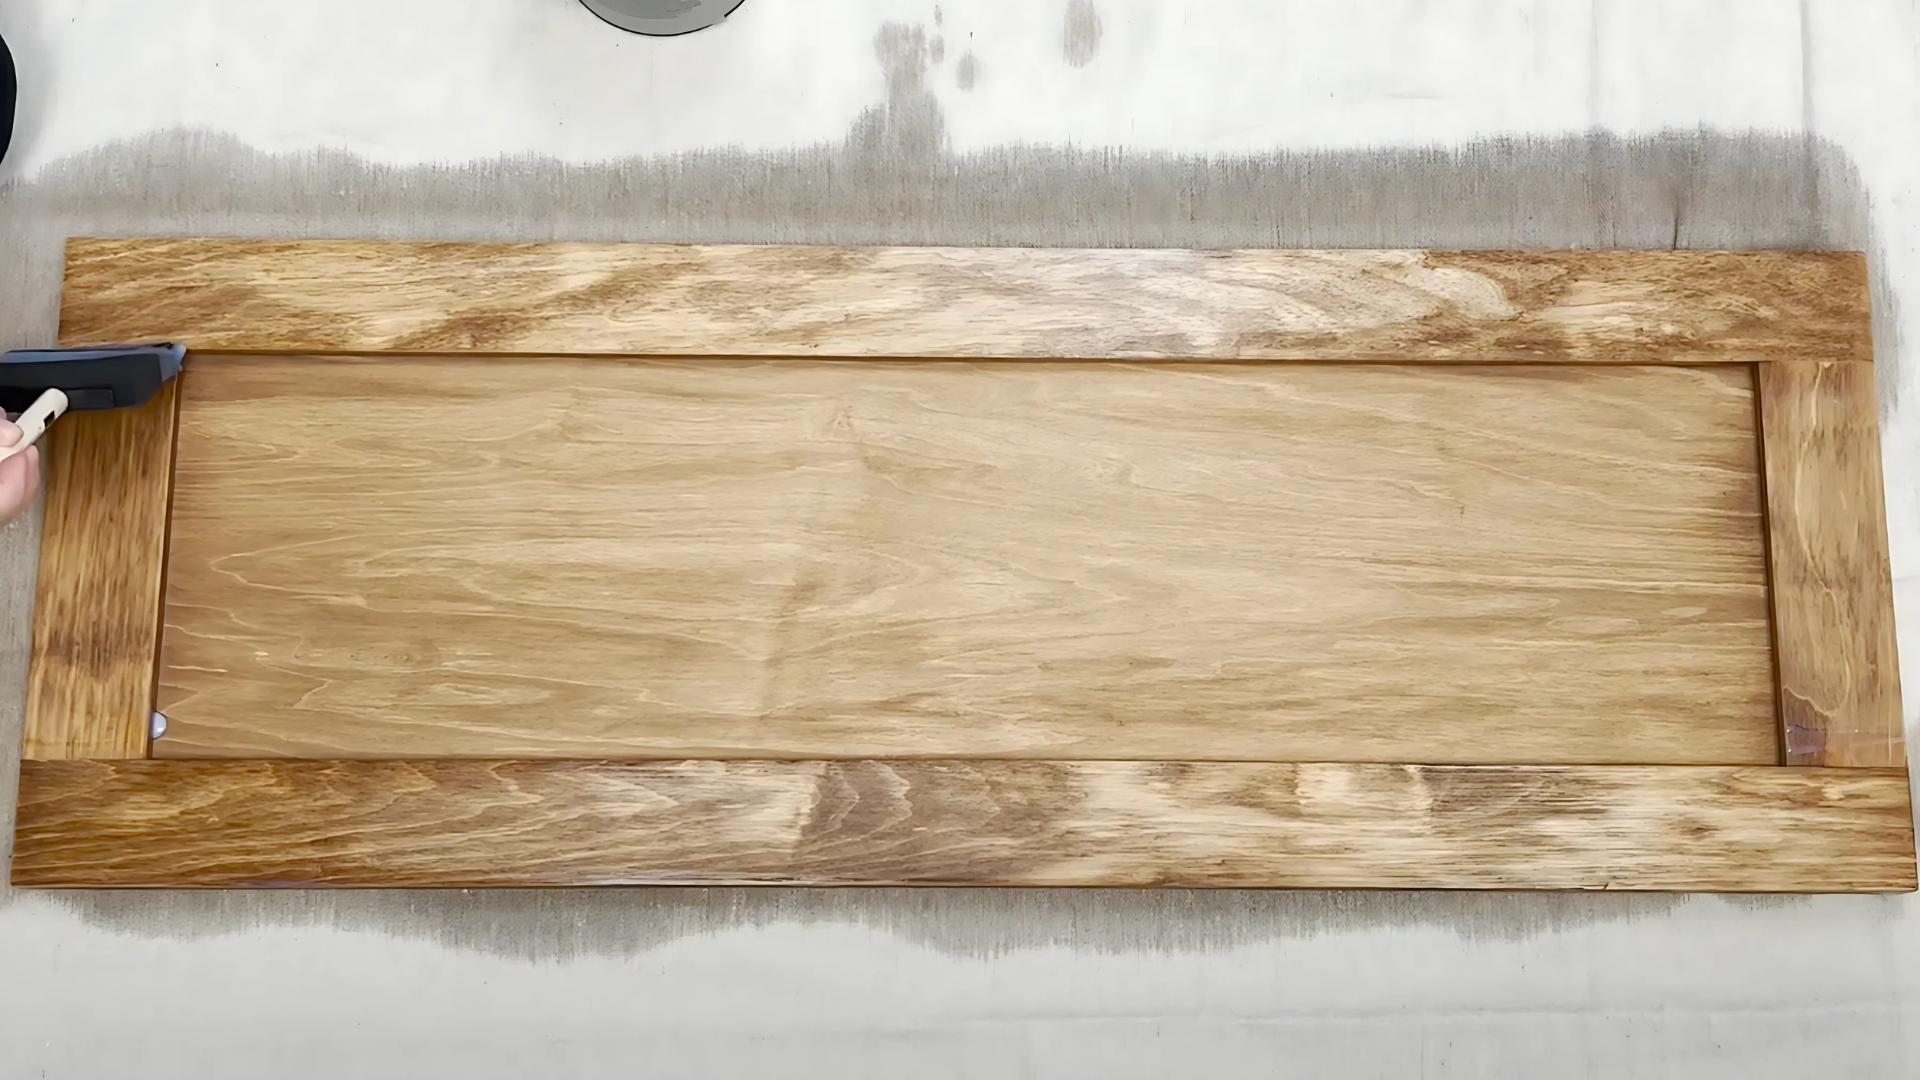
Step 1: Prepare Your Workspace
Proper preparation saves time and prevents mistakes later. Clear the area around your cabinets and remove all items from inside them.
Take off cabinet doors and drawers, labeling each one so you know where they go back. This makes the staining process much easier and gives better results.
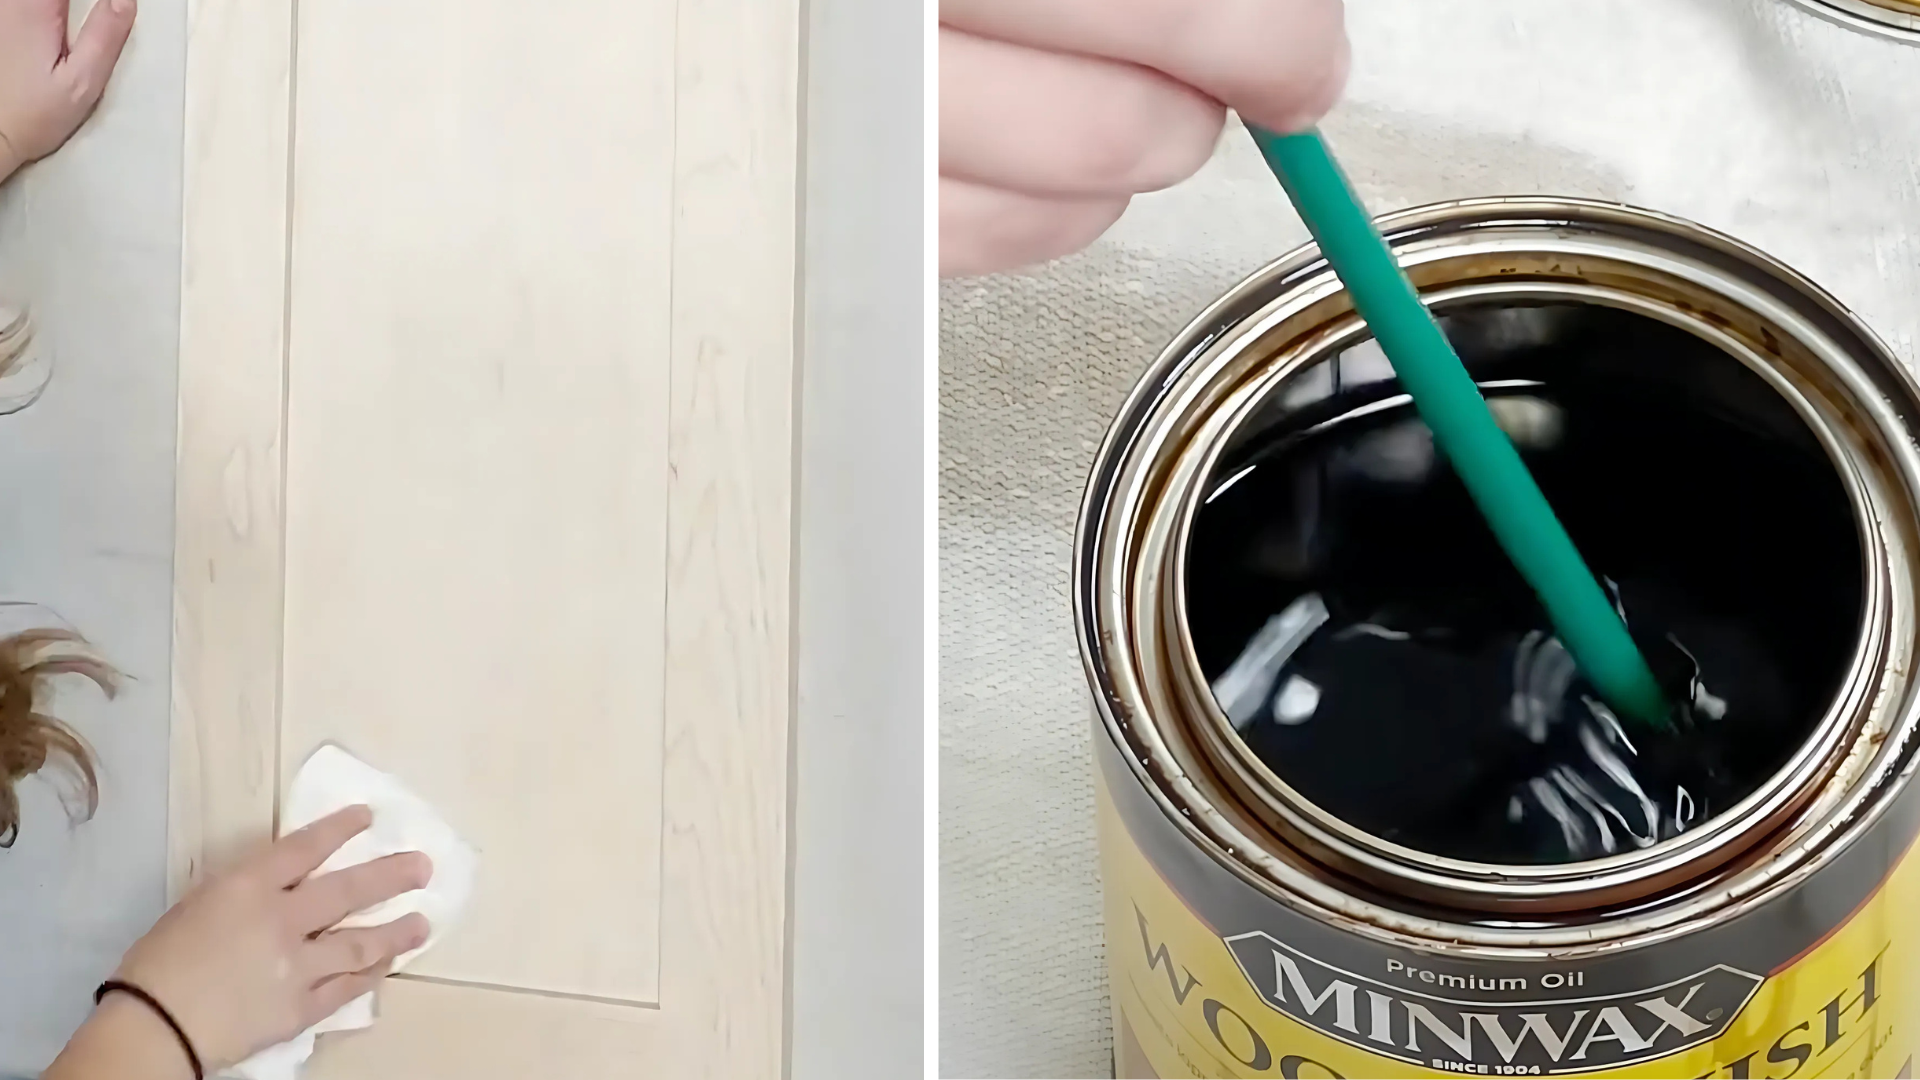
Lay down a canvas drop cloth to protect your surfaces. Clean the cabinet doors with a paper towel to remove any dust or debris.
Quick Tips:
- Remove all hardware (handles, knobs) before starting for a cleaner finish
- Work in a well-ventilated area to avoid breathing in fumes
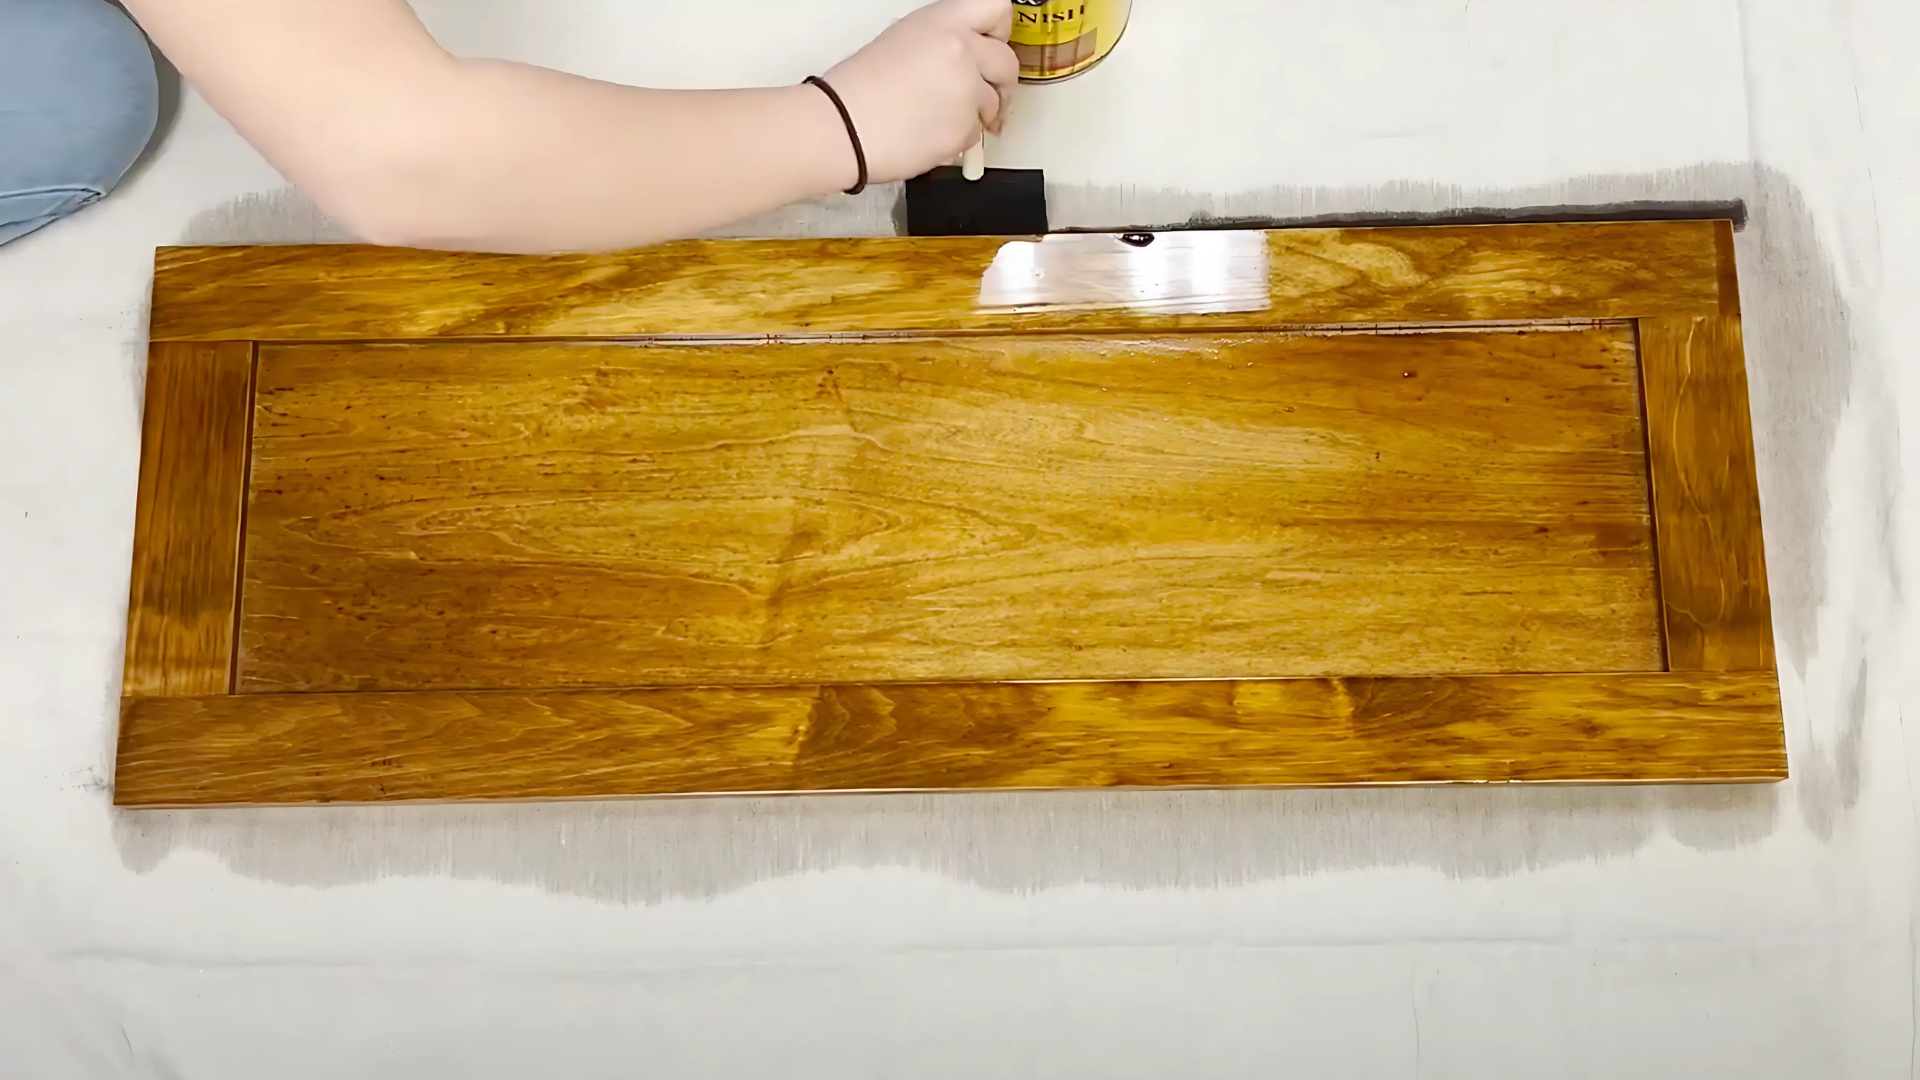
Step 2: Apply Stain to the Door
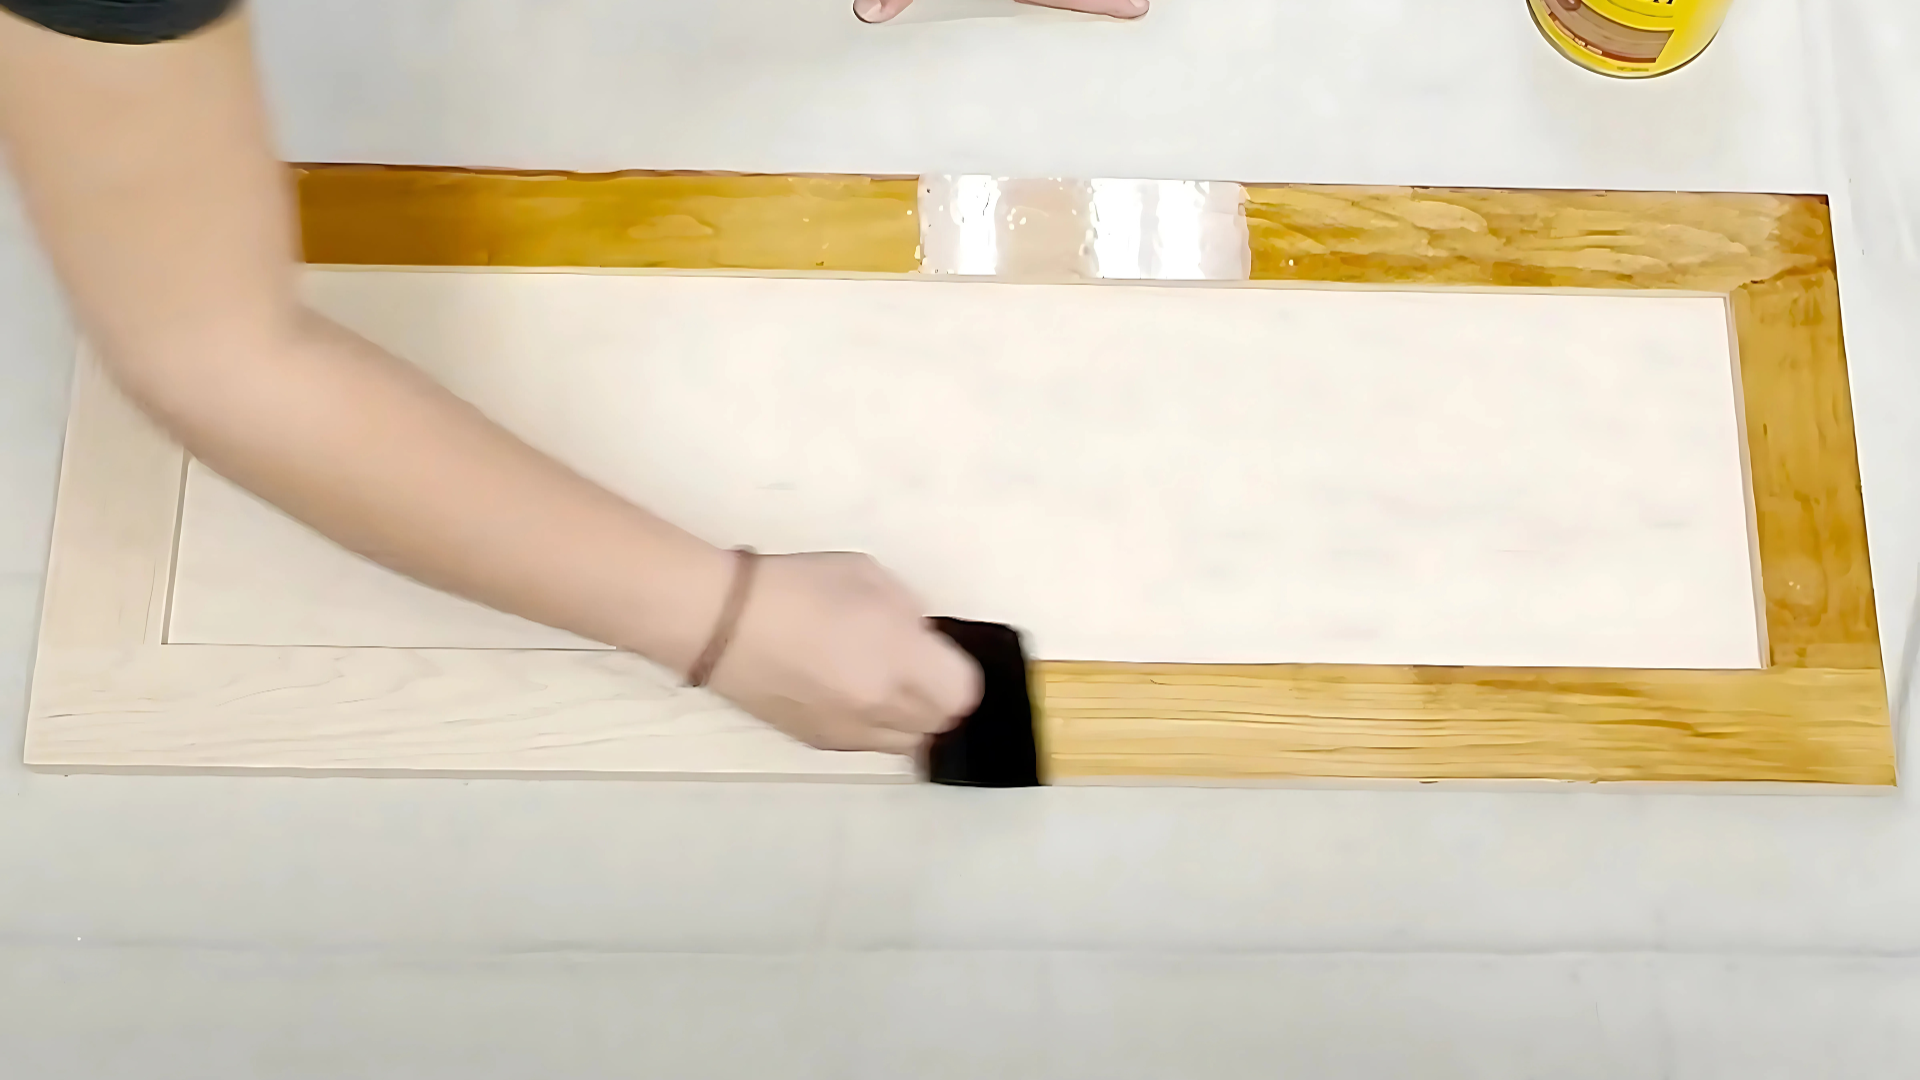
Now comes the fun part – adding color to your cabinets. Staining goes on differently than paint, so don’t worry if it looks uneven at first.
The trick is to apply it evenly and wipe off any excess before it gets tacky. This creates that rich, natural wood look that makes cabinets look high-end.
Dip the foam brush into the stain and apply in the direction of the wood grain. Let the stain sit for 2-5 minutes before wiping off excess with a clean paper towel.
Quick Tips:
- Test the stain on a hidden spot first to make sure you like the color
- Use long, even strokes to avoid streaking or pooling
Step 3: Add a Second Coat of Stain
One coat often isn’t enough to get the depth of color most people want. A second coat builds richness and evens out the tone.
Just remember that each coat makes the color darker, so check against your test patch to make sure you’re getting the look you want.
For a darker finish, apply a second coat of stain. After 2-5 minutes, repeat wiping off the excess.
Quick Tips:
- Wait at least 4 hours between coats for proper drying
- The longer you let the stain sit before wiping, the darker the finish will be
Step 4: Seal with Polyurethane

Sealing protects all your hard work from water damage, scratches, and daily wear. Think of polyurethane as a clear shield for your cabinets.
This might seem optional, but it’s what makes the difference between cabinets that look good for months versus years.
Apply a thin coat of Minwax Clear Polyurethane over the stained surface. Sand lightly with 220-grit sandpaper before applying the second coat for a smooth finish.
Quick Tips:
- Apply polyurethane in thin layers – thick coats can bubble or drip
- Dust off the surface after sanding and before applying the next coat
Step 5: Dry and Final Touches
Patience pays off in this final stage. Rushing to reinstall cabinets before they’re fully dry can ruin your whole project. Let them cure completely, then handle them with care during reinstallation.
Your new cabinets will be the star of your kitchen for years to come.
Allow the stain to dry for about 4 hours before applying the second polyurethane coat. Let the doors dry completely before touching or reinstalling.
Quick Tips:
- Give cabinets at least 24 hours to fully dry before reinstalling
- Avoid cleaning the newly stained cabinets with harsh chemicals for the first month
Staining Kitchen Cabinets: Video Tutorial
Check out the video below by @CabinetNow for a step-by-step guide on how to stain your kitchen cabinet.
Essential Safety Tips for Staining Cabinets
Staining products contain chemicals that can be harmful if not handled properly. Your health matters just as much as your kitchen’s appearance. Take these precautions seriously before you begin your project.
- Wear rubber gloves to protect your skin from direct contact with stains and sealants
- Open windows and use fans for proper ventilation – fumes can cause headaches and dizziness
- Keep stains and polyurethane away from open flames – many products are flammable
- Store rags used for staining in a metal container with water to prevent spontaneous combustion
- Wear eye protection when sanding to prevent wood dust from irritating your eyes
- Keep all products out of reach of children and pets
- Wash hands thoroughly after handling staining materials, even if you wore gloves
- Read all product labels and follow manufacturer safety instructions
Caring for Your Stained Cabinets
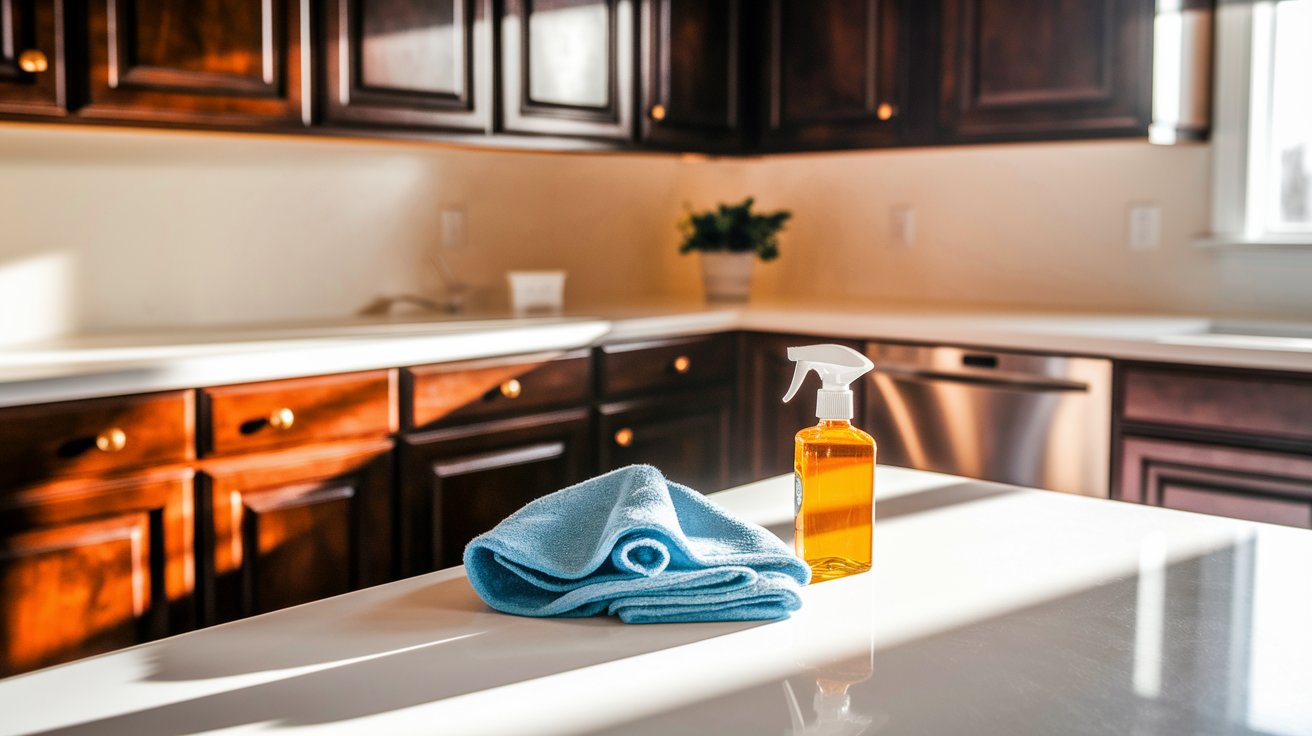
With proper care, your newly stained cabinets can stay beautiful for years. Kitchen cabinets are exposed to cooking oils, food splatters, and grabby hands daily. A few simple habits will keep them looking fresh.
Clean your cabinets regularly with a soft cloth dampened with warm water.
For tougher spots, mix a drop of mild dish soap with water. Avoid harsh cleaners with ammonia or bleach as they break down the protective finish over time.
Wipe up spills right away, especially acidic substances like vinegar or lemon juice.
If left too long, these can eat through the protective coating. After cleaning, go over the cabinets with a dry cloth to keep them dry.
Apply furniture polish or cabinet wax once every few months. This adds an extra layer of protection and brings back the shine. Just a light coating does the trick.
Your New Kitchen Cabinet Awaits!
Staining your kitchen cabinets doesn’t need to be scary. With these five steps, you can turn old, tired cabinets into stunning focal points of your kitchen. The process takes time, but the results are worth it.
Remember that patience makes perfect. Let each coat dry fully. Don’t rush the sanding. Take care when applying the polyurethane. These small details make a big difference in your final look.
Ready to start your cabinet makeover? Pick a weekend, gather your supplies, and jump in. Your kitchen will thank you.
Share your before-and-after photos in the comments below! We’d love to see your transformed kitchen and answer any questions about your project.