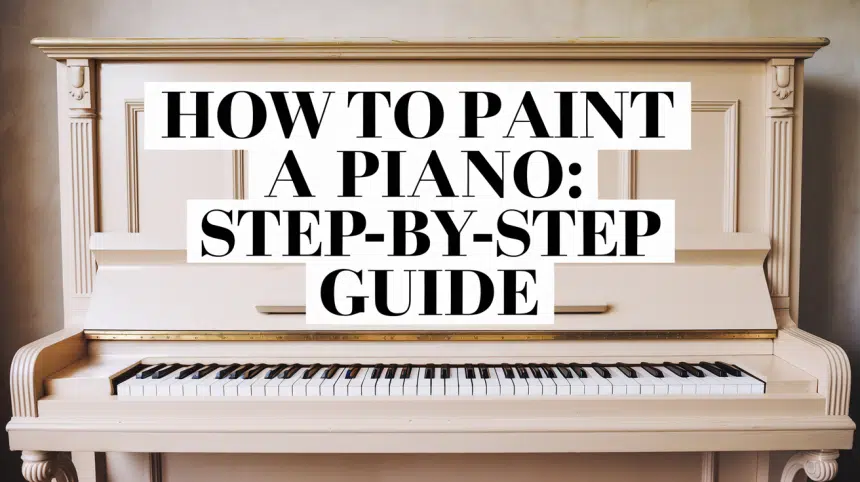
That old piano sitting in your living room could use a fresh look, right? Perhaps it’s showing signs of wear and tear, or maybe it simply no longer matches your style.
Good news! You can revitalize your piano with a fresh coat of paint and a bit of patience. No special skills are needed—just a weekend and the right supplies.
This guide walks you through painting a piano from start to finish. We’ll cover everything: picking the right paint, prepping the surface, and applying the perfect coats for a lasting finish.
Are you ready to give your piano a makeover that will make your friends ask, “Where did you get that?” Let’s get started!
Why Paint a Piano Instead of Replacing It?
Giving your piano a makeover isn’t just creative—it’s practical, too. Here’s why painting is often better than buying new.
-
It Saves You Hundreds (or Thousands): A brand-new piano can cost a fortune. Painting your current piano, especially one that is used or gifted, can refresh it for a fraction of the price.
-
You Can Match Your Decor Perfectly: Whether your space is coastal, minimalist, or boho-chic, paint lets you effortlessly customize your piano to fit your home’s vibe.
-
It Honors Sentimental Value: Instead of discarding an old piano with family memories, painting helps you preserve it while making it feel new again.
-
It’s a Creative, Low-Stakes DIY Project: Painting a piano is an approachable endeavor, even for beginners, compared to building furniture or undertaking major renovations.
-
Change a Room Instantly: Example: One user painted a dull brown piano white and placed it in a bright living room. Suddenly, the whole space felt clean, coastal, and warm. The piano stood out as a standout piece without overpowering the room.
What Supplies Do You Need to Paint a Piano?
Before you begin painting, it’s essential to gather the necessary tools. From brushes to tape and the right kind of paint, having everything ready will make the process smoother and give your piano a clean, professional finish.
| Item | Purpose | Estimated Cost |
|---|---|---|
| Gentle Cleaner & Rag | To remove dirt, grime, and buildup from the surface and keys | $5–$10 |
| Sanding Block (120 grit) | Lightly roughen the surface to help the paint stick | $3–$6 |
| Painter’s Tape | Protects keys and hardware from being painted | $5–$8 |
| Primer/Paint-in-One | Provides a smooth, even color base and strong adhesion | $25–$40 (quart) |
| 2″ Angled Paintbrush | Ideal for smooth strokes and cutting into edges | $5–$12 |
| Small Detailing Brush | Reaches tight corners and cracks between keys | $3–$7 |
| Microfiber Cloth | Wipes away sanding dust without scratching | $2–$5 (pack) |
How to Paint a Piano: Step-by-Step for a Fresh, Bright Look
Ready to give your old piano a stylish makeover? This step-by-step guide will walk you through everything—from cleaning and prepping to painting and finishing—ensuring your piano looks clean, modern, and completely refreshed.
Step 1: Clean the Piano Thoroughly
-
Wipe down the entire piano using a gentle cleaner, focusing on removing built-up dirt and grime from the surface and keys.
-
Dry it completely with a microfiber cloth, using cotton swabs for tight corners and key edges.
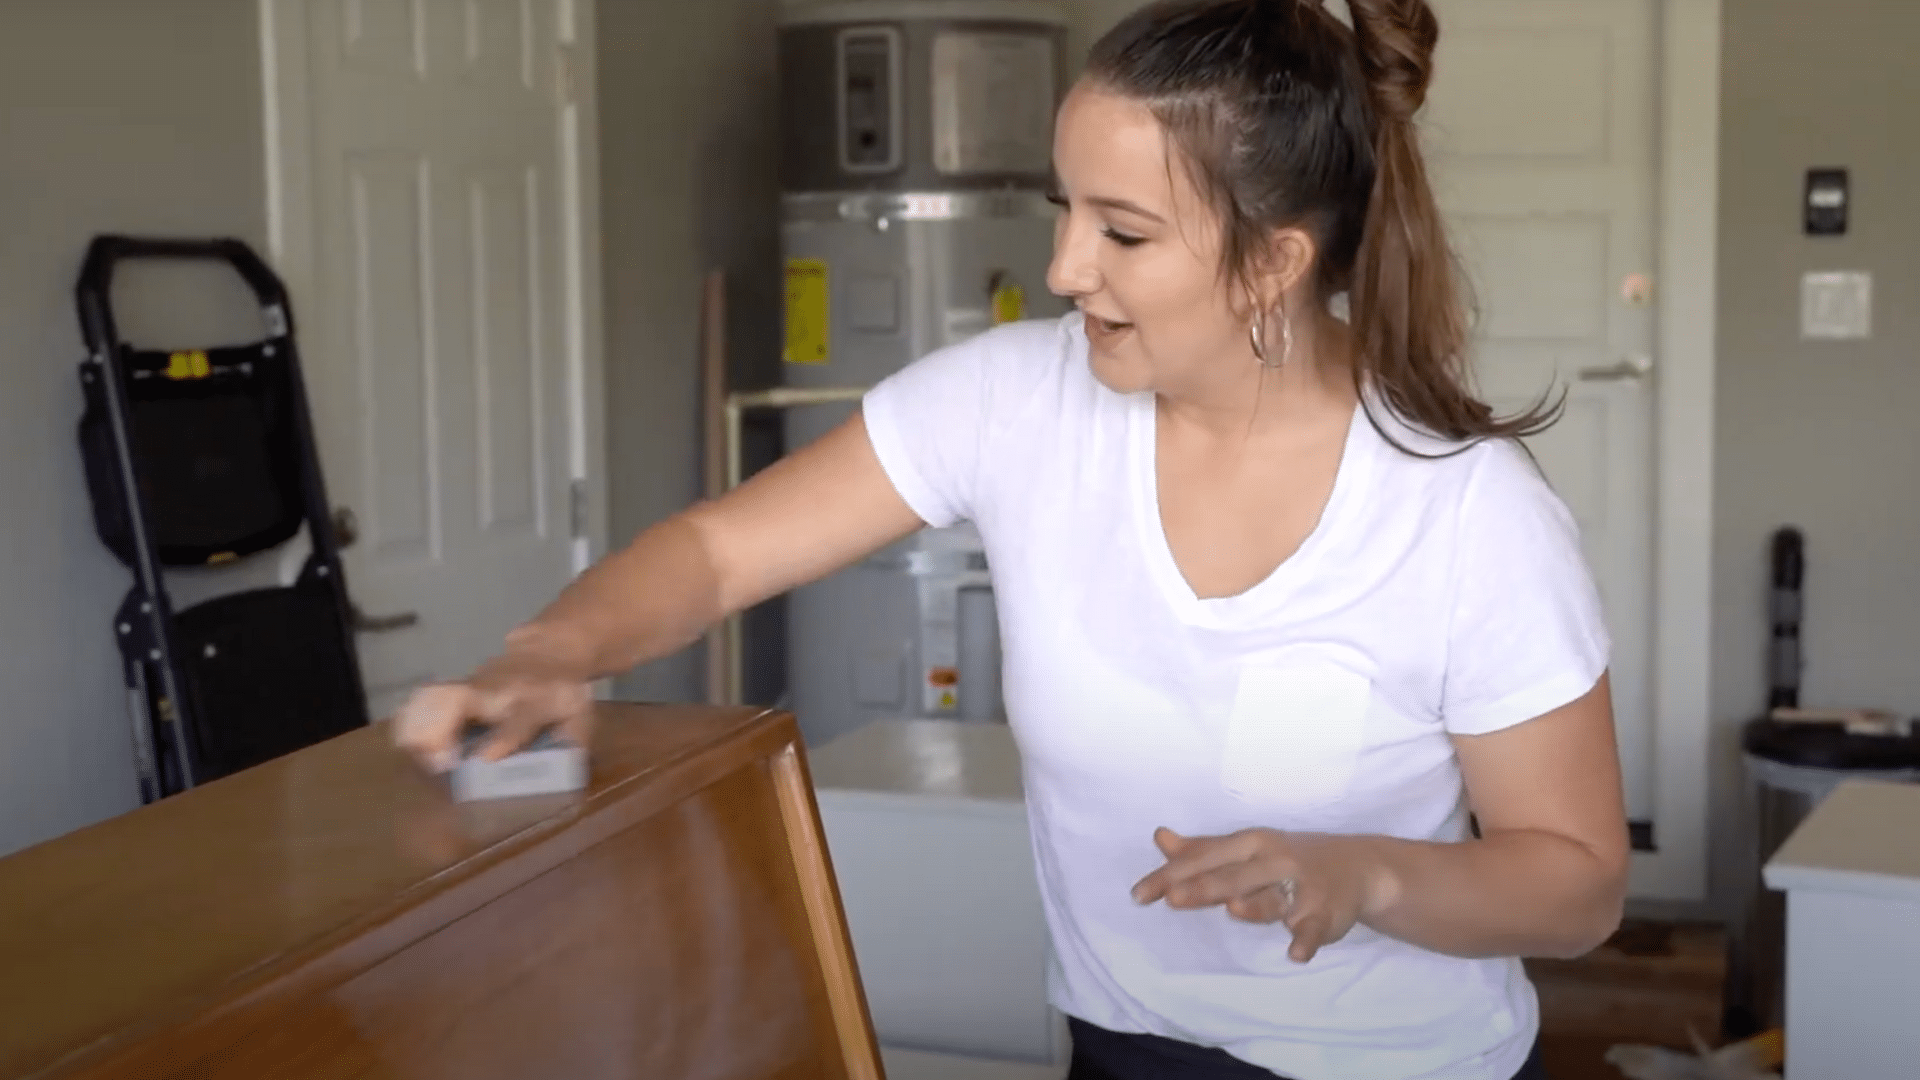
Step 2: Lightly Sand the Surface
-
Use 120-grit sandpaper to lightly scuff the surface—just enough for the paint to grip without removing the original finish.
-
Wipe away all sanding dust with a clean, soft cloth to ensure a smooth base.
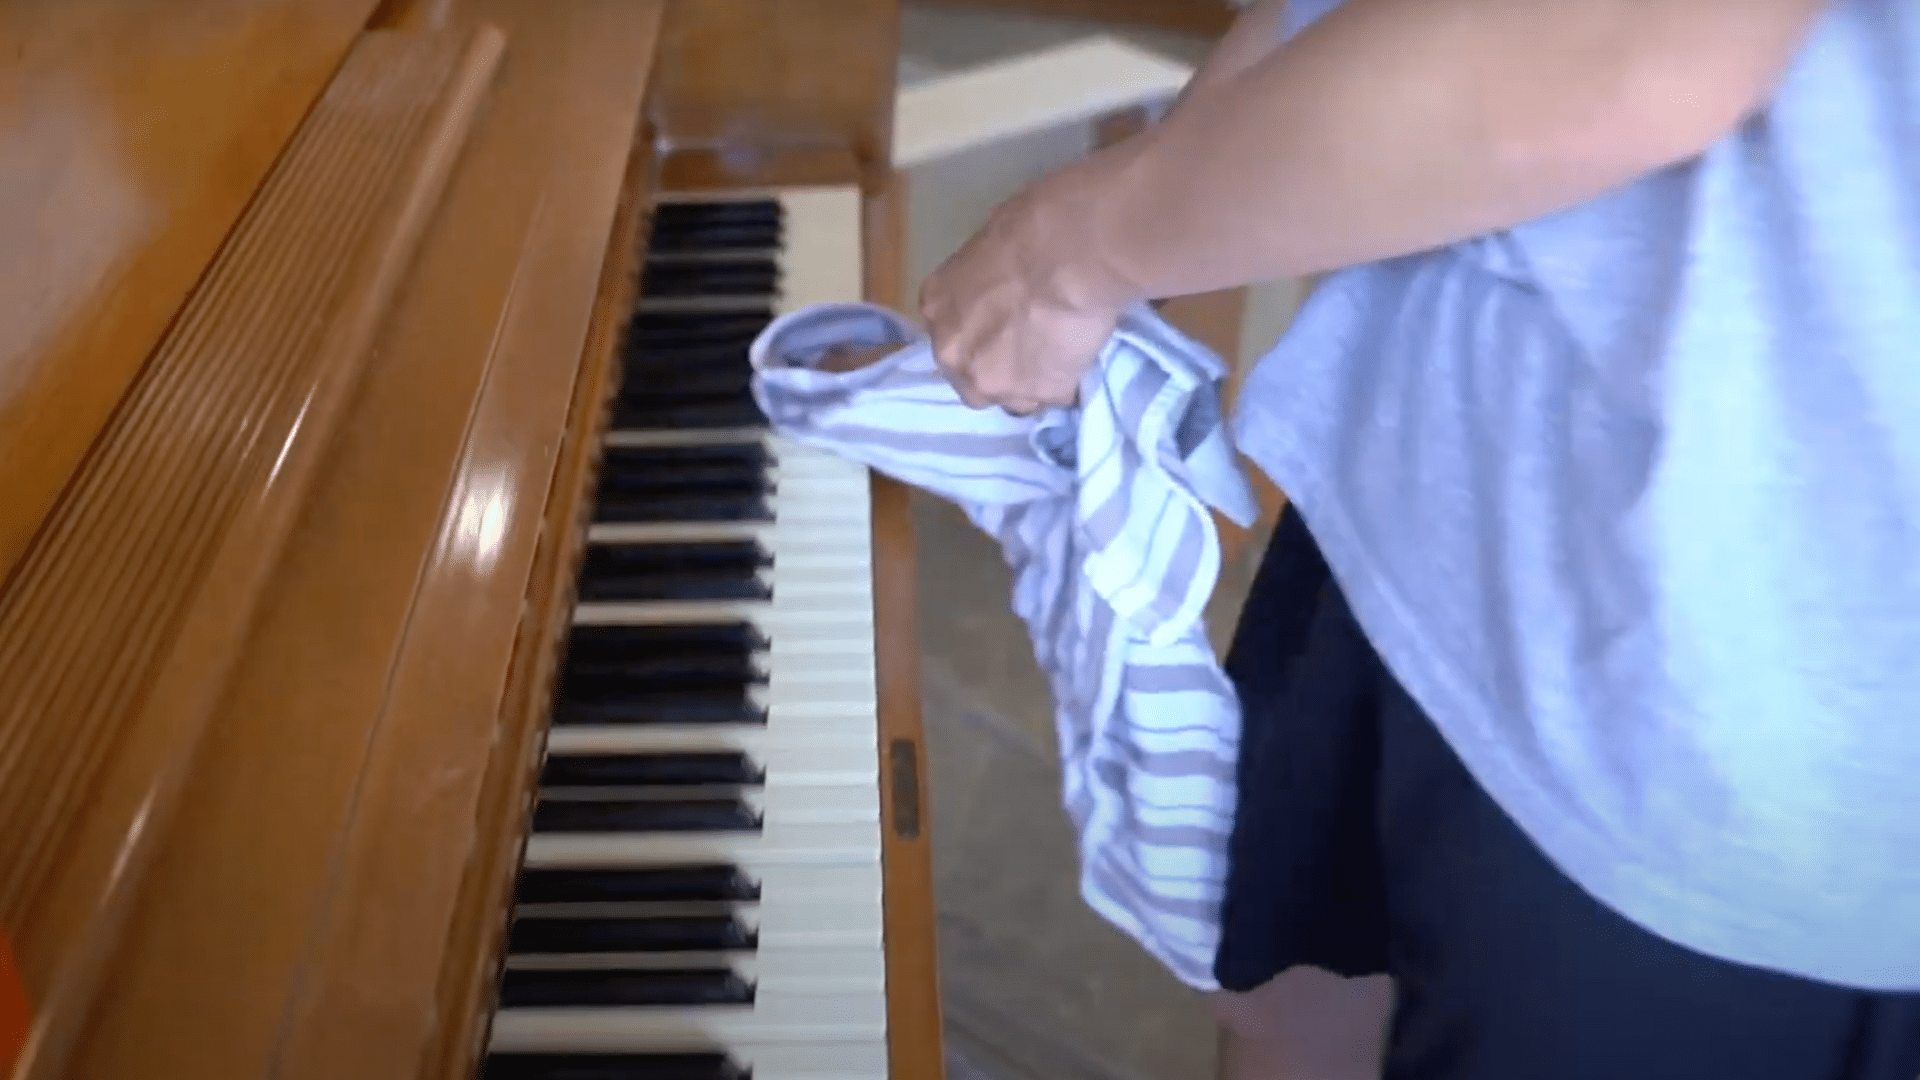
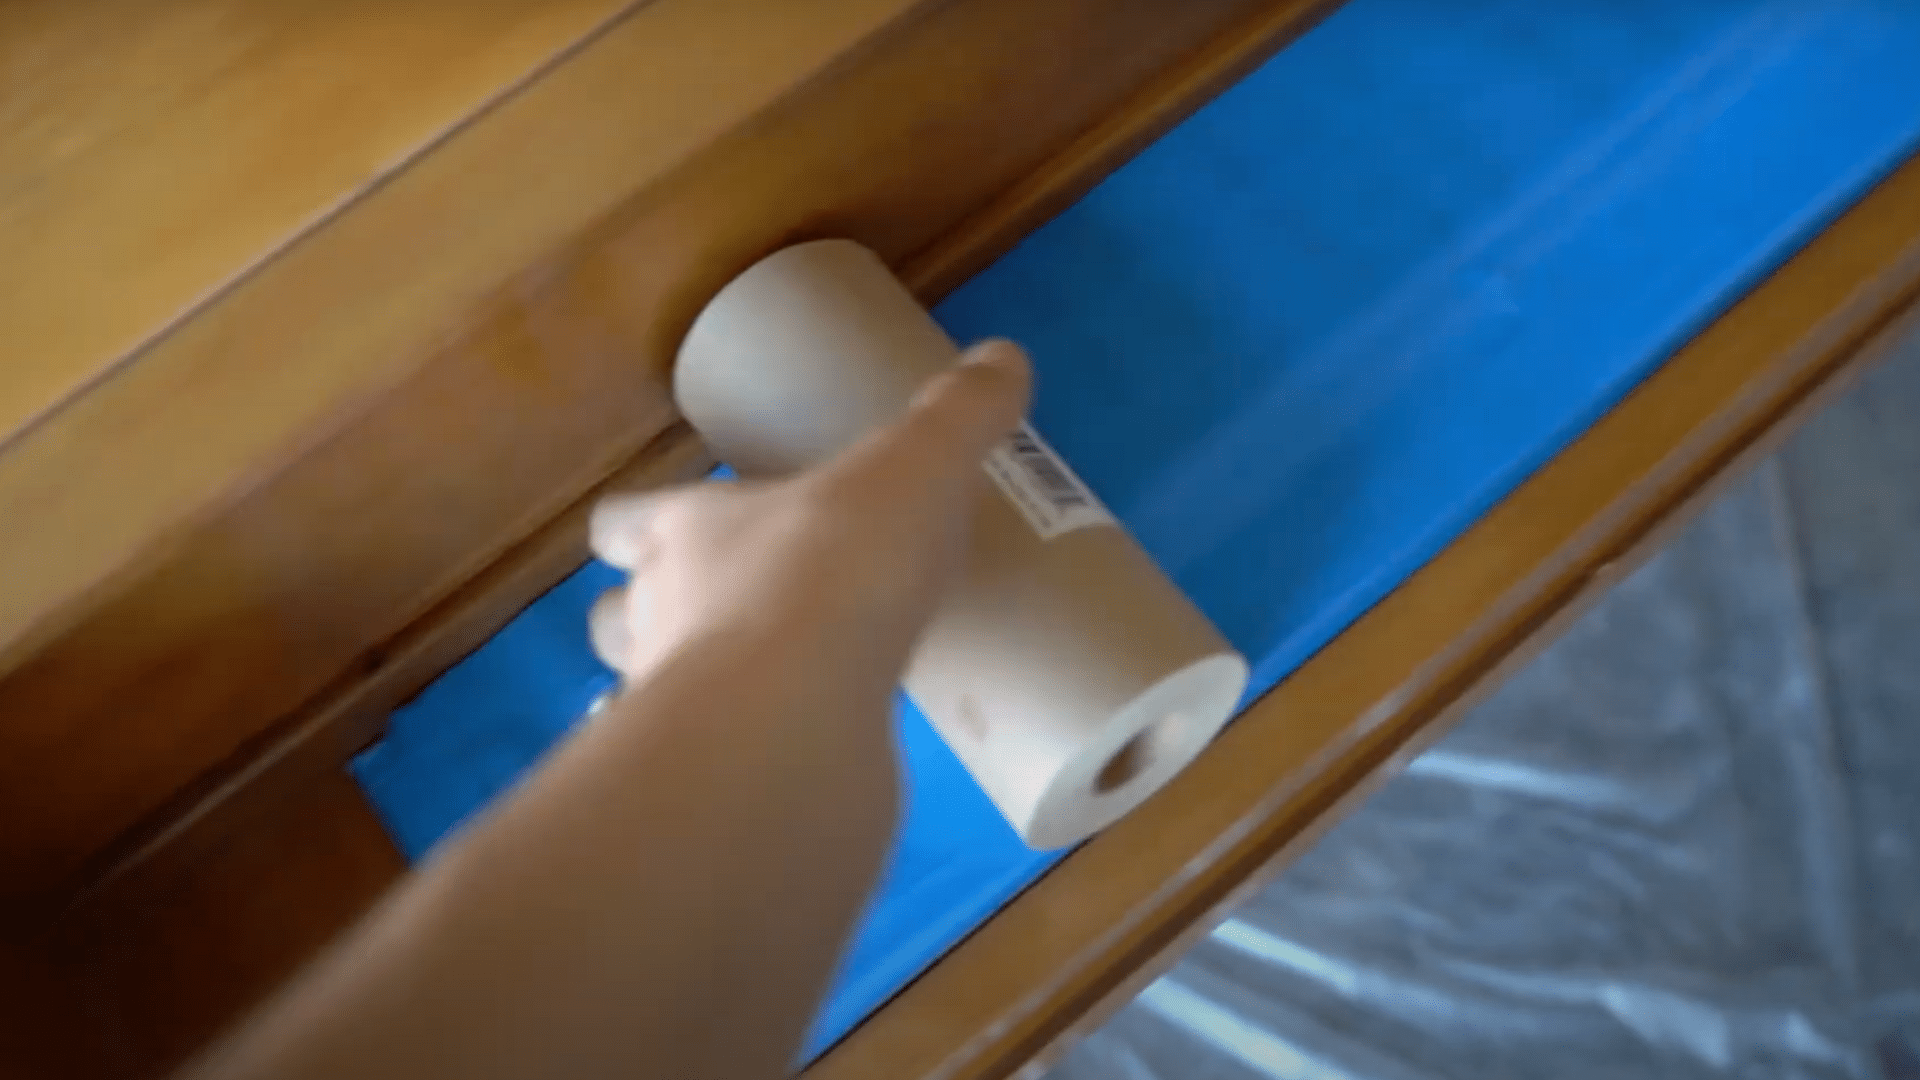
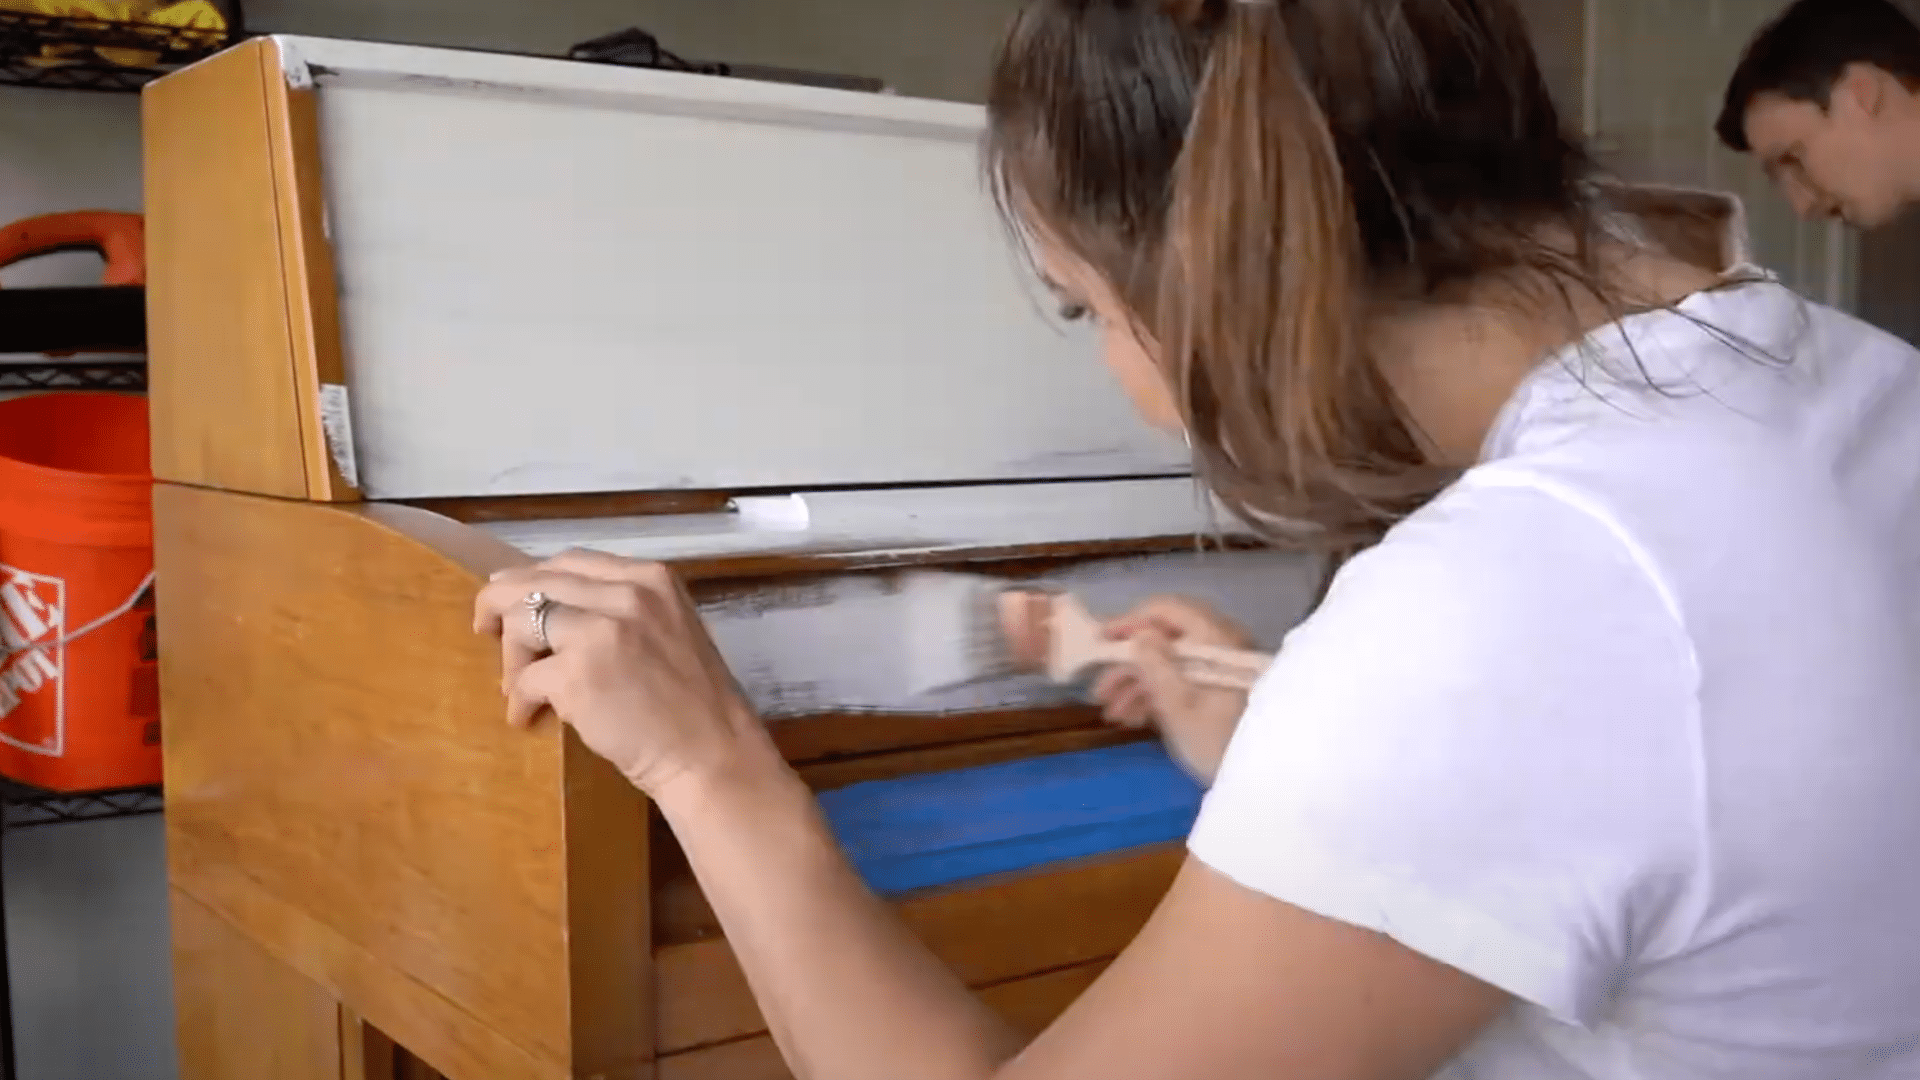
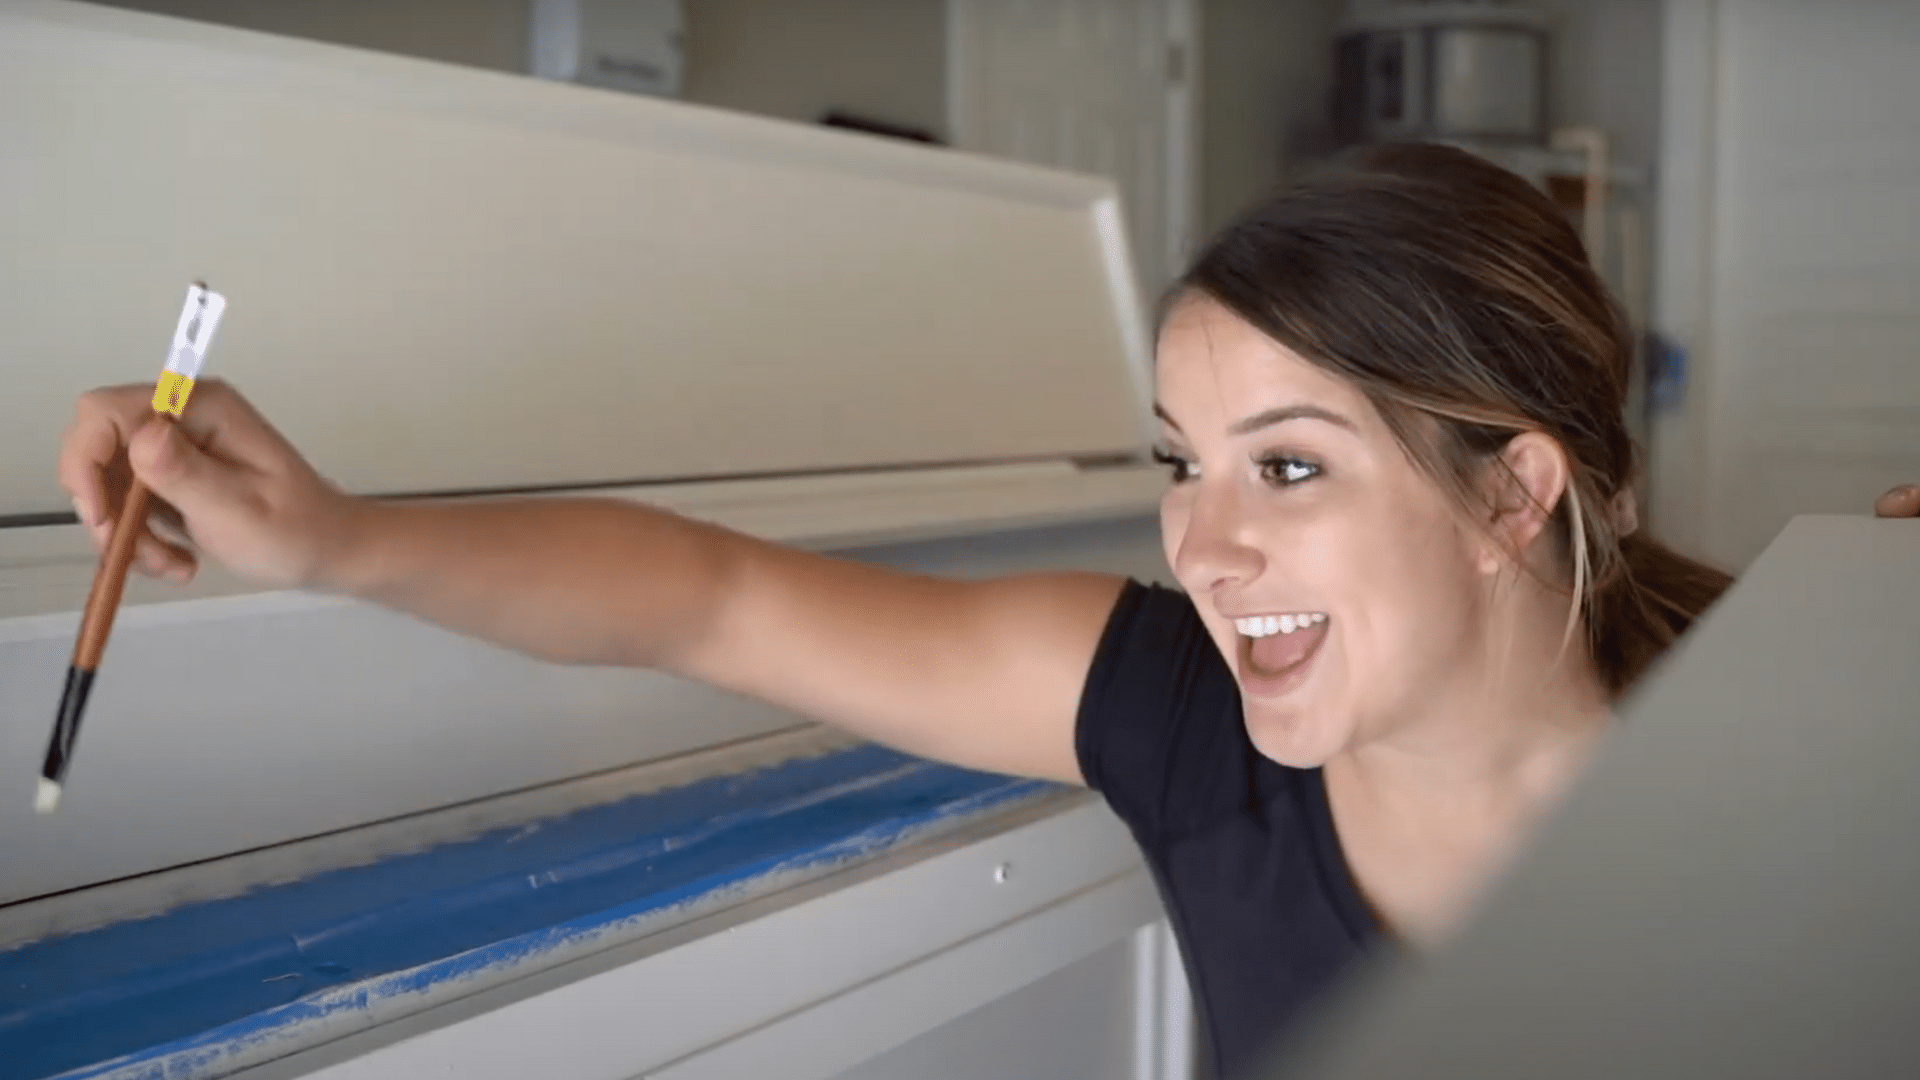
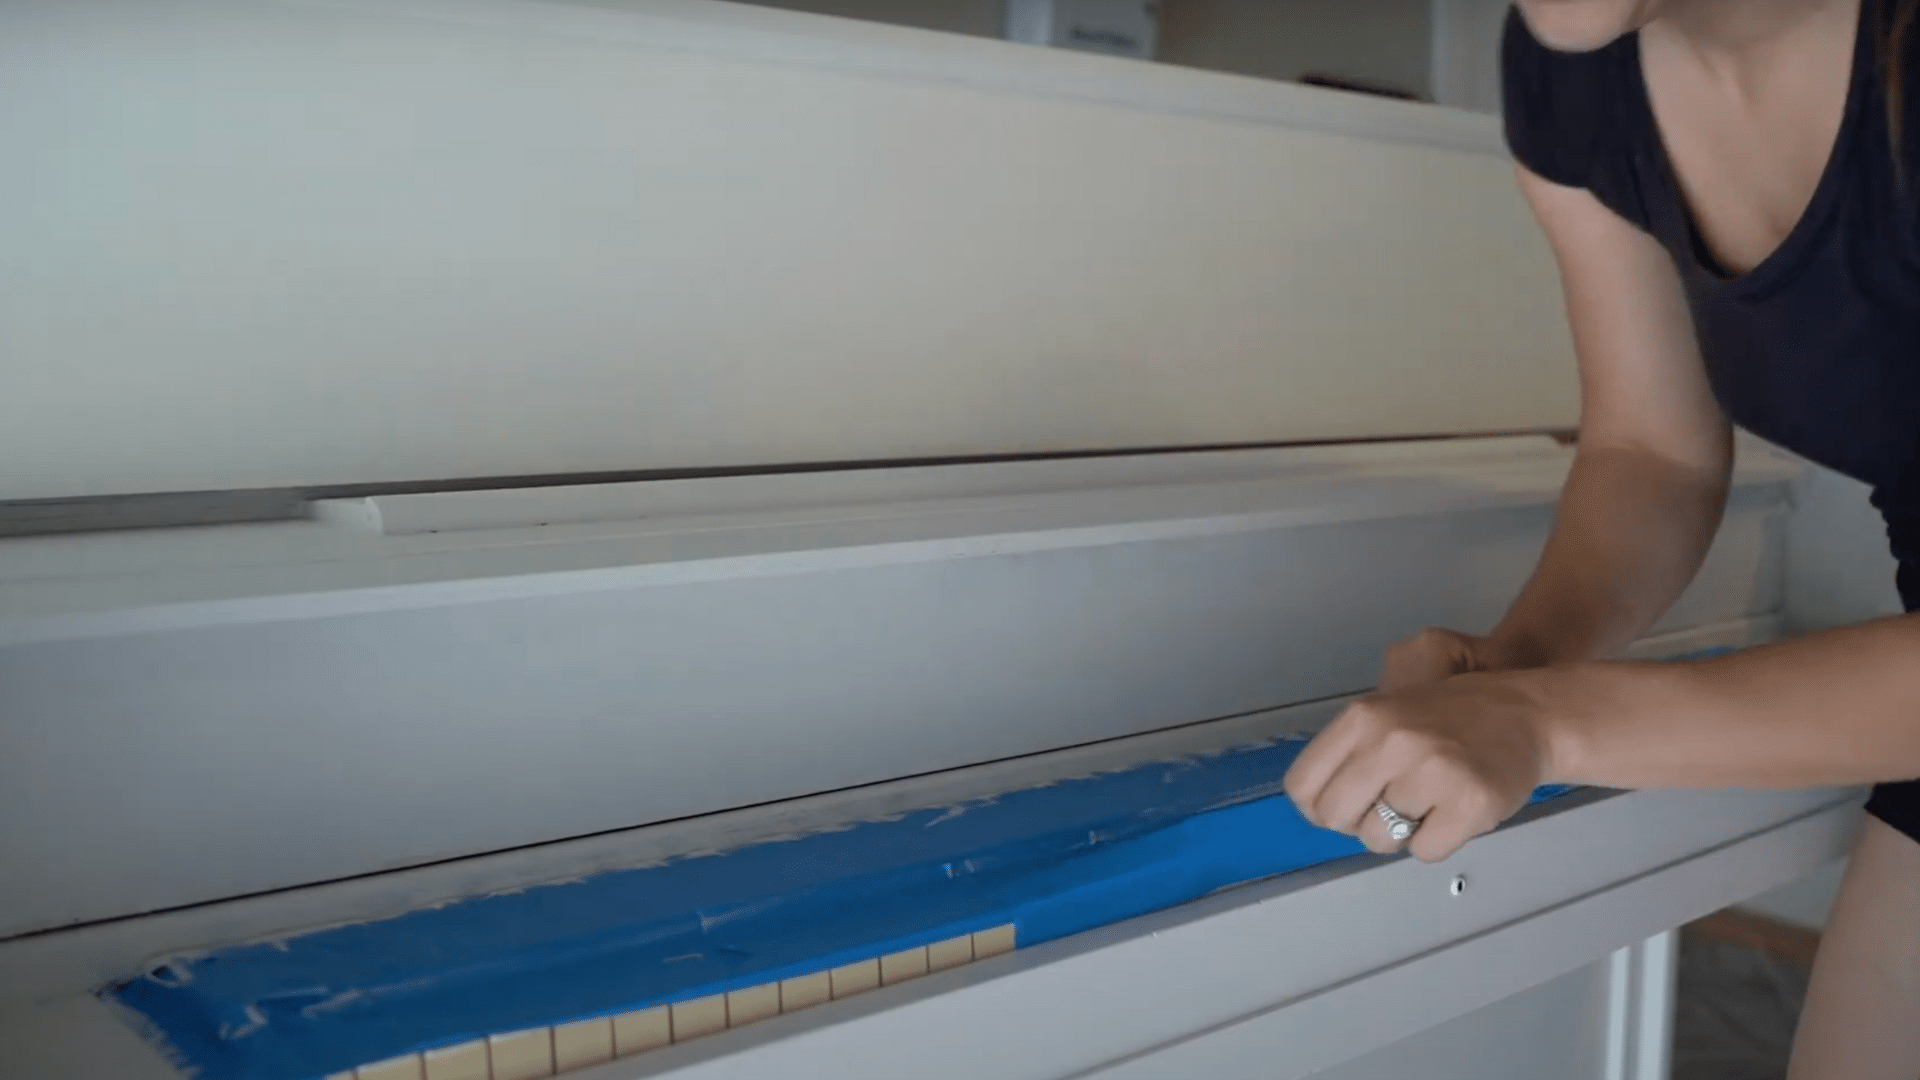
Step 3: Tape Off Areas You Don’t Want to Paint
-
Carefully tape the keys, pedals, hinges, and edges to protect areas that shouldn’t be painted.
-
Cover the floor and use extra time taping to ensure clean paint lines.
Step 4: Choose the Right Paint
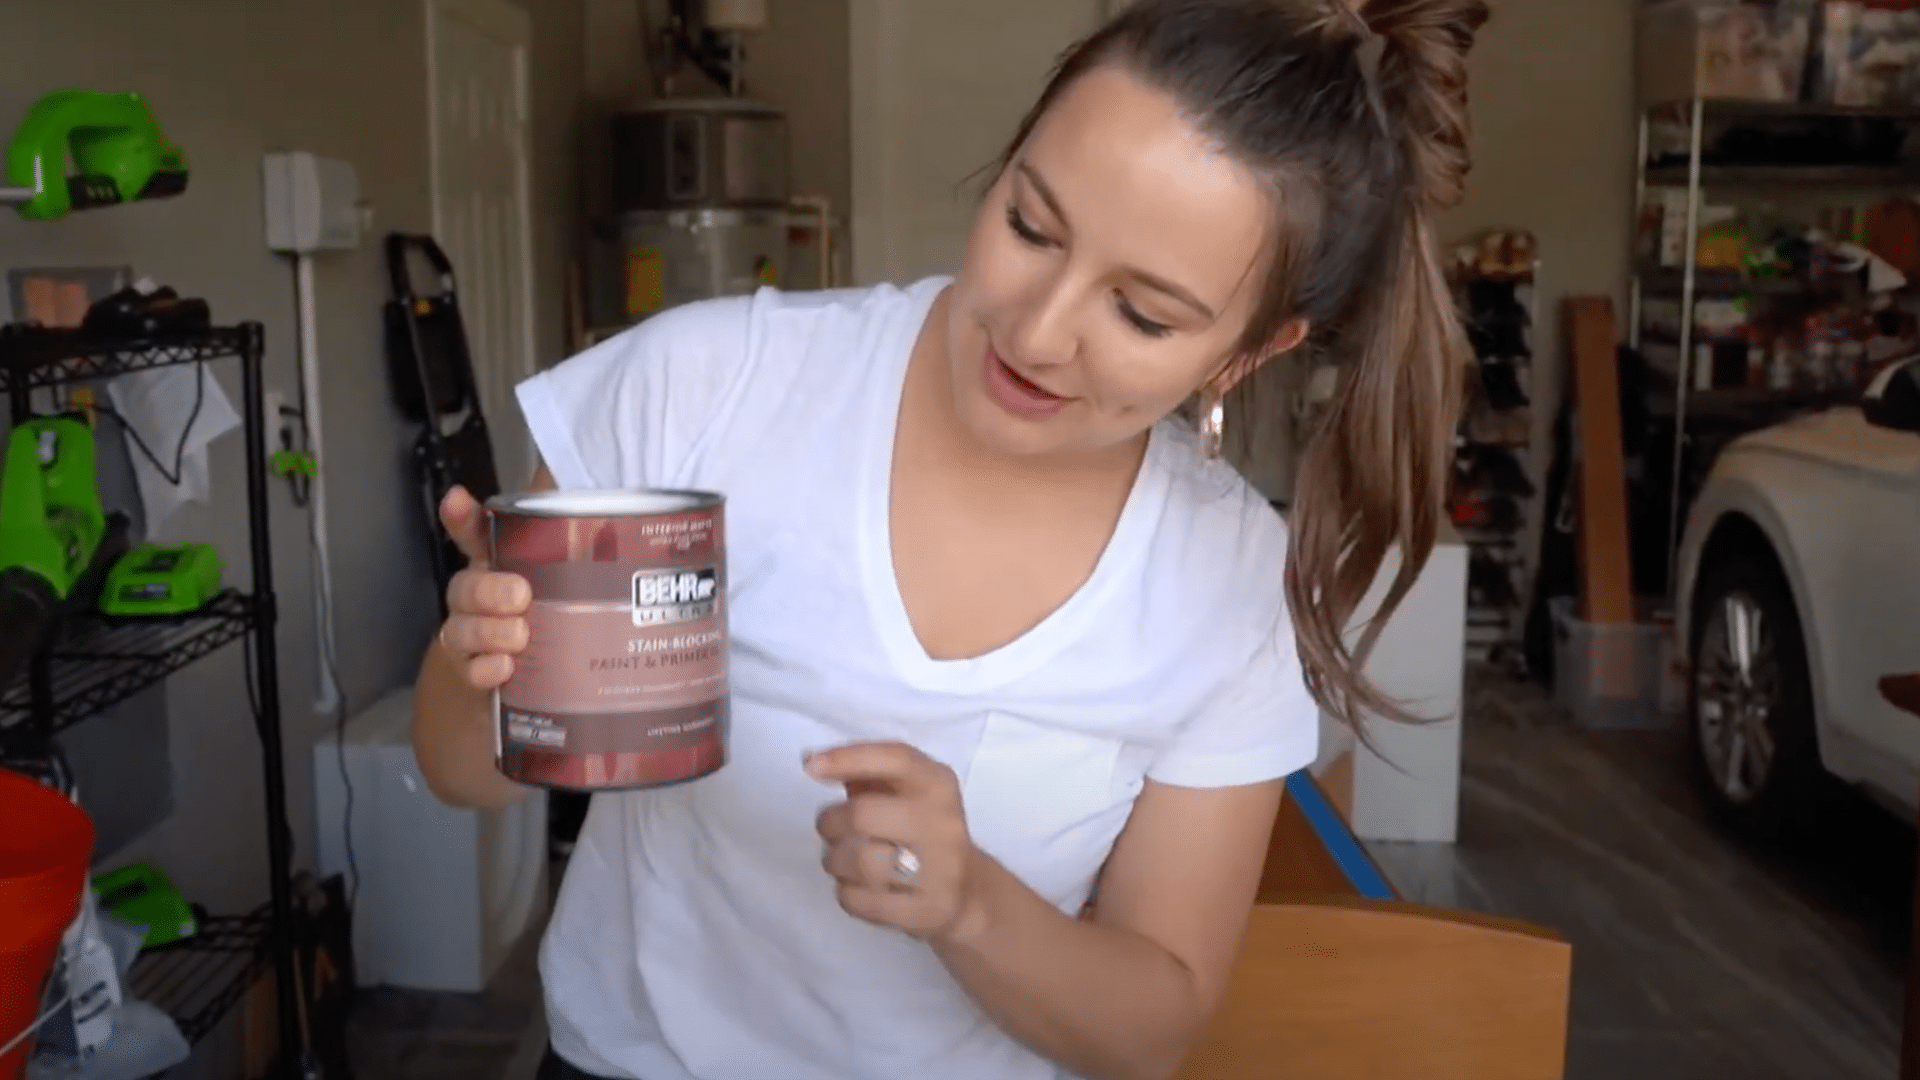
-
Use a high-quality primer and paint combo, such as Behr Ultra, in a color that suits your space (e.g., Cameo White).
-
Choose a satin or semi-gloss finish for durability and a clean, modern appearance.
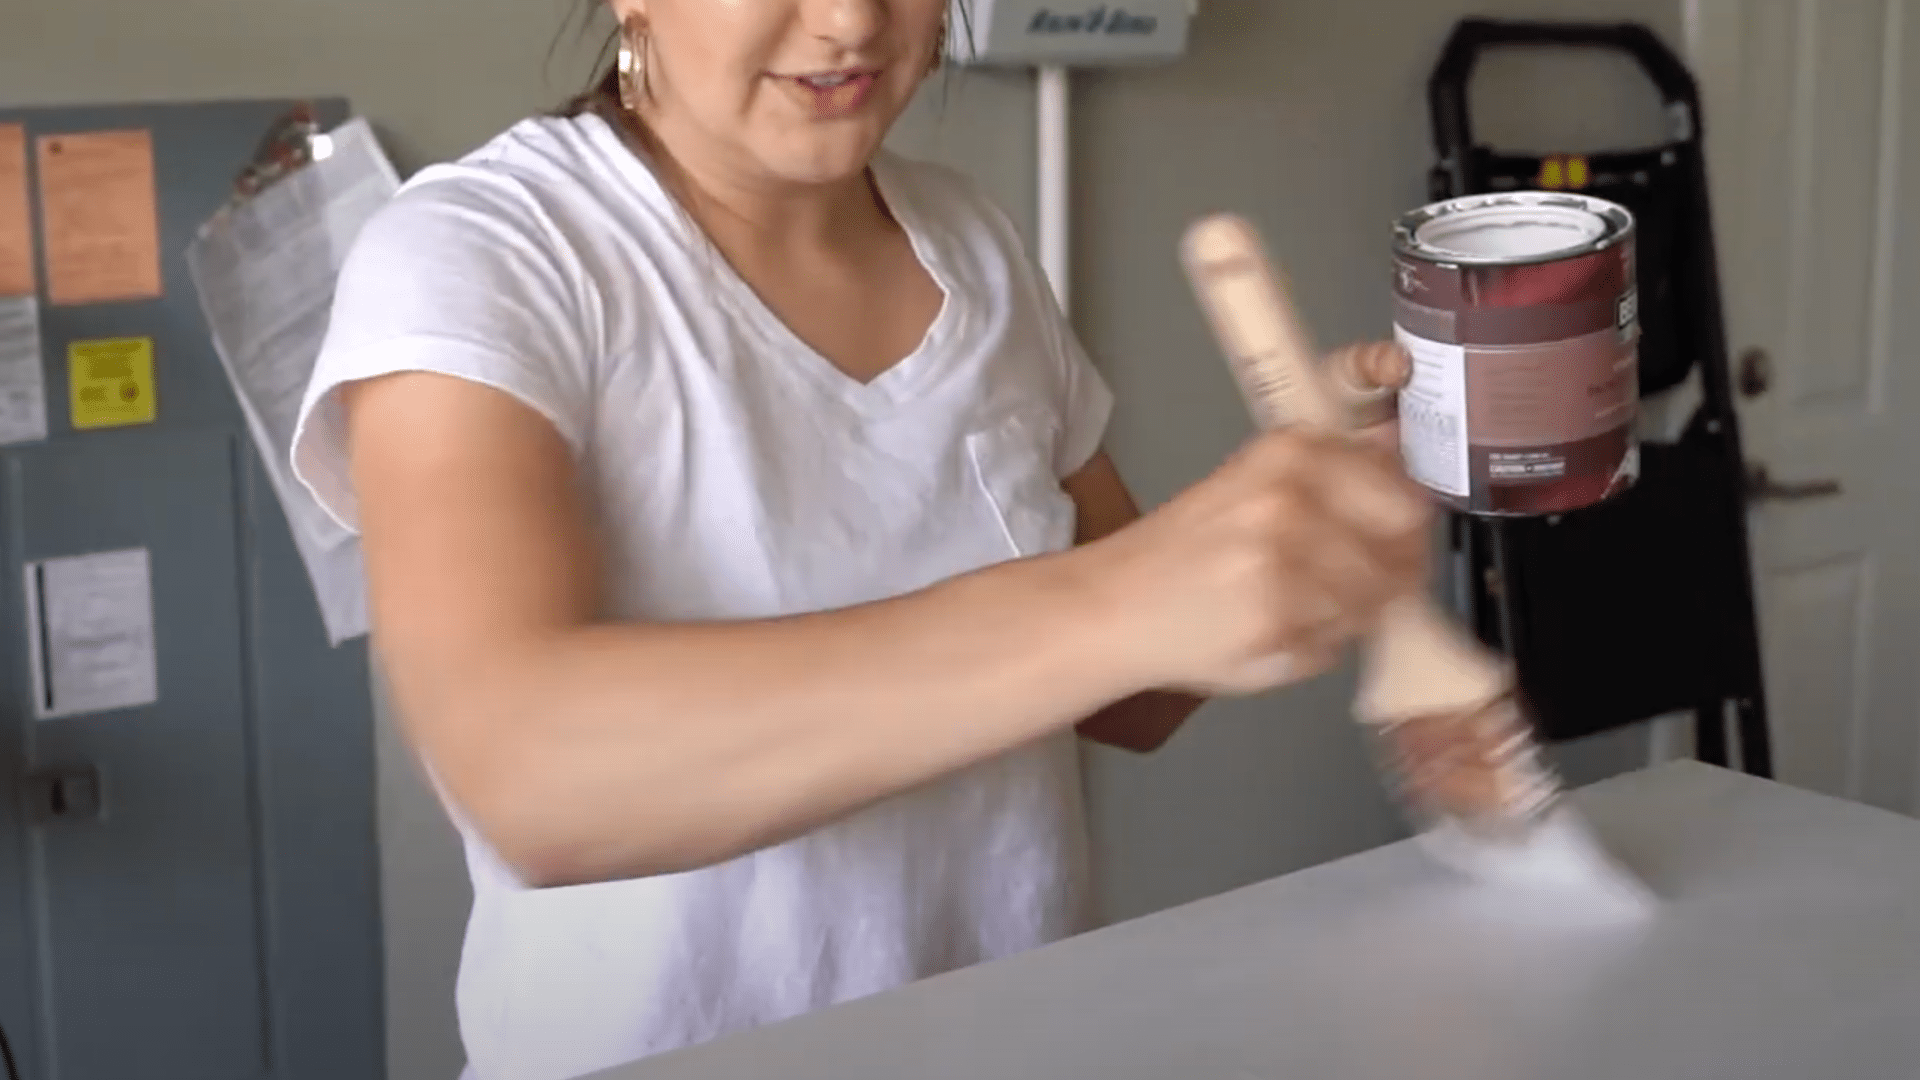
Step 5: Start Painting with the Right Technique
-
Use a 2″ angled brush, applying the paint in small strokes for even, thick coverage.
-
Avoid overloading the brush and work in sections to control drips and streaks.
Step 6: Let the First Coat Dry Completely
-
Allow several hours or overnight for the first coat to dry thoroughly to prevent smudging.
-
Lightly sand between coats, if needed, to keep the finish smooth and professional.
Step 7: Apply the Second Coat
-
Apply a second, smoother coat with gentle strokes to achieve perfect coverage and a smooth finish.
-
Touch up any missed or uneven areas, and include the bench if it’s part of the makeover.
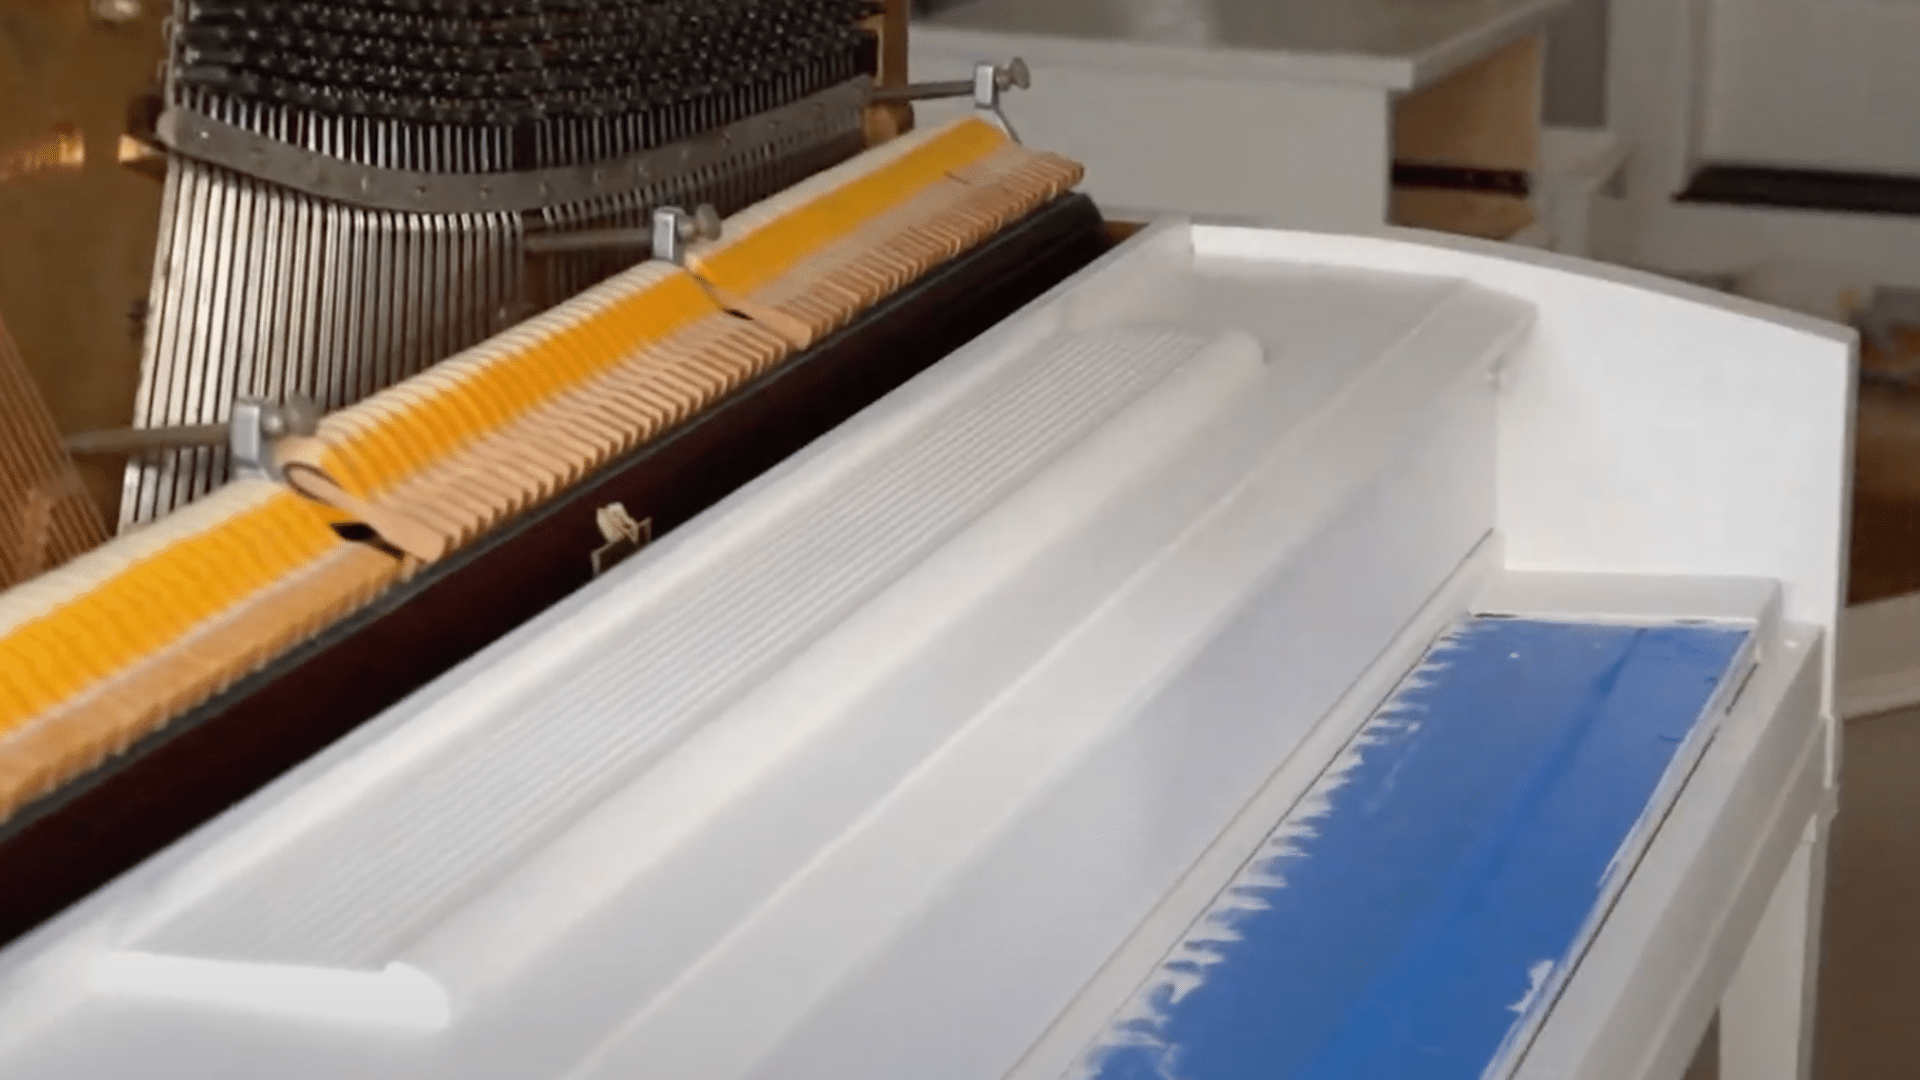
Step 8: Paint Hard-to-Reach Areas Carefully
-
Open lids and covers to reach inside edges and corners using a small brush or sponge.
-
Avoid paint drips on hinges or moving parts, and allow each section to dry completely before proceeding.
Step 9: Final Touch-Ups
-
Use a tiny detail brush to fix edges, cracks between keys, or small missed spots.
-
Remove the painter’s tape carefully and inspect the entire piece for final fixes.
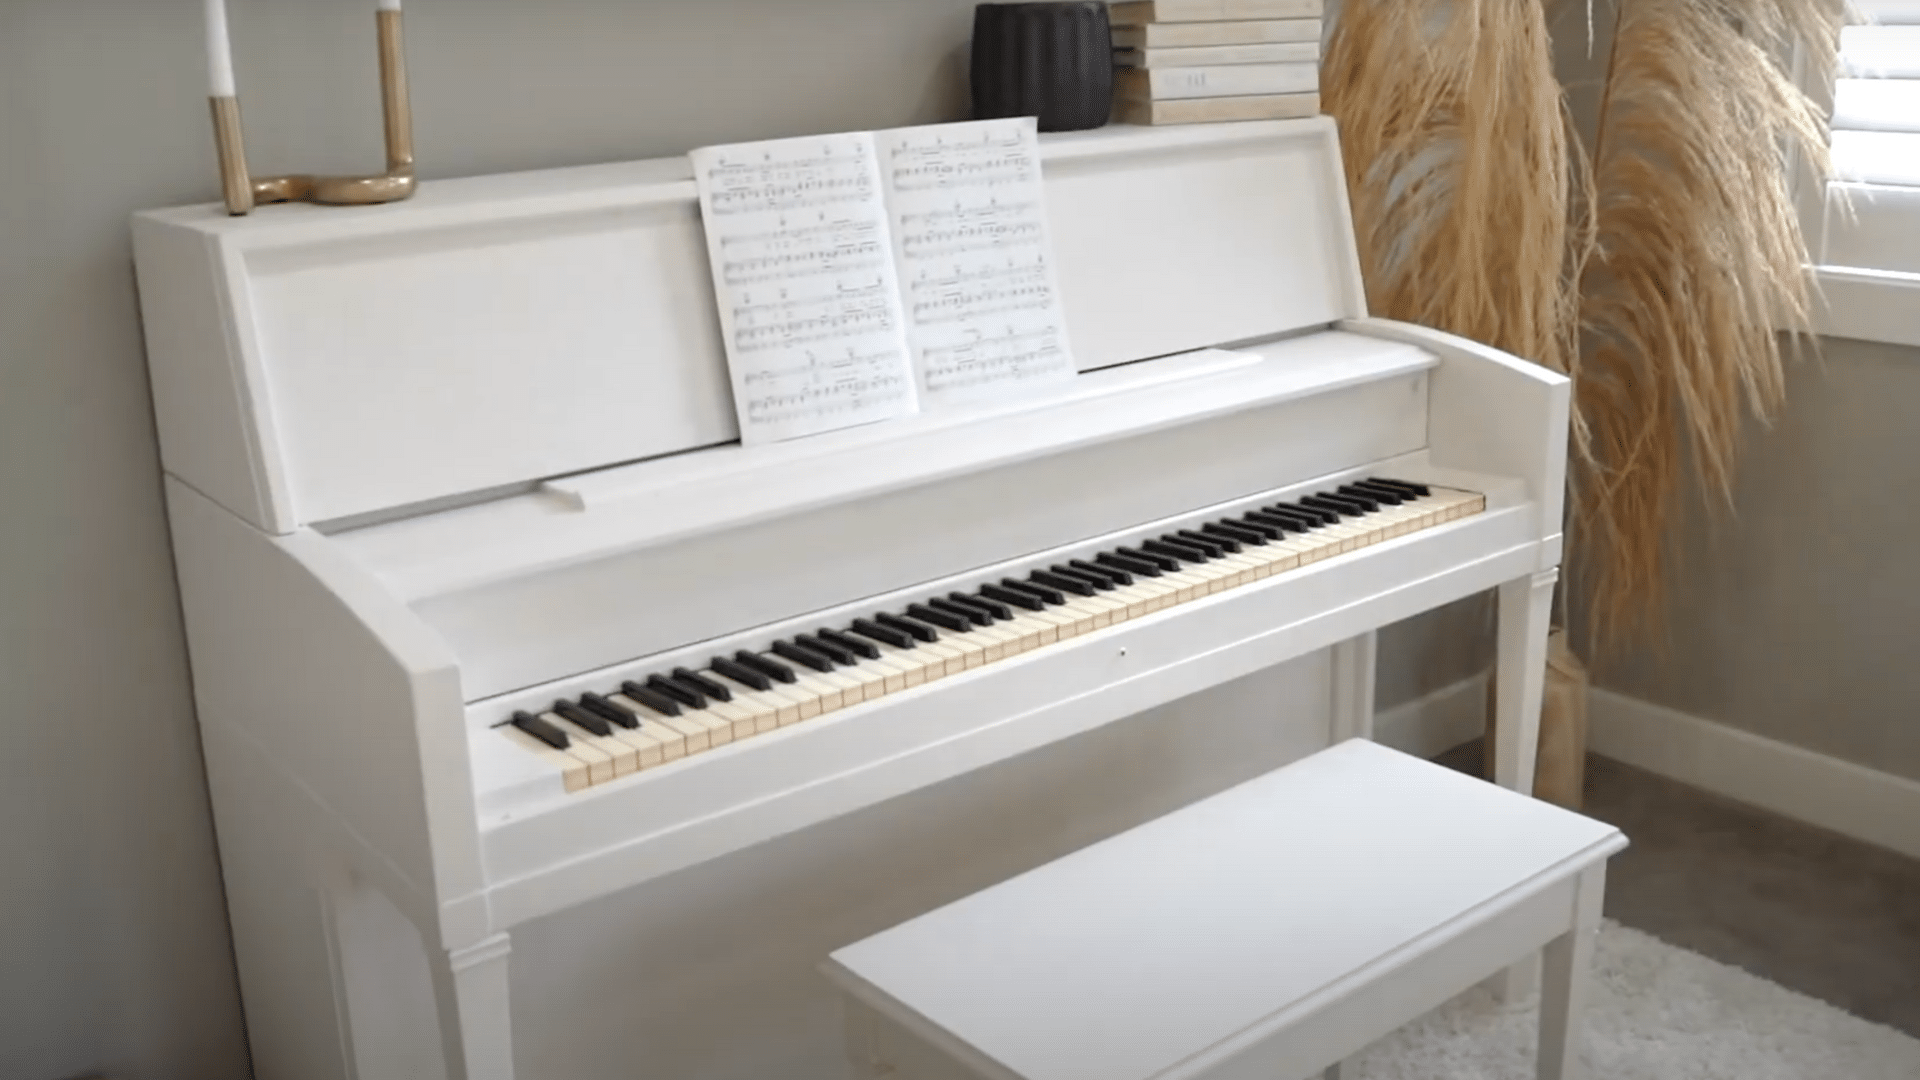
Step 10: Let It Dry & Set in Place
-
Allow the painted piano to dry completely for at least 24–48 hours before moving or decorating.
-
Enjoy the finished look—modern, clean, and completely refreshed!
What Parts of a Piano Should You NOT Paint?
Some parts of a piano are essential for sound and movement, and painting them can cause lasting damage. Knowing what to avoid ensures your makeover doesn’t interfere with how your piano plays or functions.
-
Soundboard (especially the back): This is the heart of the piano’s sound. Painting it can muffle or distort the tone, so it’s best to leave it untouched, especially if it faces a wall.
-
Key Mechanisms: Paint in or around the keys can make them sticky or unplayable. Always tape off the keys and avoid getting paint between or beneath them.
-
Hinges and Moving Parts: Hinges, pedals, and sliding covers need to move freely. Paint that dries inside the joints can cause stiffness or even break mechanisms.
Video Tutorial
Special thanks to Heather Fern for providing valuable insights in their video, which I referenced while creating this guide.
Tips for a Professional-Looking Finish
Want your piano to look polished, not patchy? These expert tips will help you avoid common painting pitfalls and achieve a clean, even, and lasting result.
-
Use Smaller, Controlled Strokes: Short, brushstrokes help you layer paint evenly without streaks or drips, especially in detailed areas and edges.
-
Let each coat fully dry before reapplying: Rushing between coats can cause smudging, uneven texture, or peeling later on. Give it time to set for a flawless finish.
-
Match Your Paint Color with the Room’s Aesthetic: Whether your style is coastal white, bold black, or vintage cream, choosing a color that complements your space will make your piano feel intentional and stylish.
-
Lightly Sand Between Coats if Needed: If the surface feels rough or you notice visible brush marks, gently sanding before the next coat helps smooth everything out.
-
Work in Good Lighting: Natural light helps you spot imperfections, drips, or uneven areas that artificial lighting might miss.
Conclusion
There you have it—a fresh, beautiful piano that breathes new life into your space! With patience and the right techniques, you’ve transformed an old instrument into something that feels completely your own.
Remember, the key to a successful piano makeover isn’t rushing. Take your time with prep work, apply thin coats, and let everything dry properly between steps.
Do you have questions about your piano project? Could you post them in the comments below? If you’ve already painted a piano, we’d love to see your results—please share a photo and inspire others who are considering tackling their own.
Ready for more projects around your home? Check out our other DIY guides and bring that same creative touch to every corner of your space!