Looking for ways to add storage to your living room? Custom built-in cabinets can cost thousands from professionals, but you can make them yourself for a fraction of the price.
Many homeowners think cabinet building is too hard for beginners, but that’s not true. With basic tools and the right steps, you can create built-ins that look like they came with your home.
Your guests will ask who you hired when they see your finished cabinets. Plus, you’ll gain valuable storage space that fits your exact needs and style preferences.
This guide will show you how to plan, build, and finish DIY living room cabinets from start to finish. We’ll cover everything from measuring your space to adding the final hardware, with tips to help you avoid common mistakes.
Why DIY Built-In Cabinets are a Great Idea?
Making your own built-in cabinets for your living room offers real benefits that store-bought options can’t match. When you build cabinets yourself, you get to make all the choices.
Customization:
- You pick the exact size to fit your wall space
- You choose the materials that match your home
- You decide on the finish color that fits your style
- You control the number and size of shelves
Budget-Friendly:
- Materials often cost 30-50% less than pre-made units
- No labor costs means major savings
- You can use lower-cost materials in hidden spots
- You can work in phases as your budget allows
Functional Storage:
- Built-ins use wall space that often goes wasted
- You can design specific spots for books, TV items, or decor
- You can add hidden storage behind doors for less-pretty items
- The finished cabinets become part of your home’s value
DIY cabinet projects let you create exactly what you need while saving money. The skills you learn can help with future home projects too.
Tools and Materials Required
Tools for DIY Built-In Cabinets
| Tool | Purpose |
|---|---|
| Saw | Cutting plywood and lumber |
| Drill/Bits | Making holes for screws |
| Sander | Smoothing surfaces |
| Clamps | Holding pieces during assembly |
| Level | Ensuring cabinets are straight |
| Measuring Tape | Taking measurements |
| Caulking Gun | Applying caulk to seams |
| Hardware Jig | Placing pulls consistently |
| Multi-Tool | Cutting baseboards |
| Paintbrushes | Applying paint |
Materials for DIY Built-In Cabinets
| Material | Purpose |
|---|---|
| Plywood | Cabinet boxes and structure |
| Poplar | Face frames and trim |
| Baltic Birch | Drawer boxes |
| Cabinet Doors | Front-facing openings |
| Hinges | Attaching doors to frames |
| Drawer Slides | For smooth drawer operation |
| Hardware | Handles for doors and drawers |
| Primer & Paint | Finishing surfaces |
| Wood Glue | Securing joints |
| Screws | Fastening components |
| Trim | Finishing edges |
| Caulk | Filling gaps |
| Wood Filler | Hiding seams and holes |
| Sandpaper | Preparing for paint |
Step-by-Step Guide to Building DIY Living Room Cabinets
Build beautiful, custom cabinets with this straightforward guide.
1. Plan and Measure
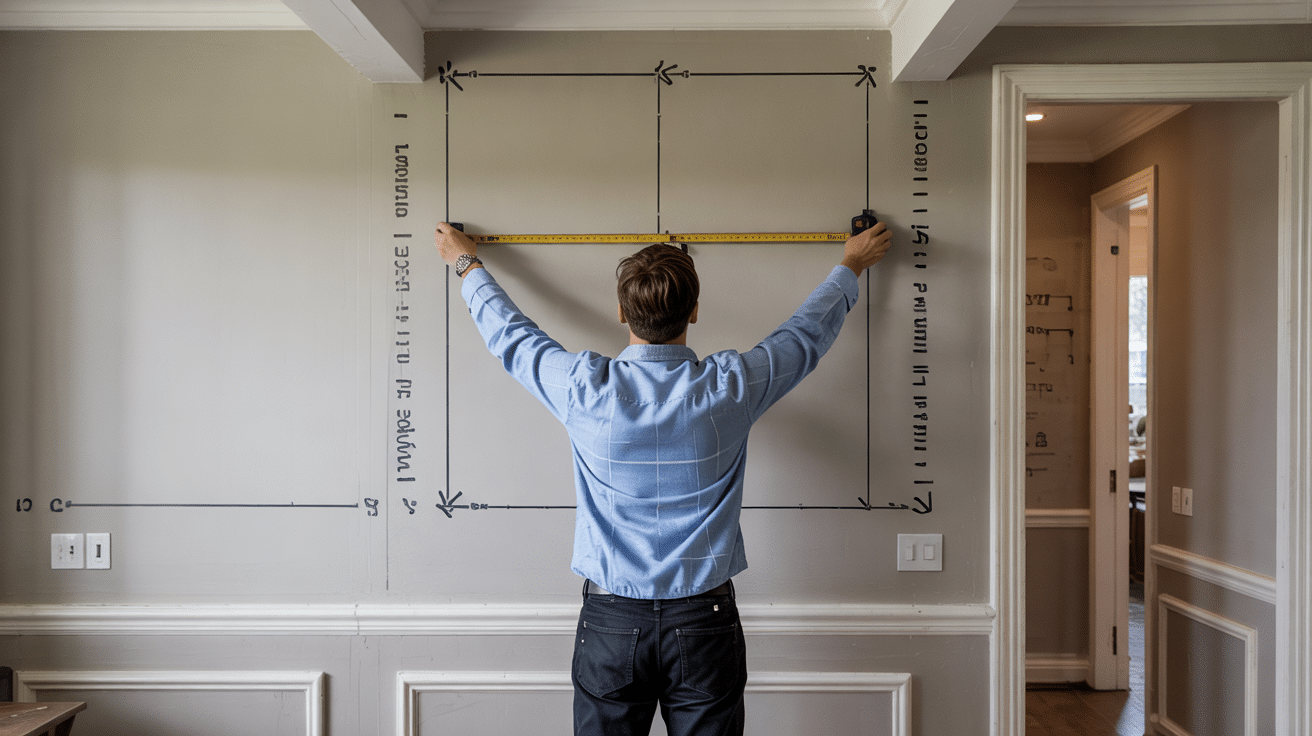
Good planning prevents costly mistakes and wasted materials.
- Take measurements at multiple heights as walls may not be perfectly straight
- Account for baseboards, crown molding, and any wall irregularities
- Plan for electrical outlets and switches that need to be accessible
Pro Tip: Add 1/4 inch of clearance space when planning cabinet dimensions to accommodate uneven walls and make installation easier.
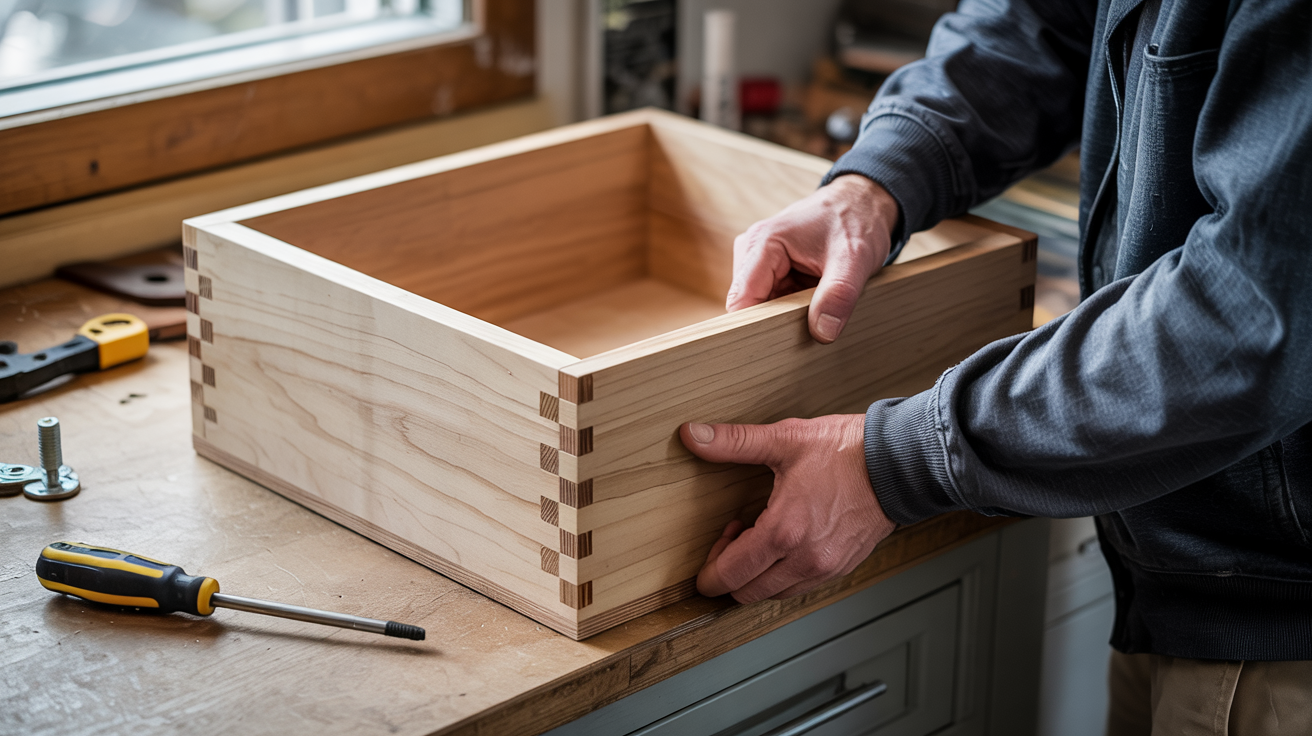
2. Build the Cabinet Boxes
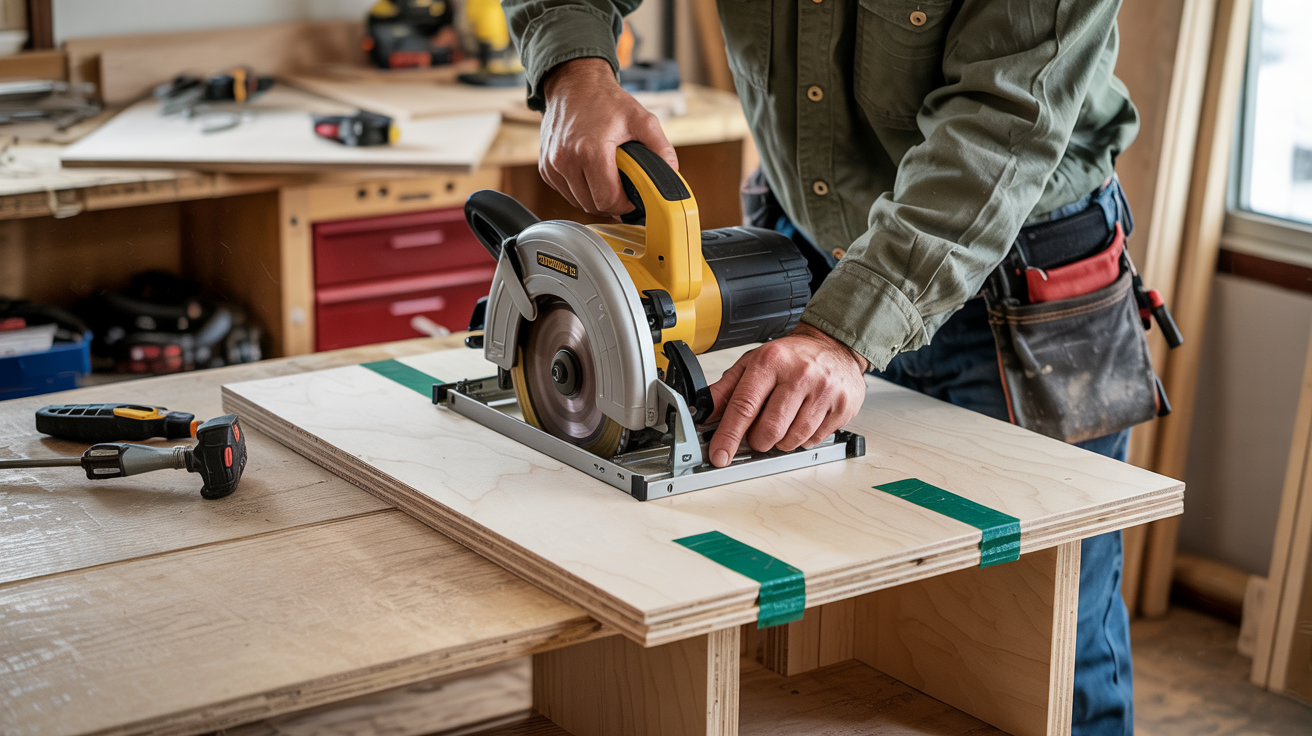
The boxes form the foundation of your cabinet system.
- Use 3/4-inch plywood for durability and strength
- Label each piece during cutting to avoid confusion
- Build boxes as separate units to make them easier to move and install
Pro Tip: Apply edge banding to visible plywood edges before assembly to create a more finished look.
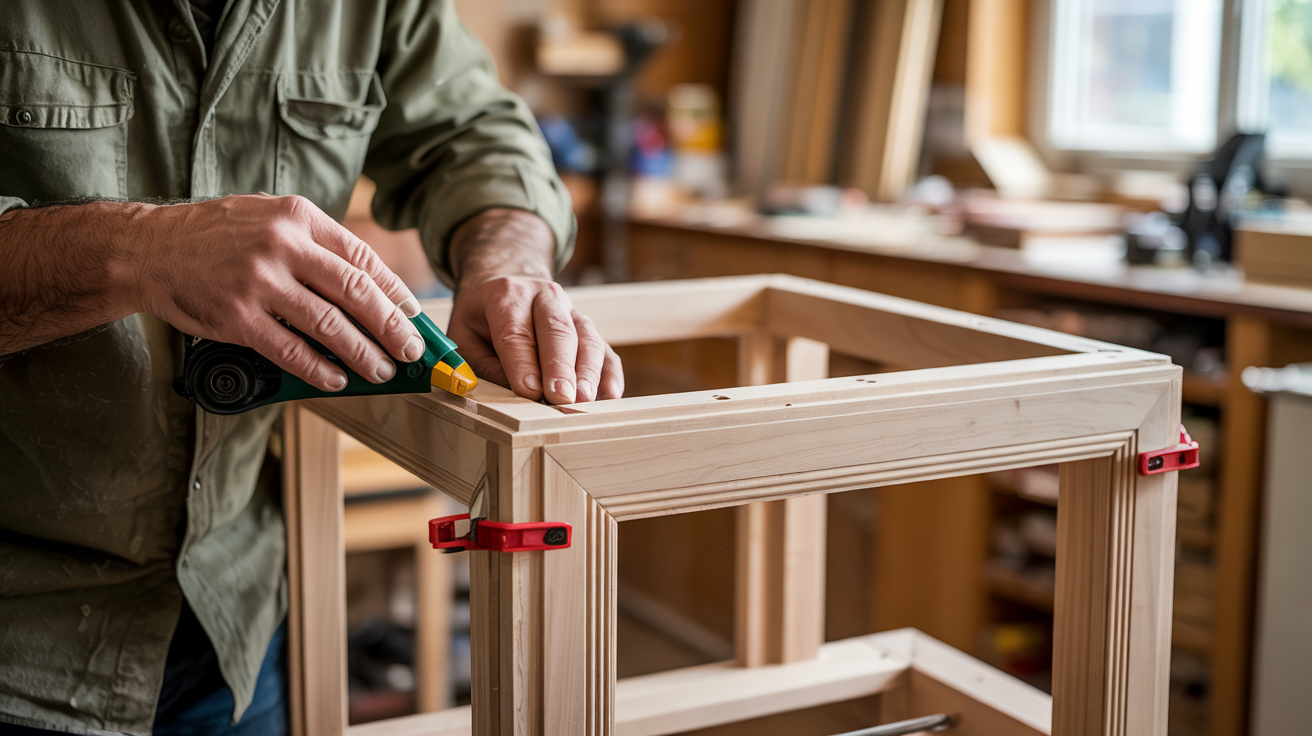
3. Make Face Frames
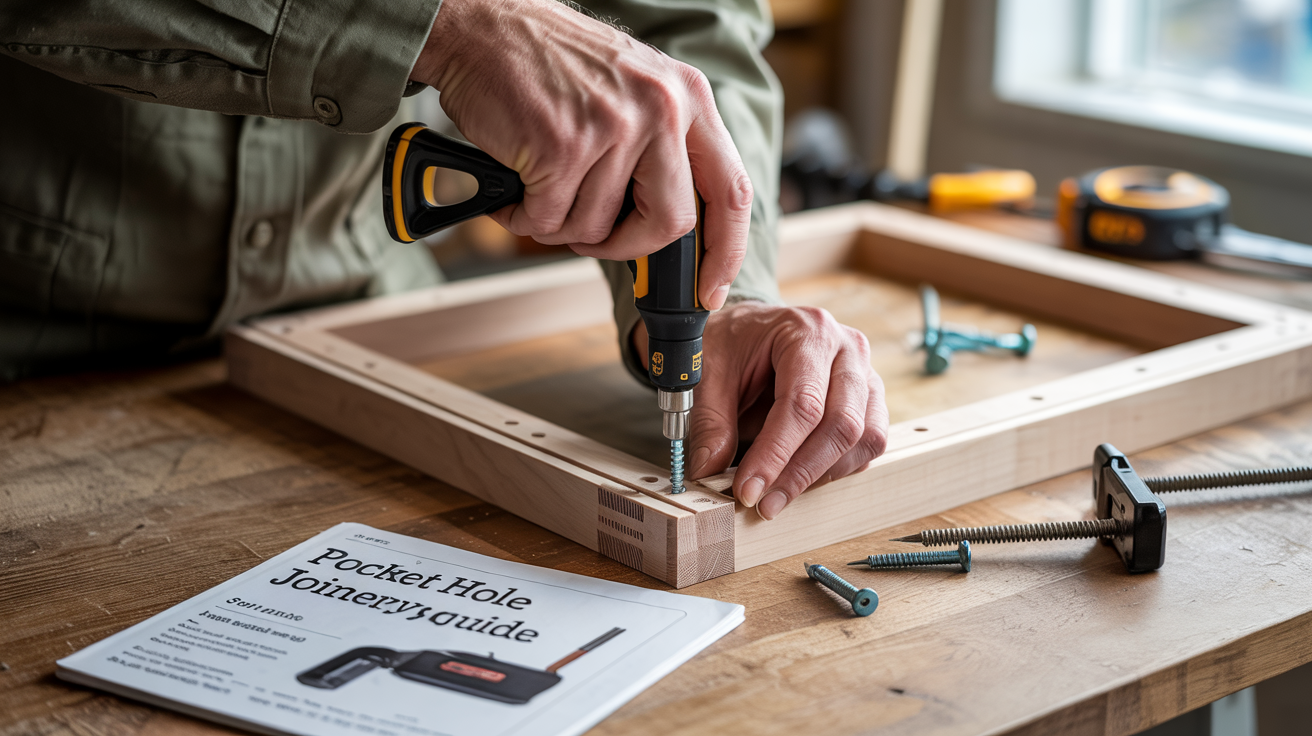
Face frames add strength and a finished look to cabinet fronts.
- Cut pieces slightly oversized, then trim for perfect fits
- Join frame pieces using pocket holes for strong connections
- Make sure the frame matches the cabinet box dimensions exactly
Pro Tip: Cut face frame pieces 1/16 inch wider than needed, allowing you to sand them flush with the cabinet after installation.
4. Build Drawer Boxes and Doors
Quality drawers and doors make a huge difference in the final result.
- Use dovetail joints or pocket screws for drawer box construction
- Make drawer boxes 1 inch shorter than opening width for slide clearance
- Test-fit doors and drawers before final finishing
Pro Tip: Add a small 5-degree bevel to the back edges of drawer fronts to create consistent gaps between drawer faces.
5. Sand and Paint
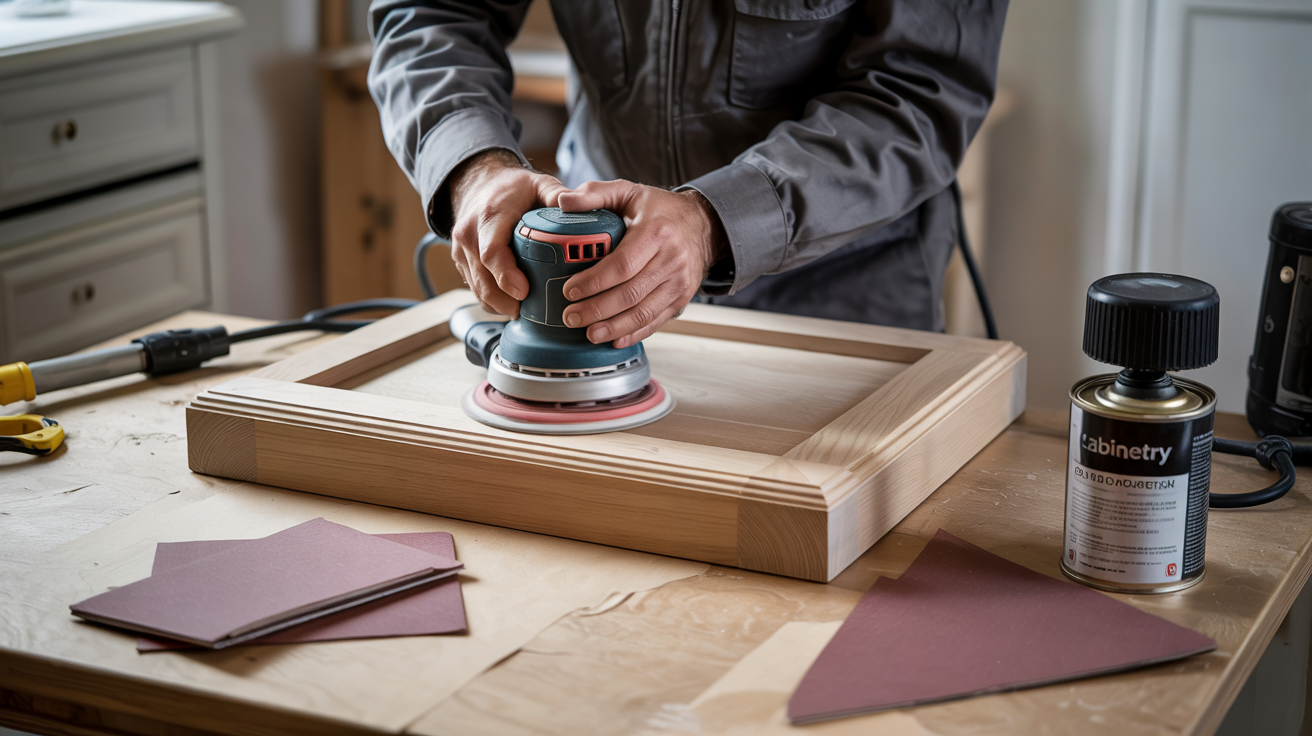
Proper finishing transforms ordinary cabinets into professional-looking furniture.
- Start with 80-grit sandpaper, then progress to 120 and 220 grit
- Label all pieces with tape to keep track of locations
- Sand between paint coats with fine sandpaper for the smoothest finish
Pro Tip: Thin your paint with 10-15% water when using a sprayer to get a smooth, run-free finish.
6. Install Cabinet Boxes
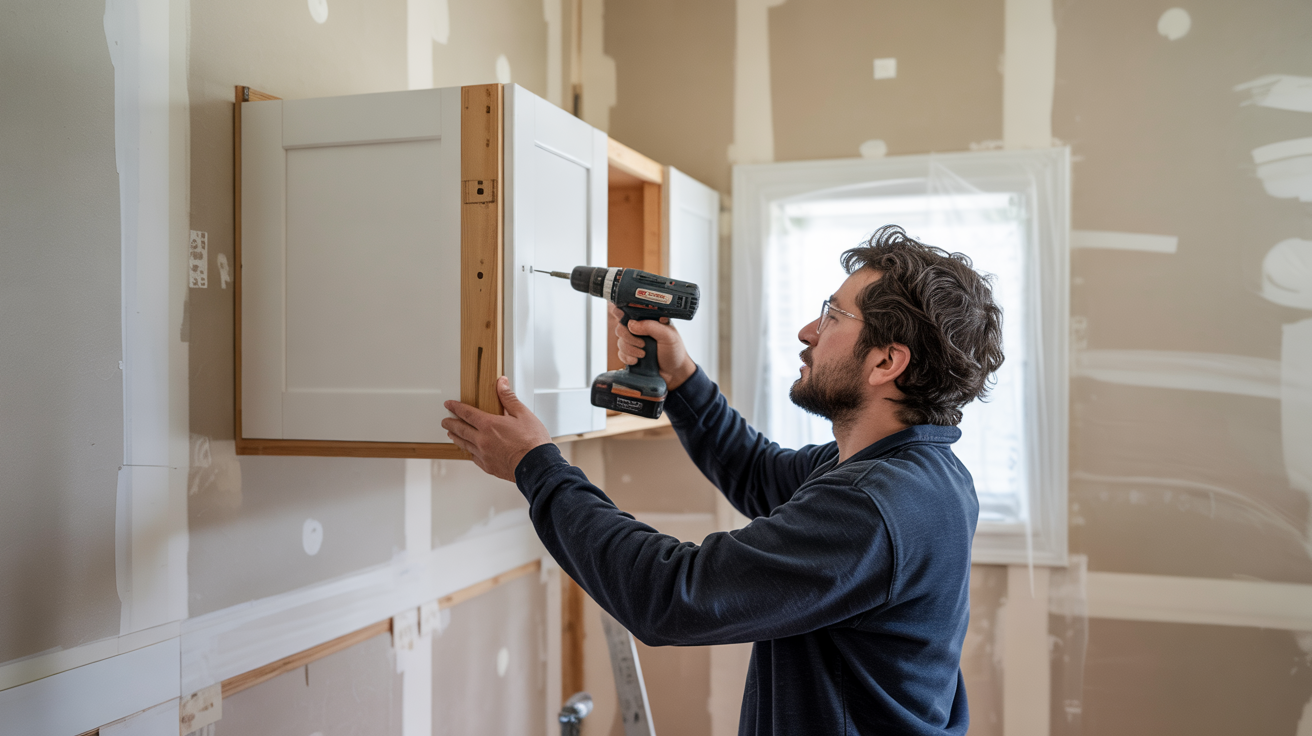
Careful installation ensures your cabinets will look built-in.
- Remove baseboards where cabinets will go against the wall
- Connect separated boxes with screws in hidden locations
- Use shims to make cabinets perfectly level and plumb
Pro Tip: Have a helper on hand during installation—trying to hold and level heavy cabinet boxes alone is nearly impossible.
7. Attach Face Frames and Top
This step creates the seamless built-in look.
- Apply wood glue only to areas that won’t be visible if it squeezes out
- Use clamps to hold face frames tightly while the glue dries
- Install trim pieces to hide any seams or gaps
Pro Tip: When joining two pieces of countertop, cut them at 45-degree angles instead of straight across for a stronger, less visible seam.
8. Final Assembly
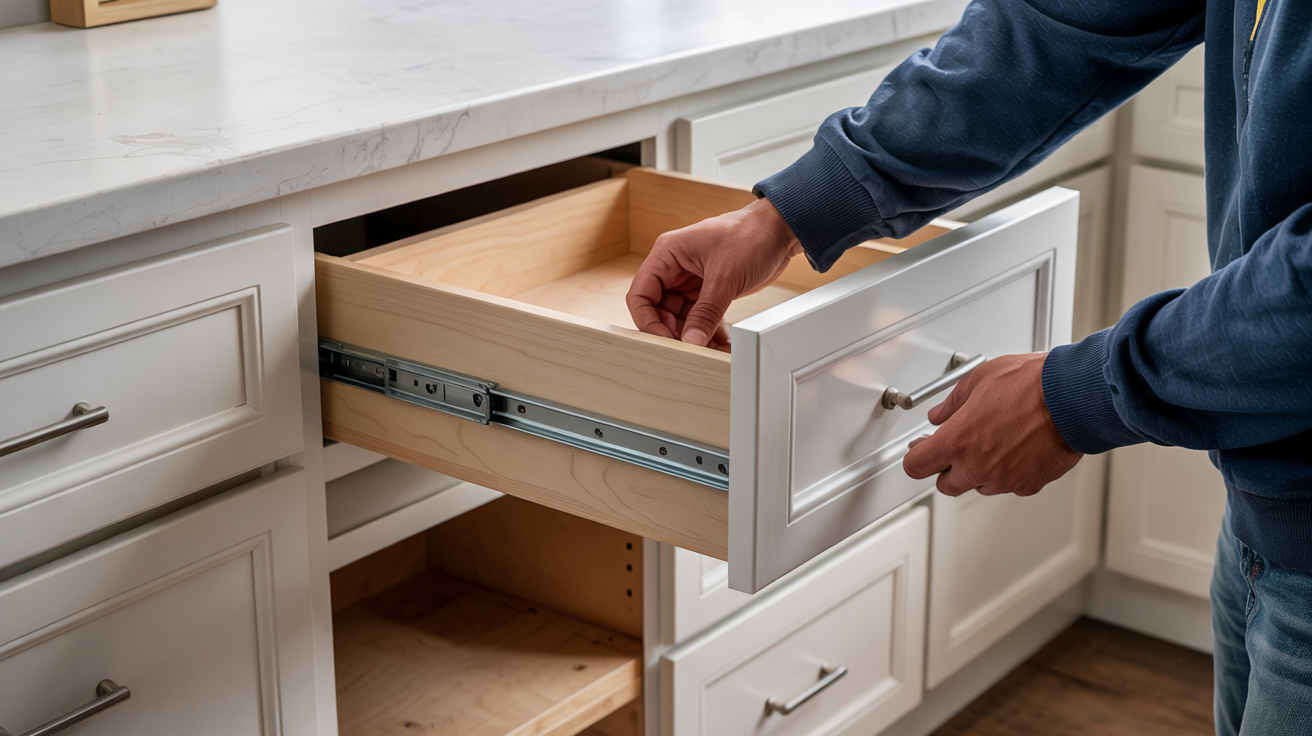
The finishing touches bring your project to life.
- Install drawer slides according to manufacturer guidelines
- Return labeled cabinet doors to their original positions
- Add bumpers to doors to prevent slamming
Pro Tip: Use a hardware installation jig to ensure all drawer pulls and knobs are perfectly aligned across the entire cabinet system.
For a visual tutorial, refer to this video by Bourbon Moth Woodworking
Tips for a Professional Look
- Add crown molding at the top of your cabinets that matches existing trim in your home, creating the illusion that the cabinets were built with the house.
- Fill all nail holes and seams with wood putty or epoxy filler, then sand completely smooth before painting for a flawless finish.
- Use soft-close hinges and drawer slides to make your cabinets function like high-end furniture and prevent slamming.
- Paint or stain both visible and hidden surfaces, including the insides of cabinets and backs of doors, as this small detail distinguishes amateur from professional work.
- Install under-cabinet lighting to highlight your countertops and add a warm glow that makes the entire built-in look more upscale and thoughtfully designed.
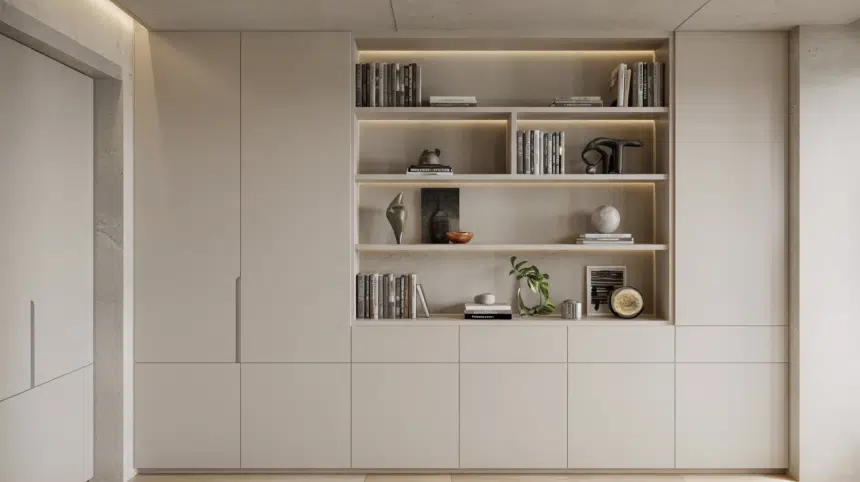
Maximizing Space with Stylish Built-In Storage Solutions
Open Shelving Display System
Replace some or all upper cabinets with floating shelves to showcase decorative items.
This creates an airy, modern look while providing easy access to frequently used items. Consider thicker shelves (1.5-2 inches) with hidden brackets for a cleaner look.
Paint the back wall a contrasting color to make displayed items stand out.
Entertainment Center Integration
Design your built-ins around your TV or media equipment with specialized compartments.
Include cable management systems with hidden holes for wires. Add adjustable shelving to accommodate changing technology sizes over time.
Consider pull-out shelves for components that need ventilation or frequent access.
Multi-Purpose Reading Nook
Transform one section of your built-ins into a cozy reading area with a window seat.
Build storage drawers underneath the seat cushion for blankets and books. Add task lighting directly into the cabinetry above the seating area.
Include adjustable shelving nearby to store your current reading collection and display favorite titles.
Common Mistakes to Avoid
- Inaccurate Measurements: Taking only one measurement instead of multiple points along walls and floors, leading to gaps between cabinets and walls or doors that don’t close properly.
- Inadequate Wall Mounting: Failing to locate and secure cabinets to wall studs, resulting in sagging cabinets or complete failure under weight.
- Improper Material Selection: Using low-grade plywood or MDF for structural components, causing shelves to bow and joints to weaken over time.
- Rushed Finishing Process: Skipping crucial steps like thorough sanding between coats of primer and paint, leaving a rough texture and unprofessional appearance.
- Neglecting Door Alignment: Installing doors without careful adjustment of hinges, creating uneven gaps and doors that don’t close properly.
- Poor Hardware Installation: Placing handles and knobs without using a template or jig, resulting in misaligned hardware that looks amateurish.
- Insufficient Ventilation for Electronics: Building media cabinets without proper airflow consideration, leading to overheating of entertainment components and potential fire hazards.
Conclusion
Building your own living room cabinets is a rewarding project that adds both function and value to your home. With careful planning, basic tools, and attention to detail, you can create built-ins that look like they were installed by professionals.
Remember to measure carefully, take your time with preparation, and focus on the finishing details. The extra effort spent on proper sanding, painting, and hardware installation will set your project apart.
If you run into challenges, don’t get discouraged. Cabinet building is a skill that improves with practice. Start with simpler sections and work your way up to more complex features.
We hope this guide helps you create beautiful cabinets that meet your storage needs and enhance your living space for years to come. Good luck with your project!