Every parent agrees—mealtimes with babies can be messy, making soft, absorbent bibs an essential accessory for stress-free feeding. Unfortunately, store-bought bibs often lack charm and durability.
This DIY sewing guide provides an easy and enjoyable way to craft high-quality, personalized flannel bibs, even if you’re a beginner to sewing.
In this detailed yet simple-to-follow blog post, you’ll find everything you need: clear, step-by-step sewing instructions, valuable tips for beginners, unique customization ideas, practical advice for maintaining your handmade bibs, and common mistakes to avoid.
By the end, you’ll have created beautiful, functional bibs that not only keep your baby comfortable but also showcase your creativity and care. Let’s start sewing!
Why Handmade Bibs Are Better
Handmade baby bibs offer numerous advantages over store-bought alternatives, starting with quality and comfort.
Crafting your bibs at home gives you complete control over the materials, ensuring your baby’s delicate skin comes into contact only with the softest, safest, and most absorbent fabrics. It also allows you to avoid harmful chemicals or dyes often found in mass-produced products.
Moreover, handmade bibs are highly customizable—you can personalize designs with adorable appliqués, embroidery, or reversible patterns tailored specifically to your baby’s personality or nursery theme.
This personalization adds special meaning and creates treasured keepsakes that store-bought bibs cannot match.
In terms of durability, handmade bibs typically surpass commercial options because careful attention to stitching and finishing ensures they withstand frequent washing, heavy usage, and the demands of everyday life with a little one.
Additionally, creating bibs at home supports sustainability efforts by promoting the recycling and reuse of fabrics, reducing waste, and producing high-quality items designed to last.
Ultimately, handmade bibs blend functionality, comfort, creativity, and environmental consciousness, making them a thoughtful choice for parents who value both practicality and personal touch.
DIY Soft Flannel Baby Bibs: Easy-to-Follow Sewing Guide
Tools and Materials Needed
| Item | Description |
|---|---|
| Flannel Fabric | 1/2 yard per bib (or 1/2 yard each of two coordinating prints) |
| Baby Bib Pattern | Available for download from the Riley Blake Designs website |
| Cardstock | For printing and cutting out the pattern template |
| Scissors or Rotary Cutter | For cutting fabric |
| Cutting Mat | If using a rotary cutter |
| Pins | To secure fabric layers together |
| Serger | For finishing the edges |
| Sewing Machine | For attaching a velcro closure |
| Velcro | For the neck closure |
| Tape | For assembling the printed pattern |
| Thread | Matching your fabric colors |
Step 1: Download and Prepare the Pattern
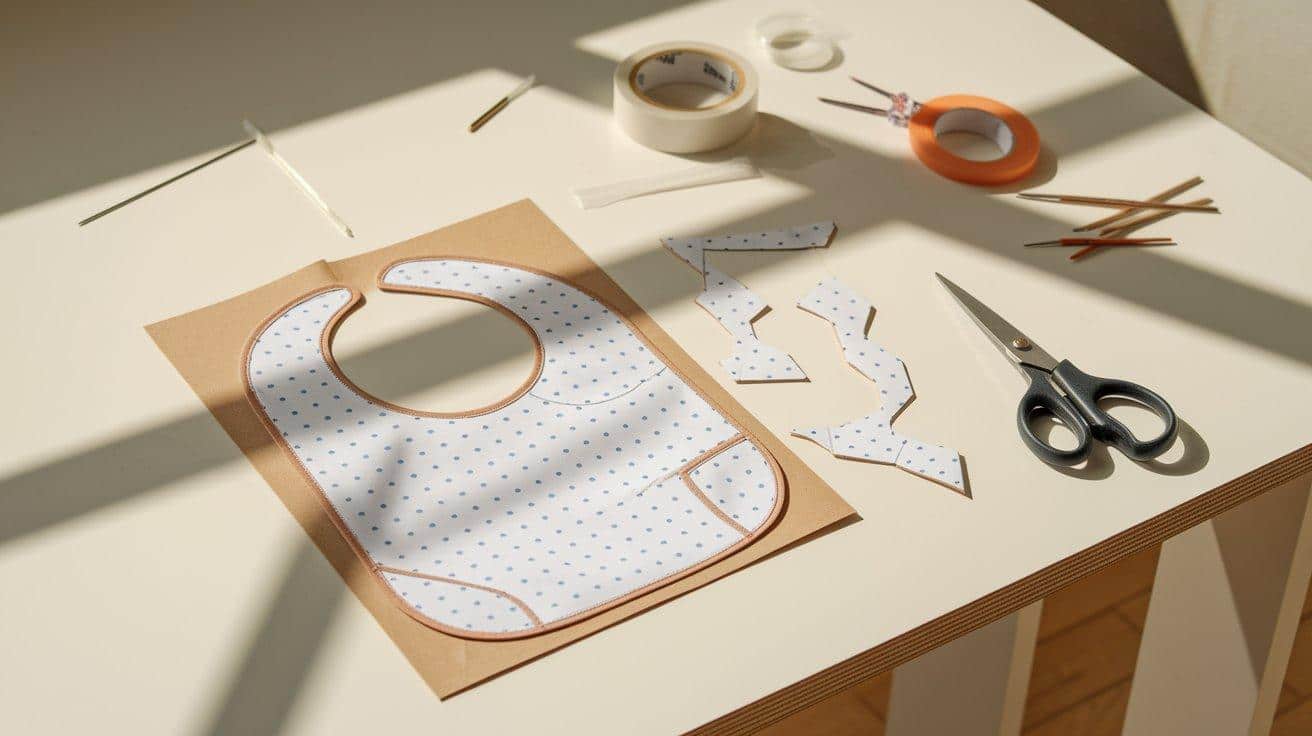
Begin by downloading the baby bib pattern from the Riley Blake Designs website. The pattern comes in three sizes: small, medium, and large. Print the pattern pieces on standard 8×10 paper, preferably using cardstock for durability.
For the large-sized bib, you’ll need to print two template pages. Cut along the indicated lines and overlap the pages according to the alignment marks.
Secure them together with tape. Notice the fold line indicated on the pattern – this is where your fabric will fold when cutting.
Step 2: Prepare Your Fabric
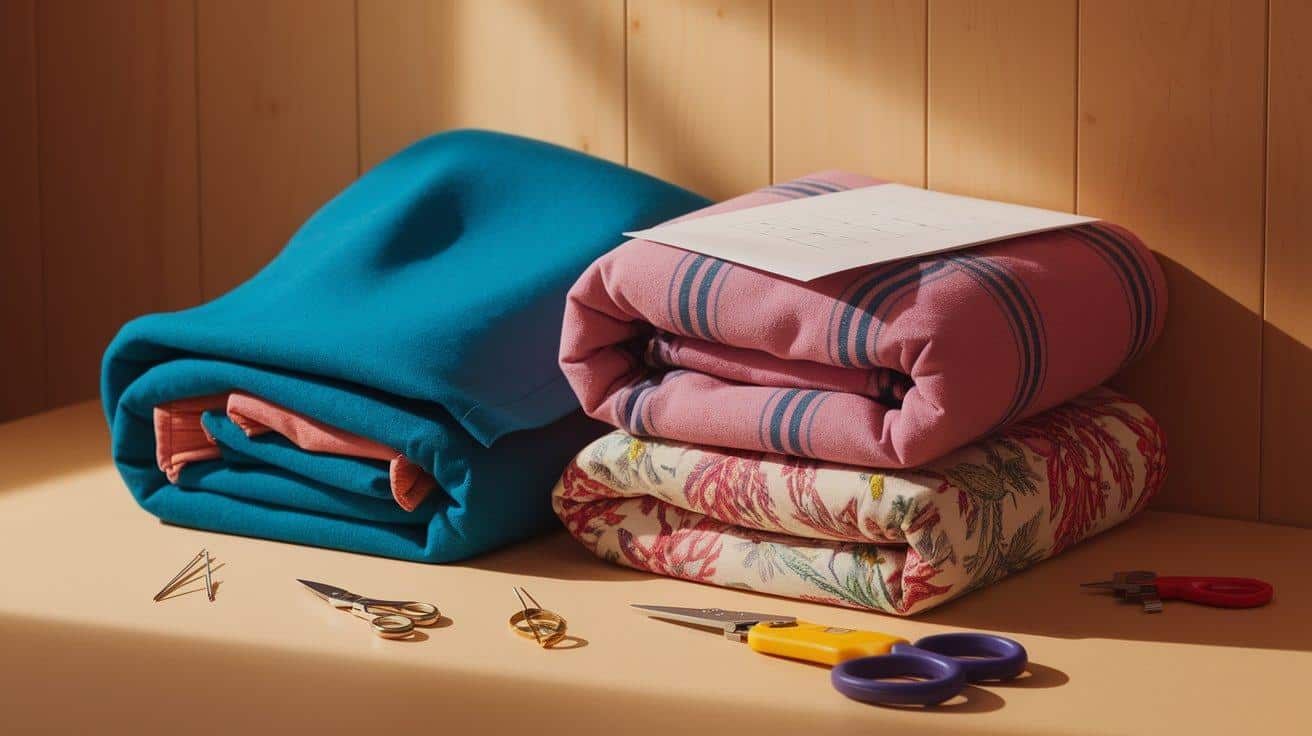
Select your flannel fabric – you can use a single color or choose two coordinating prints for the front and back. Flannel is recommended for its softness and absorbency. If using a single fabric, 1/2 yard will yield one bib.
If using two different fabrics, 1/2 yard of each will allow you to make two bibs. Fold your fabric with the fold line matching the designated fold line on the pattern.
This ensures you’ll cut both sides of the bib symmetrically. If using two fabrics, keep them separate at this stage.
Step 3: Position and Pin the Pattern
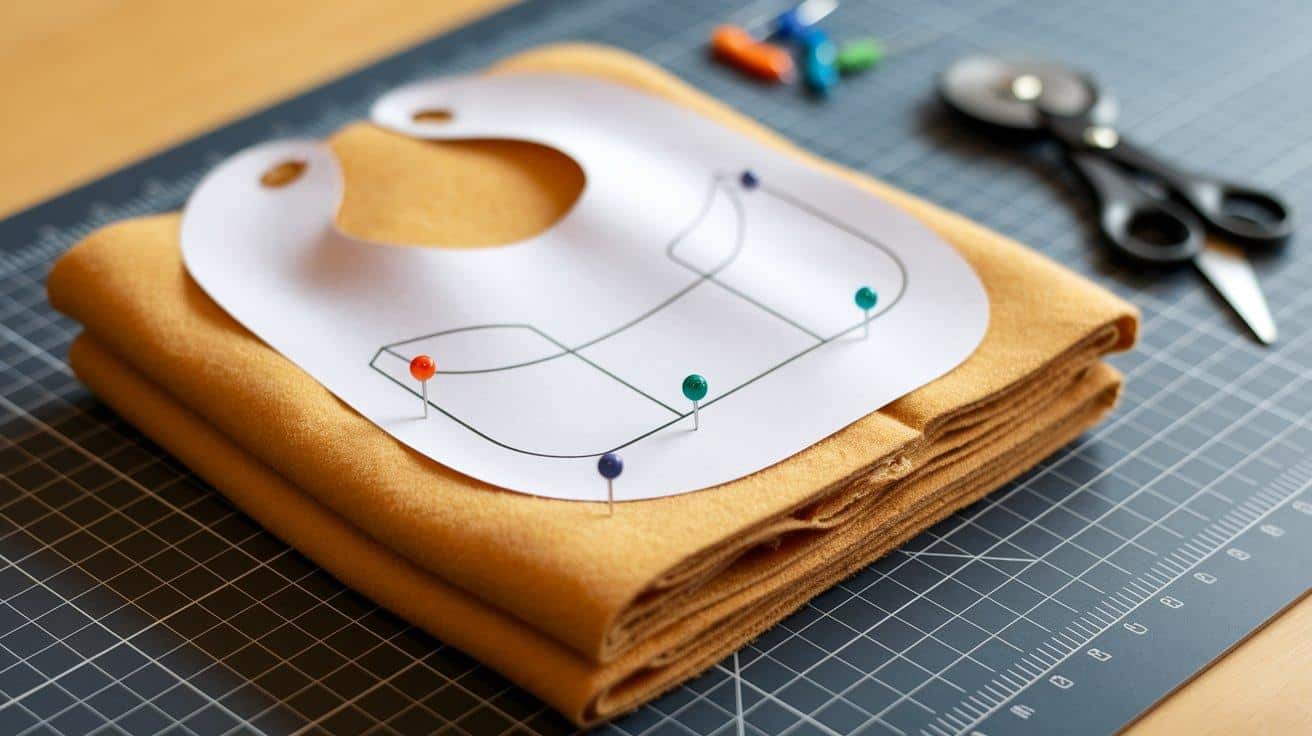
Place your prepared pattern on the folded fabric, aligning the pattern’s fold line with the fabric’s fold. Pin the pattern securely to prevent shifting while cutting.
Make sure the fabric is smooth and flat beneath the pattern to ensure accurate cutting. The fold technique saves time, as you can cut both sides of the bib simultaneously.
If you’re making multiple bibs, you can place the pattern strategically to maximize your fabric usage.
Step 4: Cut Out the Bib Shape
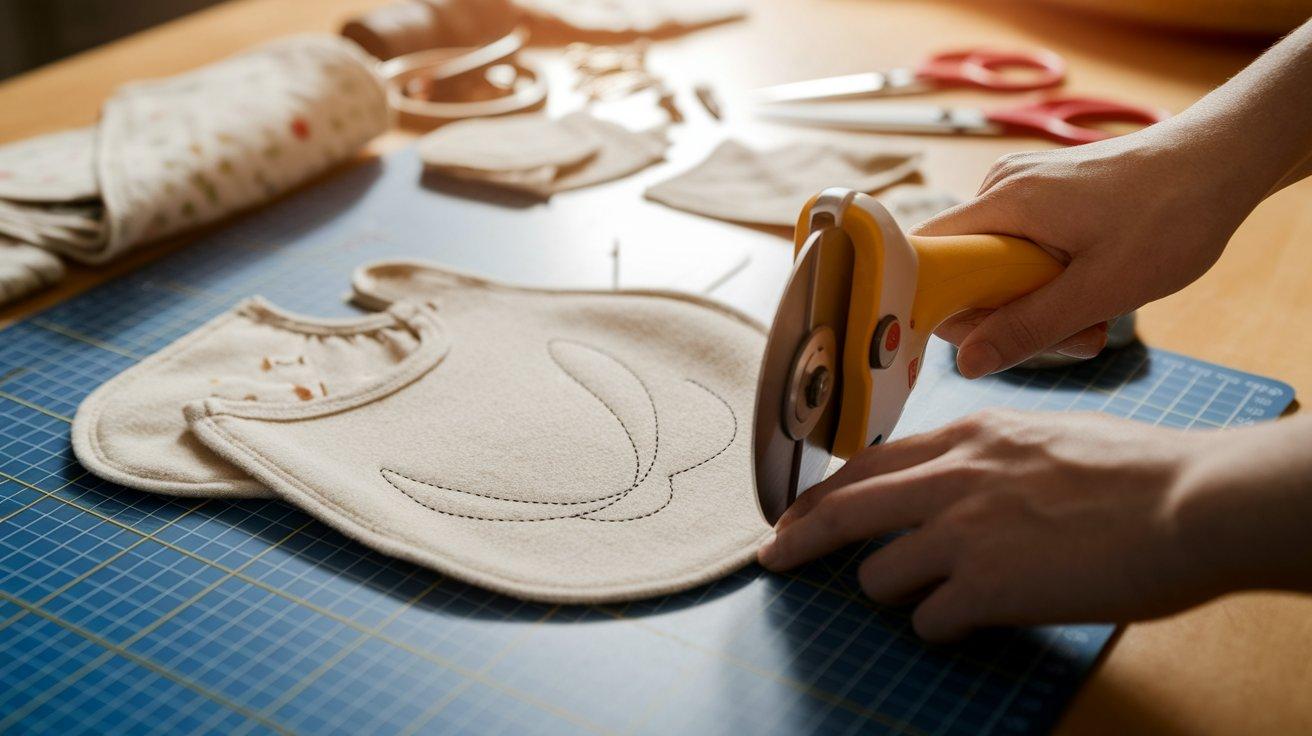
Using either scissors or a rotary cutter, carefully cut around the pattern template. A rotary cutter works particularly well with flannel as it provides clean edges without stretching the fabric.
Follow the outline of the pattern precisely to maintain the designed shape. Once cut, unfold the fabric to reveal the complete bib shape.
If you’re using two different fabrics, repeat this process with your second fabric to create the backing piece.
Step 5: Align the Fabric Layers
If using two fabrics, place them wrong sides together so that the printed or more attractive sides show on both the front and back of the finished bib.
Smooth out any wrinkles and ensure the edges align perfectly all the way around. Pin the layers together at several points, focusing on the central sections rather than the edges.
Avoid placing pins too close to the edges, as they’ll need to be removed before serging.
Step 6: Serge Around the Edges
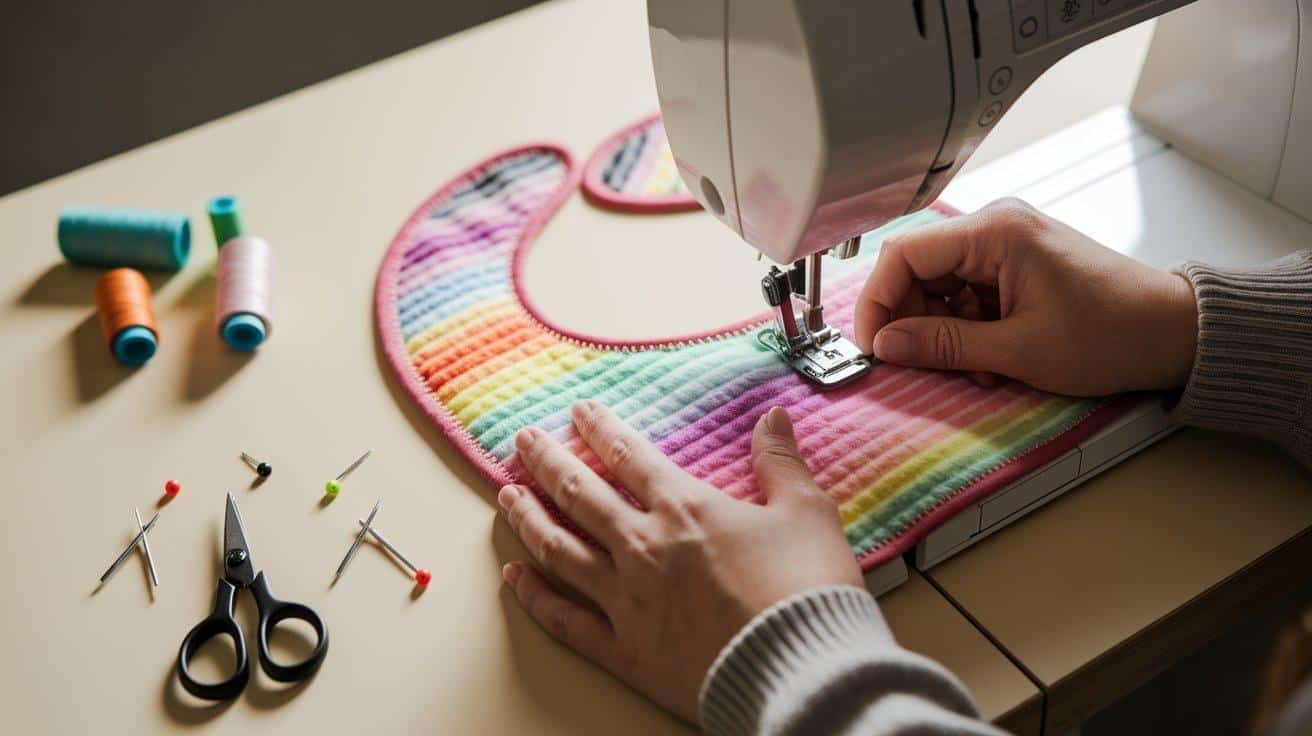
Take your pinned fabric to the serger. Starting at any point along the edge, begin serging around the entire perimeter of the bib.
The serger will trim excess fabric while simultaneously creating a finished edge that prevents fraying. Maintain a steady pace to ensure even stitching.
When approaching corners, slow down and carefully guide the fabric to maintain the shape. Continue serging until you’ve enclosed the entire bib edge.
Step 7: Trim Threads and Check Edges
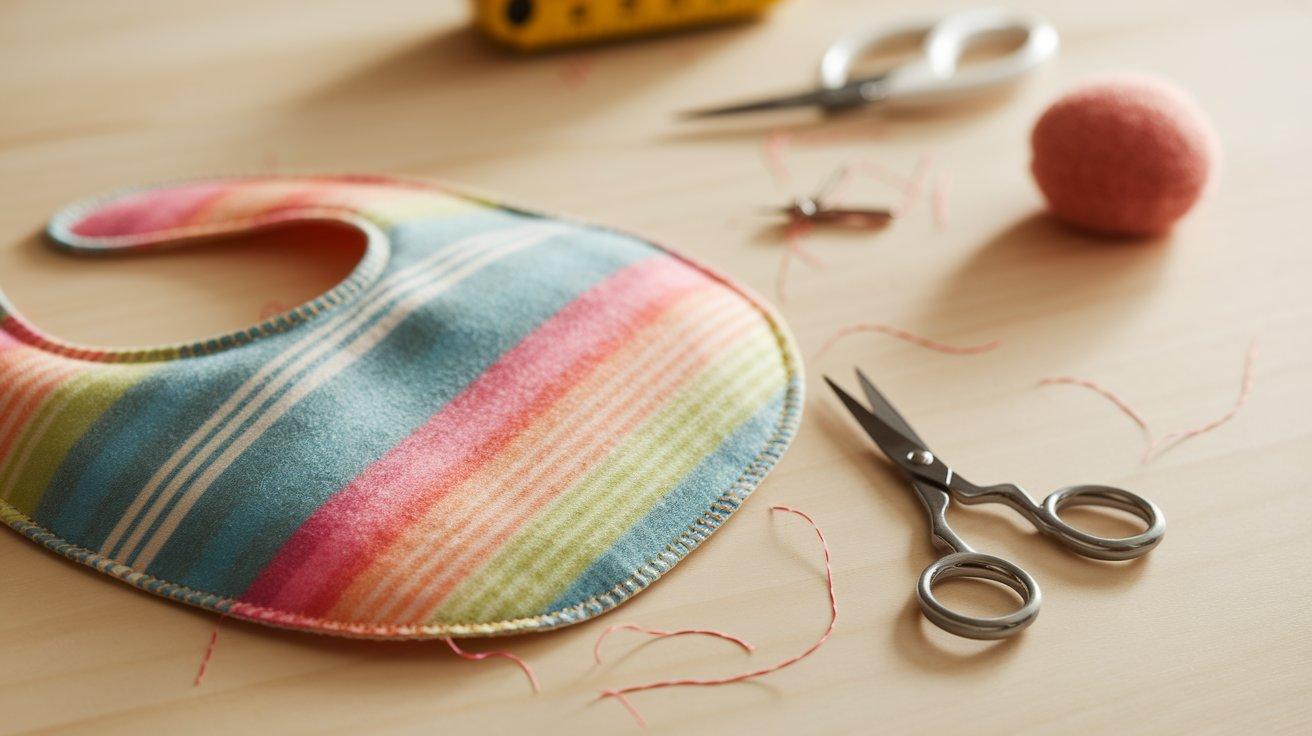
Once you’ve completed serging, examine both sides of the bib to ensure all edges have been properly finished. Trim any loose or hanging threads with scissors for a clean appearance.
Check that the serged edge is consistent all the way around the bib. If you notice any areas where the serger missed the fabric or created uneven stitching, you may need to re-serge that section to ensure durability.
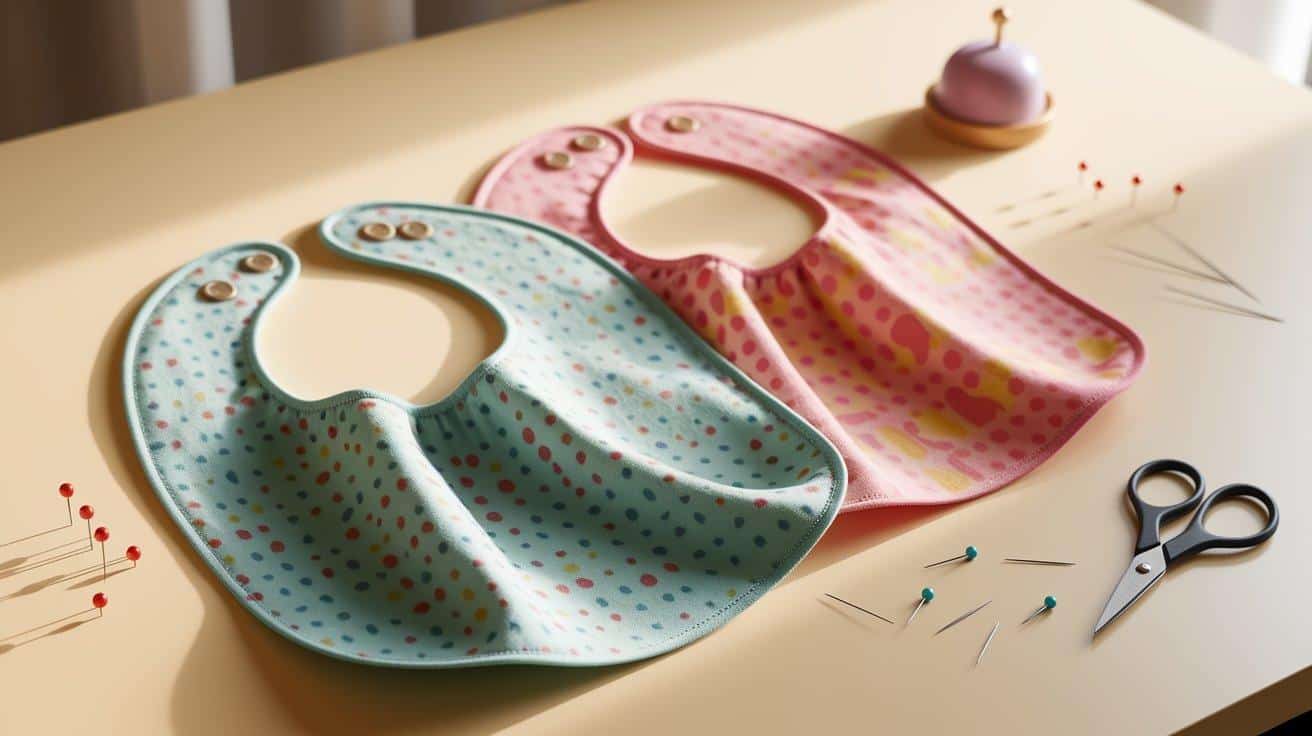
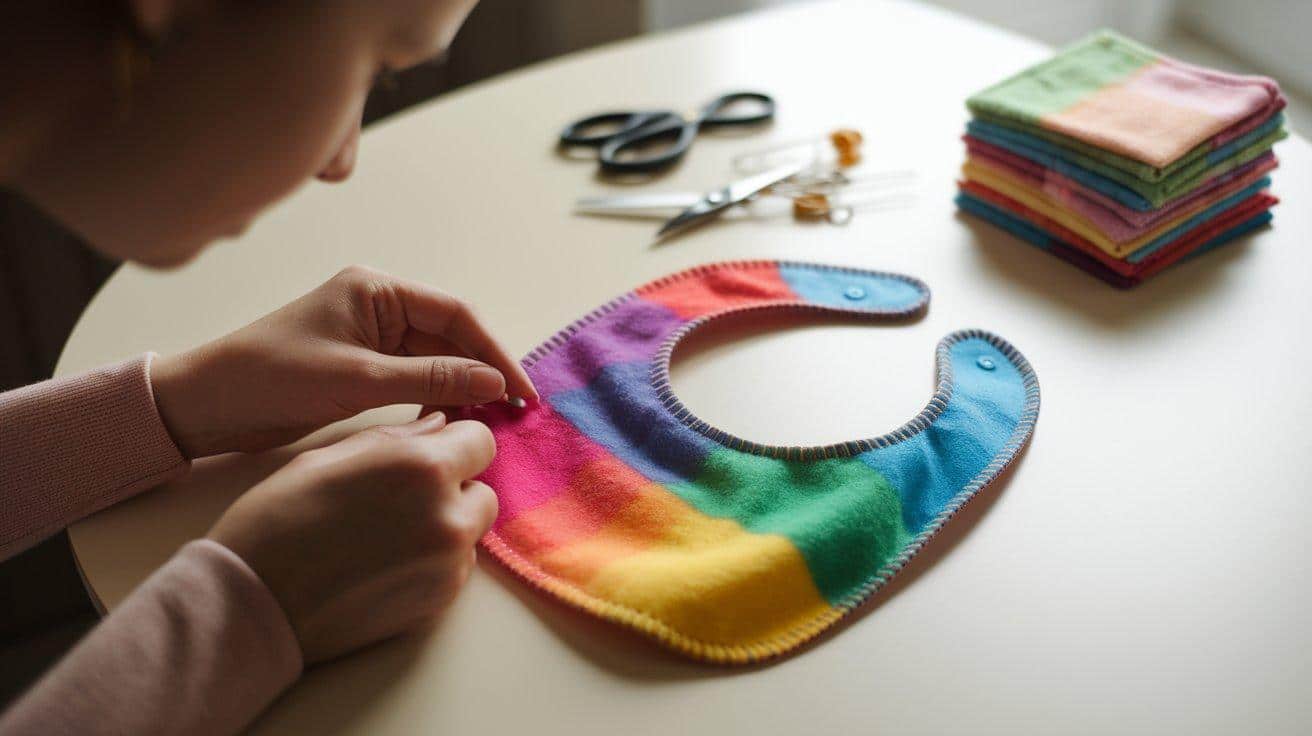
Step 8: Add the Velcro Closure

The final step is to add the Velcro closure at the neck area. Separate your velcro pieces and position them on the bib.
The scratchy hook side should be placed on the bottom tab, facing away from the baby’s skin, while the soft loop side should be placed on the underside of the top tab.
This ensures that only soft velcro will touch the baby’s sensitive neck. Pin the velcro pieces in place, then use a regular sewing machine to stitch around all four sides of each velcro piece, securing them firmly to the bib.
Step 9: Final Inspection
Before presenting your finished bib to the baby, perform a final inspection to ensure it meets your standards. Test the velcro closure to ensure it fastens securely but can be easily opened by adults.
Examine all edges to confirm that the serging is intact and there are no loose threads that could potentially come loose. Check that the velcro is firmly attached with no loose corners.
Your handmade baby bib is now ready for use, combining functionality with your personal touch through the choice of fabric.
Video Tutorial
I want to give credit to Riley Blake Designs for their informative video, which served as a valuable reference for this guide.
Beginner Tips for Sewing Baby Bibs
-
Start Simple: Choose easy-to-handle fabrics like flannel or cotton, which are forgiving and ideal for beginners.
-
Pre-Wash Fabrics: Always pre-wash your fabric to prevent shrinkage after sewing.
-
Sharp Tools: Ensure scissors and rotary cutters are sharp to cut clean, accurate edges.
-
Pinning Techniques: Pin fabric securely, but away from edges when using a serger to prevent needle breaks.
-
Sew Slowly: Take your time, especially around curves and corners, to maintain control and accuracy.
-
Test Stitches First: Practice stitching and serging on fabric scraps before sewing your actual project.
-
Adjust Machine Settings: Check your machine’s tension and stitch settings on scrap fabric before using it for your project.
-
Proper Lighting: Work in good lighting conditions to clearly see details and stitches.
-
Maintain Equipment: Keep your sewing machine clean and regularly change needles to avoid sewing issues.
-
Ask for Help: Don’t hesitate to look up tutorials or join sewing forums for guidance when stuck.
-
Mistakes Happen: Be patient and willing to learn from mistakes—sewing skills improve quickly with practice!
6 Creative Customization Ideas for Handmade Baby Bibs
1. Personalized Embroidery
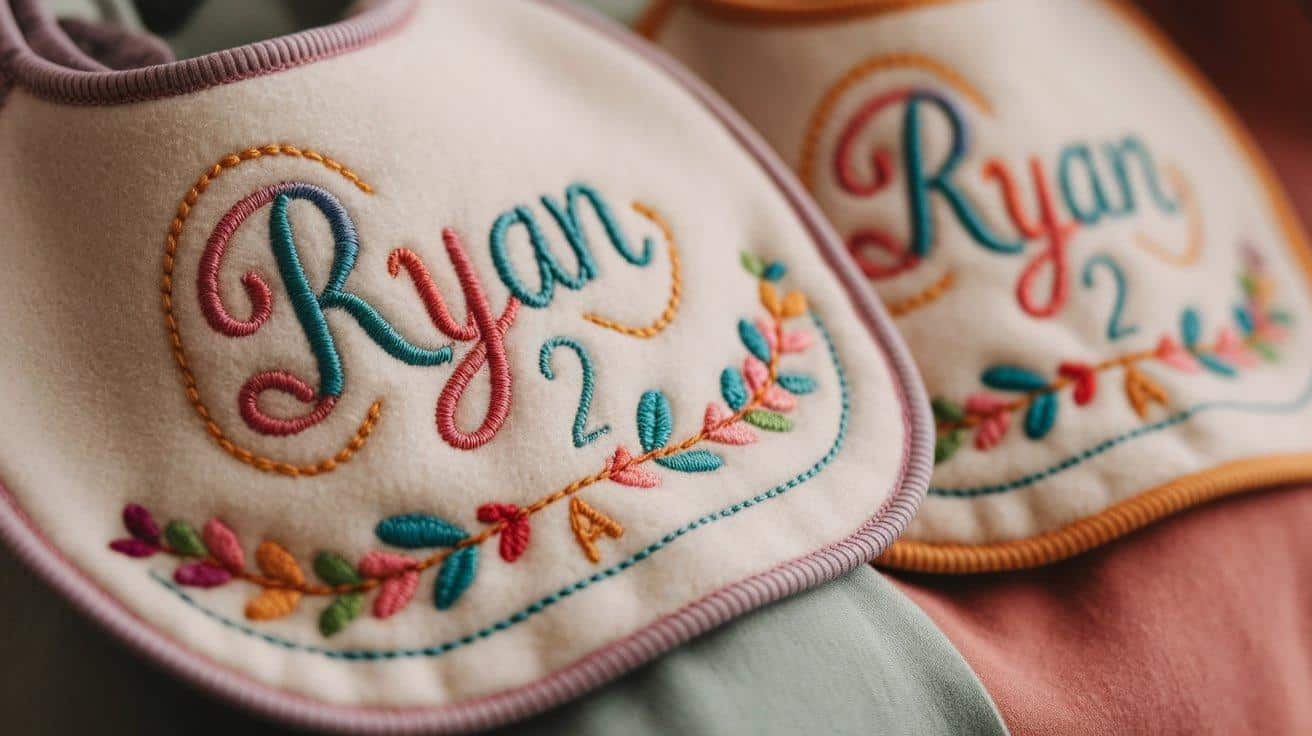
Make your baby bibs extra special by embroidering the baby’s name, initials, birthdate, or a heartfelt phrase. This personal touch converts your handmade bib into a cherished keepsake that can be treasured for years.
2. Adorable Appliqués
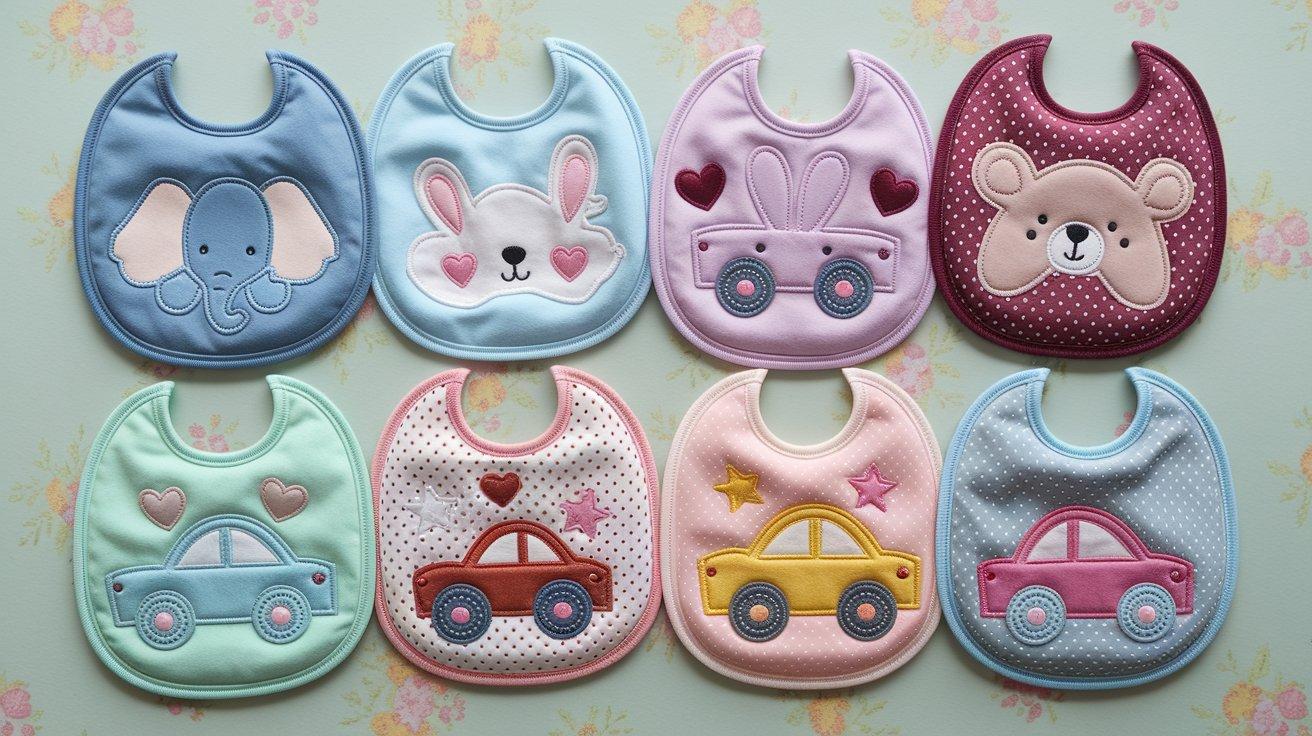
Add character to your bibs by attaching charming appliqués, such as animals, hearts, stars, cars, or flowers. Choose shapes and themes that reflect the baby’s personality or match their nursery decor, creating bibs that stand out with creativity.
3. Reversible Designs
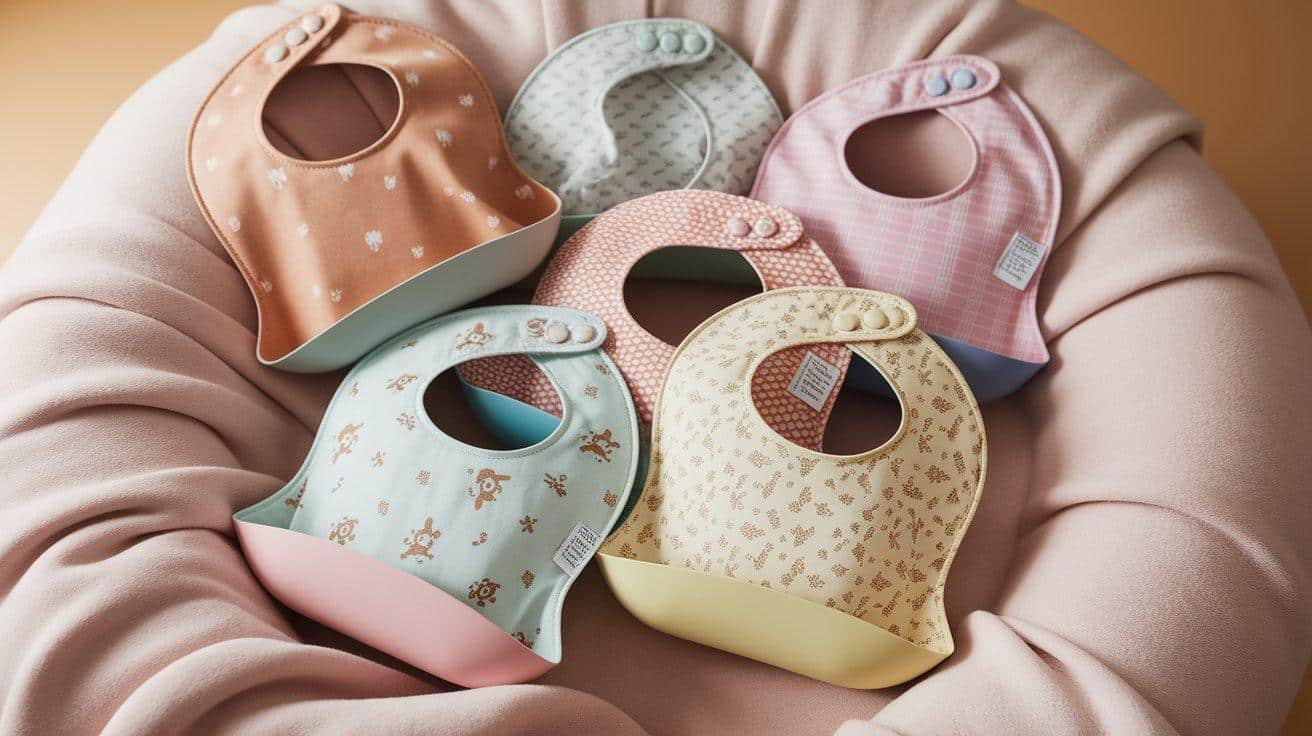
Get twice the style from one bib by selecting two complementary fabric prints or colors. A reversible bib not only offers parents more flexibility in styling but also provides a practical solution for extending its use between washes.
4. Themed or Seasonal Bibs
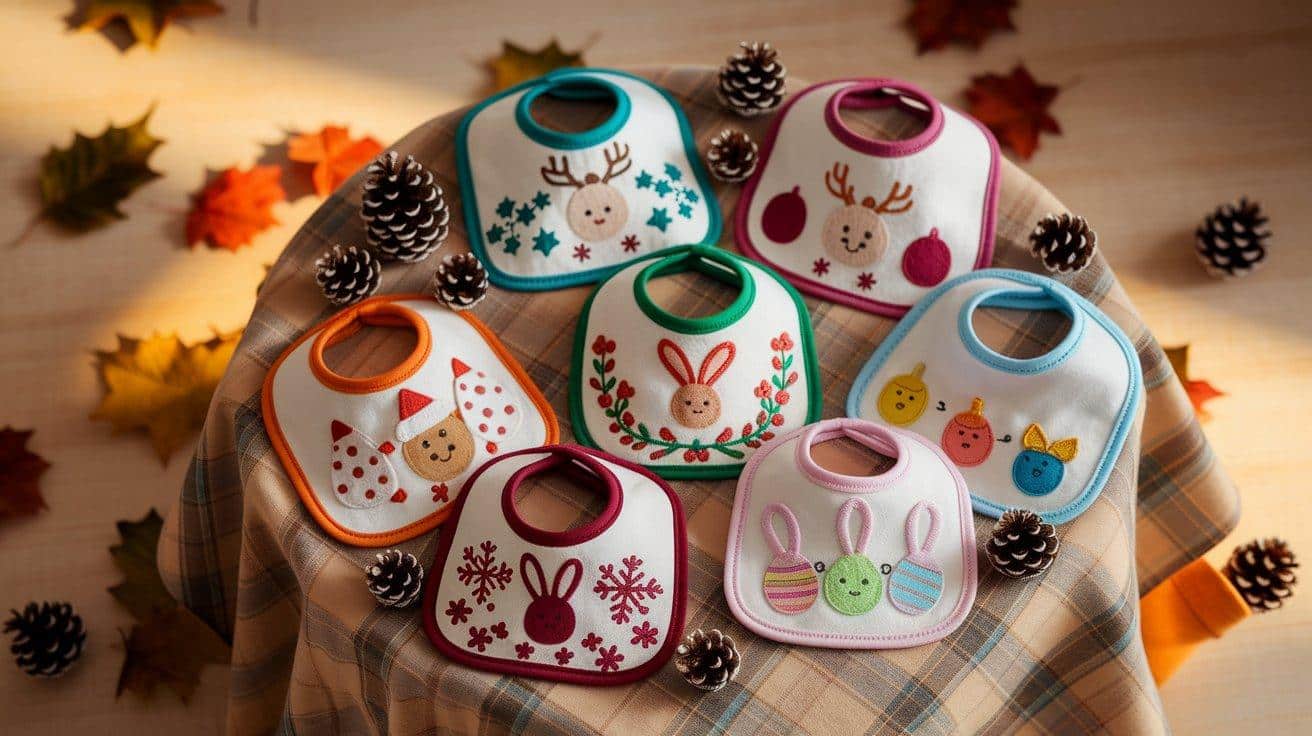
Create bibs designed specifically for holidays or special occasions, such as Christmas, Easter, birthdays, or a baby’s first milestones. Seasonal designs make mealtimes fun, festive, and perfect for capturing memorable photos.
5. Matching Gift Sets
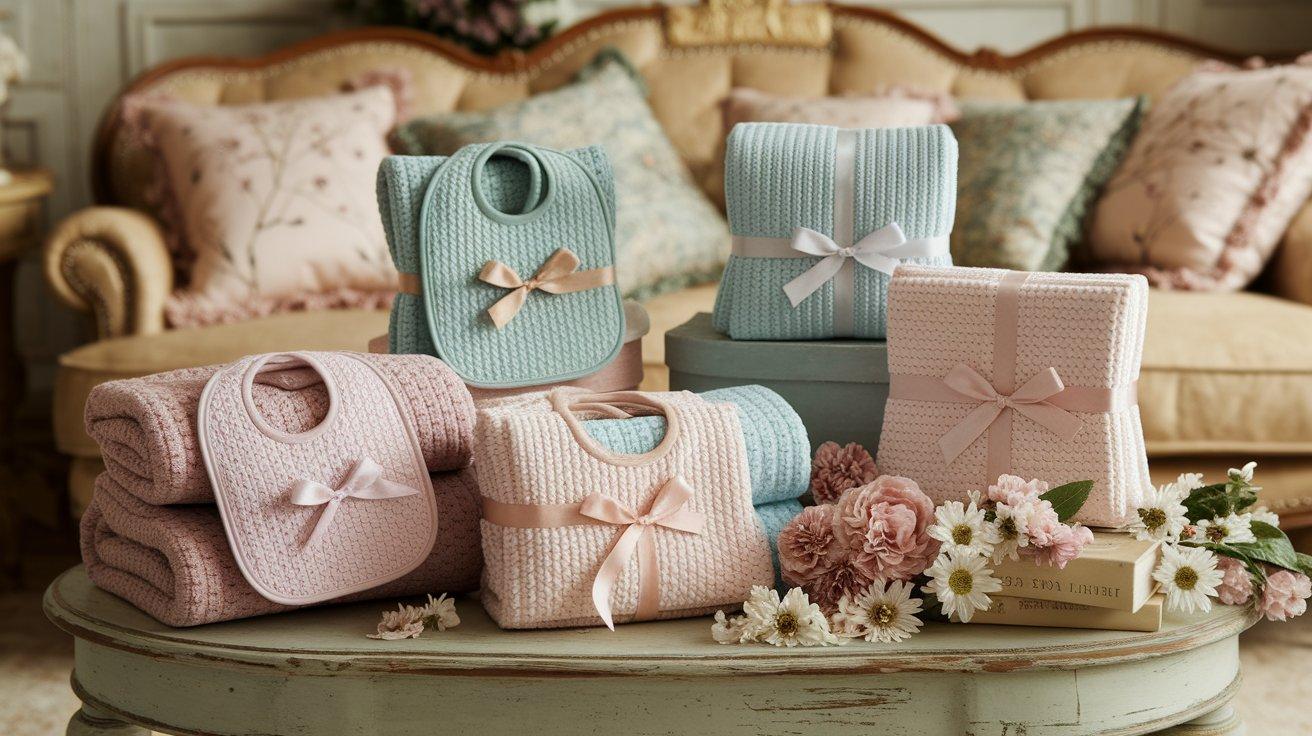
Craft coordinated sets by pairing handmade bibs with matching burp cloths, blankets, or small clothing items. Such sets make thoughtful, personalized gifts that new parents will love and appreciate.
6. Decorative Trims and Details

Incorporate decorative elements, such as lace, ribbons, rickrack, or securely attached fabric embellishments, around the edges of the bib.
These details add a touch of elegance or playful charm, enhancing visual appeal while maintaining comfort and safety for the baby.
Proper Care and Maintenance for Long-Lasting Bibs
-
Washing Instructions: Rinse immediately after use, machine wash gently without fabric softener, and pre-treat stains as needed.
-
Drying Methods: Air dry flat or hang to maintain softness. If using a machine dryer, use low heat and remove slightly damp items.
-
Storage Solutions: Store folded with velcro fastened in a dedicated drawer or roll for travel; use breathable bags for long-term storage.
-
Extending Durability: Regularly reinforce velcro and edges, rotate bib usage, and apply fabric protector sprays to repel stains.
-
Revitalizing Worn Bibs: Refresh your bibs by removing pills, softening with vinegar, over-dyeing faded fabric, replacing worn Velcro, or repurposing the fabric.
Key Issues to Avoid When Sewing Baby Bibs
| Issue to Avoid | Reason | Alternative |
|---|---|---|
| Placing pins near edges when serging | Pins can break serger needles or damage blades | Pin only in the center areas or use fabric clips |
| Using rough hook-side velcro where it touches the baby’s skin | Can irritate sensitive skin | Always place the soft loop side where it contacts the skin |
| Choosing non-absorbent fabrics | Won’t effectively catch drips and spills | Stick with flannel or absorbent cotton |
| Skipping pre-washing new fabric | Unwashed fabric may shrink after the first wash | Pre-wash all fabric before cutting patterns |
| Using decorative elements that can detach | Small buttons or appliqués pose choking hazards | Choose printed fabrics instead of added embellishments |
| Making the neck opening too small | It can be uncomfortable or difficult to put on | Follow pattern measurements exactly |
| Using fabric with toxic dyes or treatments | It could be harmful if the baby chews on the bib | Select baby-safe, organic fabrics when possible |
| Leaving long threads at serged edges | Can become tangled or pose a hazard | Trim all threads carefully after serging |
Conclusion
Creating your baby bibs allows you to combine practicality with personal style while crafting something truly special for the little ones in your life.
These flannel bibs offer the perfect blend of softness against delicate skin and superior absorbency for mealtime messes.
By following this straightforward guide, you can build a collection of custom bibs in various sizes that grow with your baby.
Remember that handmade items carry special significance—each stitch represents the care and love you’ve invested in creating something functional and beautiful.
Whether for your child or as a thoughtful gift, these bibs will surely become a cherished part of a baby’s early years.
Frequently Asked Questions
What Is the Best Material to Make Baby Bibs out Of?
The best materials for baby bibs are flannel for softness and absorbency, terry cloth for heavy messes, and organic cotton for sensitive skin. For waterproof backing, PUL or fleece works well.
What Stabilizer to Use on Baby Bibs?
For baby bibs, use a lightweight, tear-away or wash-away stabilizer to support stitching and keep the bib soft and comfortable for the baby.
What Size Snaps for Baby Bibs?
For baby bibs, size 16 snaps (also known as 3/8-inch or 10mm snaps) are the most commonly used. They’re small, secure, and gentle enough for baby clothing.