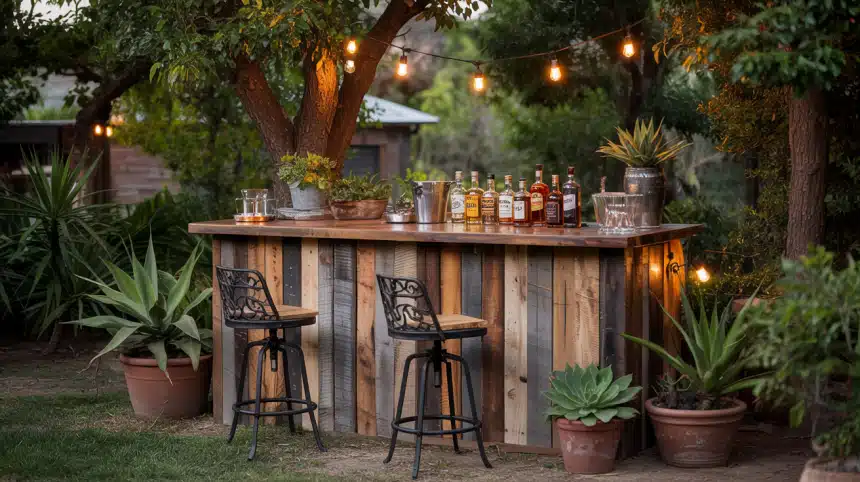
Turn your yard into a prime spot for gatherings with a homemade outdoor bar.
Perfect for summer cookouts, casual evenings with friends, or solo relaxation after work, a backyard bar adds function and fun to your outdoor space without breaking the bank.
This guide offers cost-effective DIY bar projects that anyone, including beginners, can complete.
Learn how to reuse existing furniture and add personal touches that make your space unique. I’ll guide you through practical ideas that will improve your yard’s atmosphere.
Get your supplies ready and prepare to build a bar that will make your outdoor area the ultimate spot for relaxation and social gatherings!
Why an Outdoor Bar is a Game-Changer for Your Yard?
Setting up a bar in your outdoor space adds both function and style to your backyard. Here’s how a well-designed outdoor bar can significantly enhance your home’s exterior:
Social Hub Creation: A backyard bar naturally becomes the center of gatherings, providing friends and family with a dedicated spot to congregate. This designated area keeps conversations flowing and guests engaged.
Extended Living Space: Your yard becomes a valuable extension of your home’s interior. The bar area defines the space and gives purpose to previously unused sections of your property.
Convenience Factor: No more trips inside for drinks or snacks. Everything stays within reach, letting you remain part of the conversation while serving guests.
Property Value Addition: Well-constructed outdoor features, such as bars, often increase home resale value, making them both an enjoyable and an investment opportunity.
Entertainment Upgrade: Add speakers, TV mounting options, or game areas near your bar to create a complete entertainment zone in your yard.
Customization Possibilities: Build according to your specific needs—compact for intimate settings or expansive for larger gatherings. Materials can match your home’s style or create a striking contrast.
Year-Round Usability: With proper planning, adding weather protection and heating options makes your outdoor bar functional beyond just the summer months.
A thoughtfully designed outdoor bar creates a comfortable, practical space that maximizes your backyard’s potential without requiring extensive renovation.
Materials Required
Here’s a list of all the essential materials you’ll need to get started.
| Material | Purpose |
|---|---|
| 4×4 lumber (cut to 40.5″) | Vertical supports for the frame |
| 2×4 lumber | Frame structure and bar top |
| Fence boards | Exterior siding and bottom shelf |
| Pocket hole screws | Securing the frame and top boards |
| Wood glue (optional) | Added strength (not used on top) |
| Plastic feet | Prevent legs from absorbing moisture |
| Spray paint (black) | Finishing frame |
| Jigsaw | Notching the corners of the bottom shelf |
| Nails | Attaching fence boards |
| Sandpaper (80, 150, 220 grit) | Smoothing and finishing the top surface |
| Brackets | Extra support under the bar top |
| Measuring tools (tape, square) | For layout and spacing |
| Triangle calculator (online) | For bracket angle measurements |
| Drill + Pocket Hole Jig | Making strong, hidden joints |
| Hammer & Ear Protection | Nailing in tight spots |
5 Key Steps to Create an Outdoor Bar
Upgrading your backyard into a relaxing entertainment hub starts with these five key steps to creating the perfect outdoor bar.
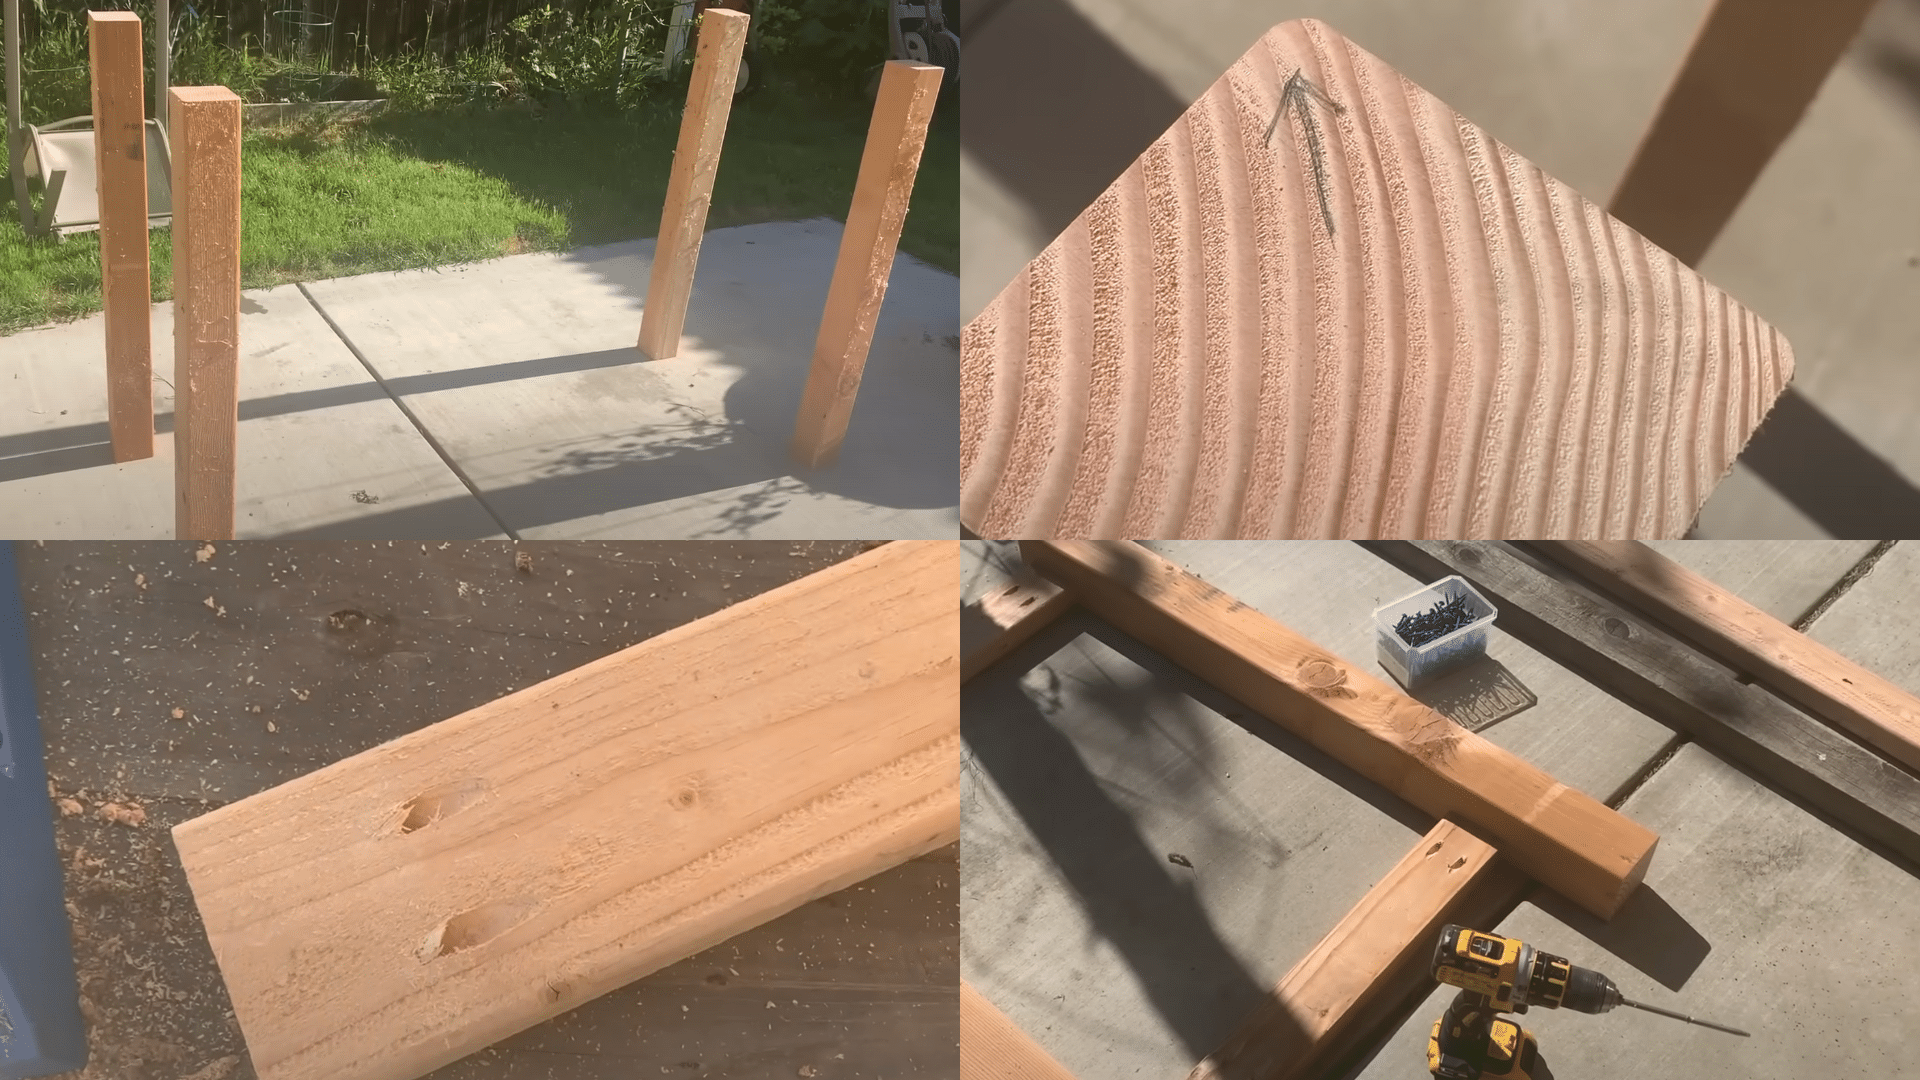
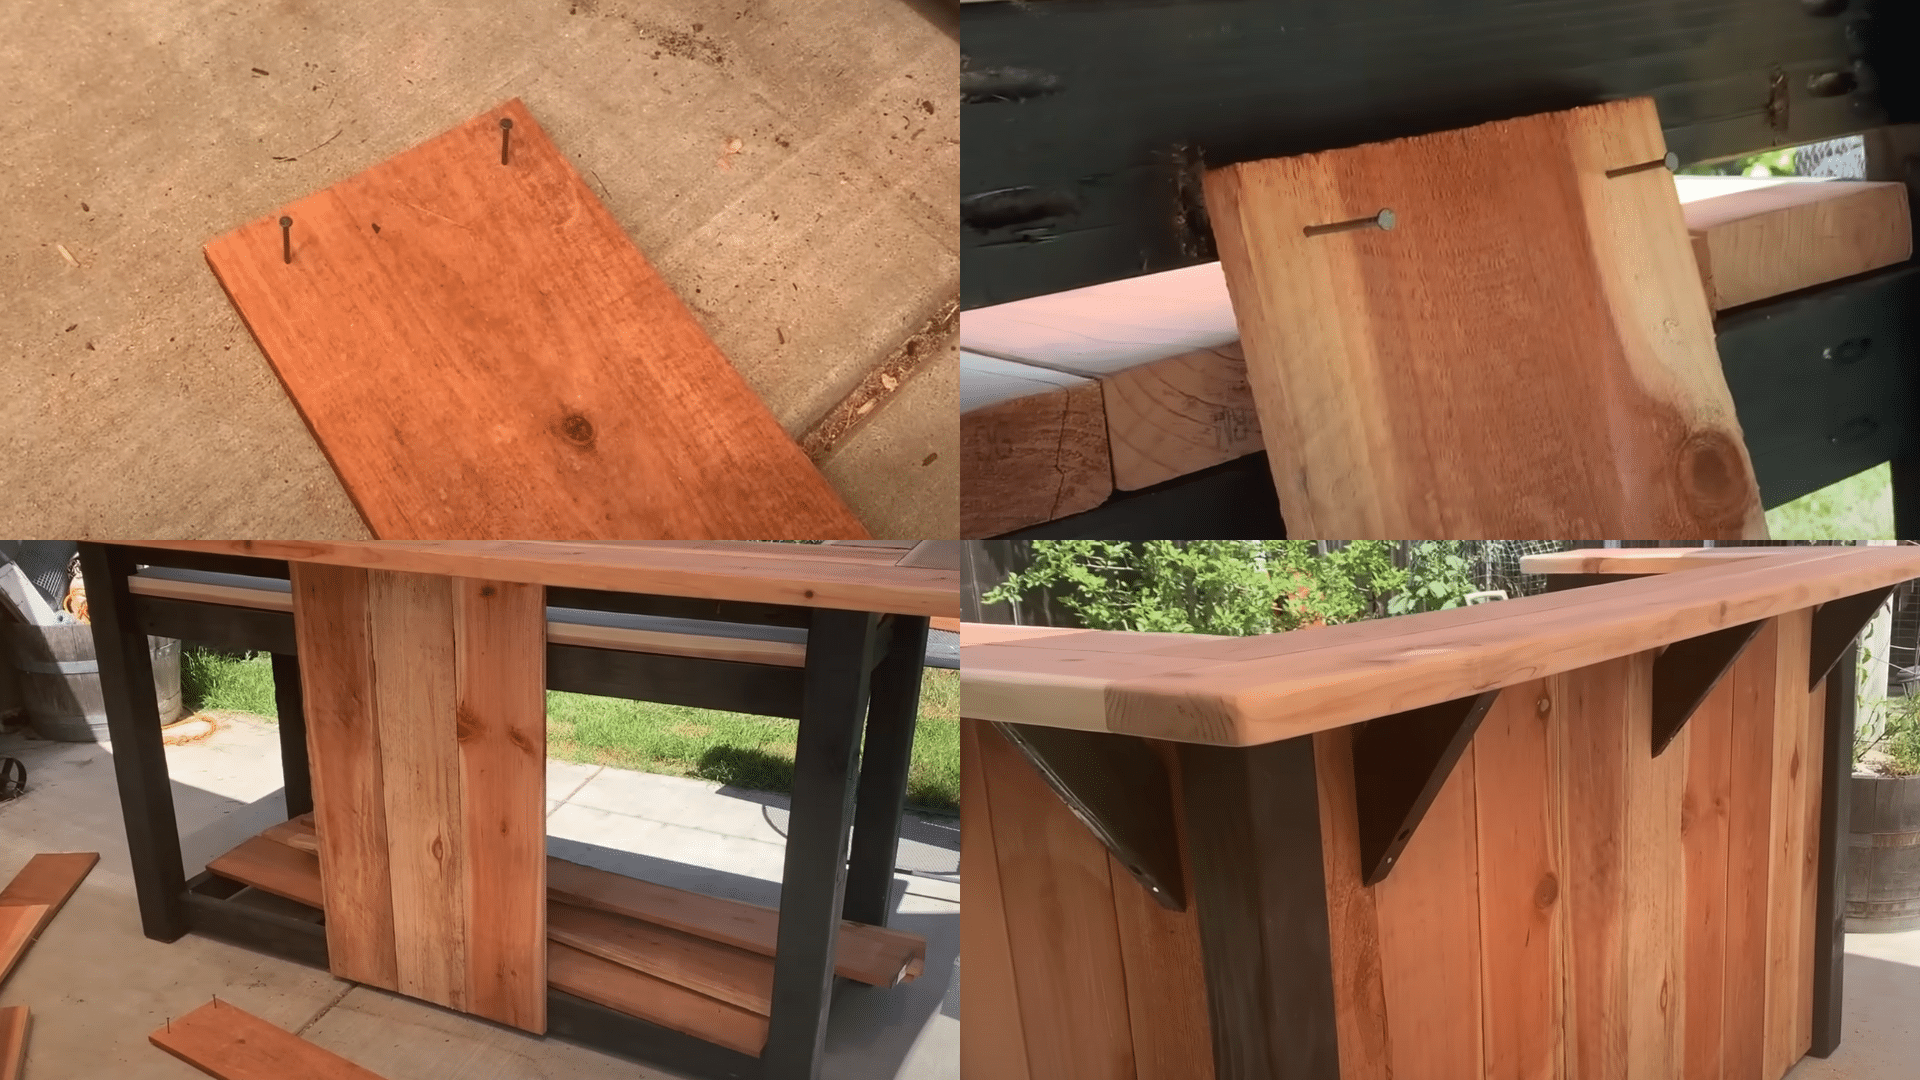
Step 1: Framing the Bar Structure
-
Cut 4x4s to 40.5 inches to achieve a bar height of 42 inches.
-
Frame the countertop at 36 inches high, marking 34.5 inches to allow for a 1.5-inch material thickness.
-
Drill and partially install pocket hole screws in an assembly-line fashion.
Pro Tip:
Mark all your measurements on every leg at once to save time and ensure consistent heights across all posts.
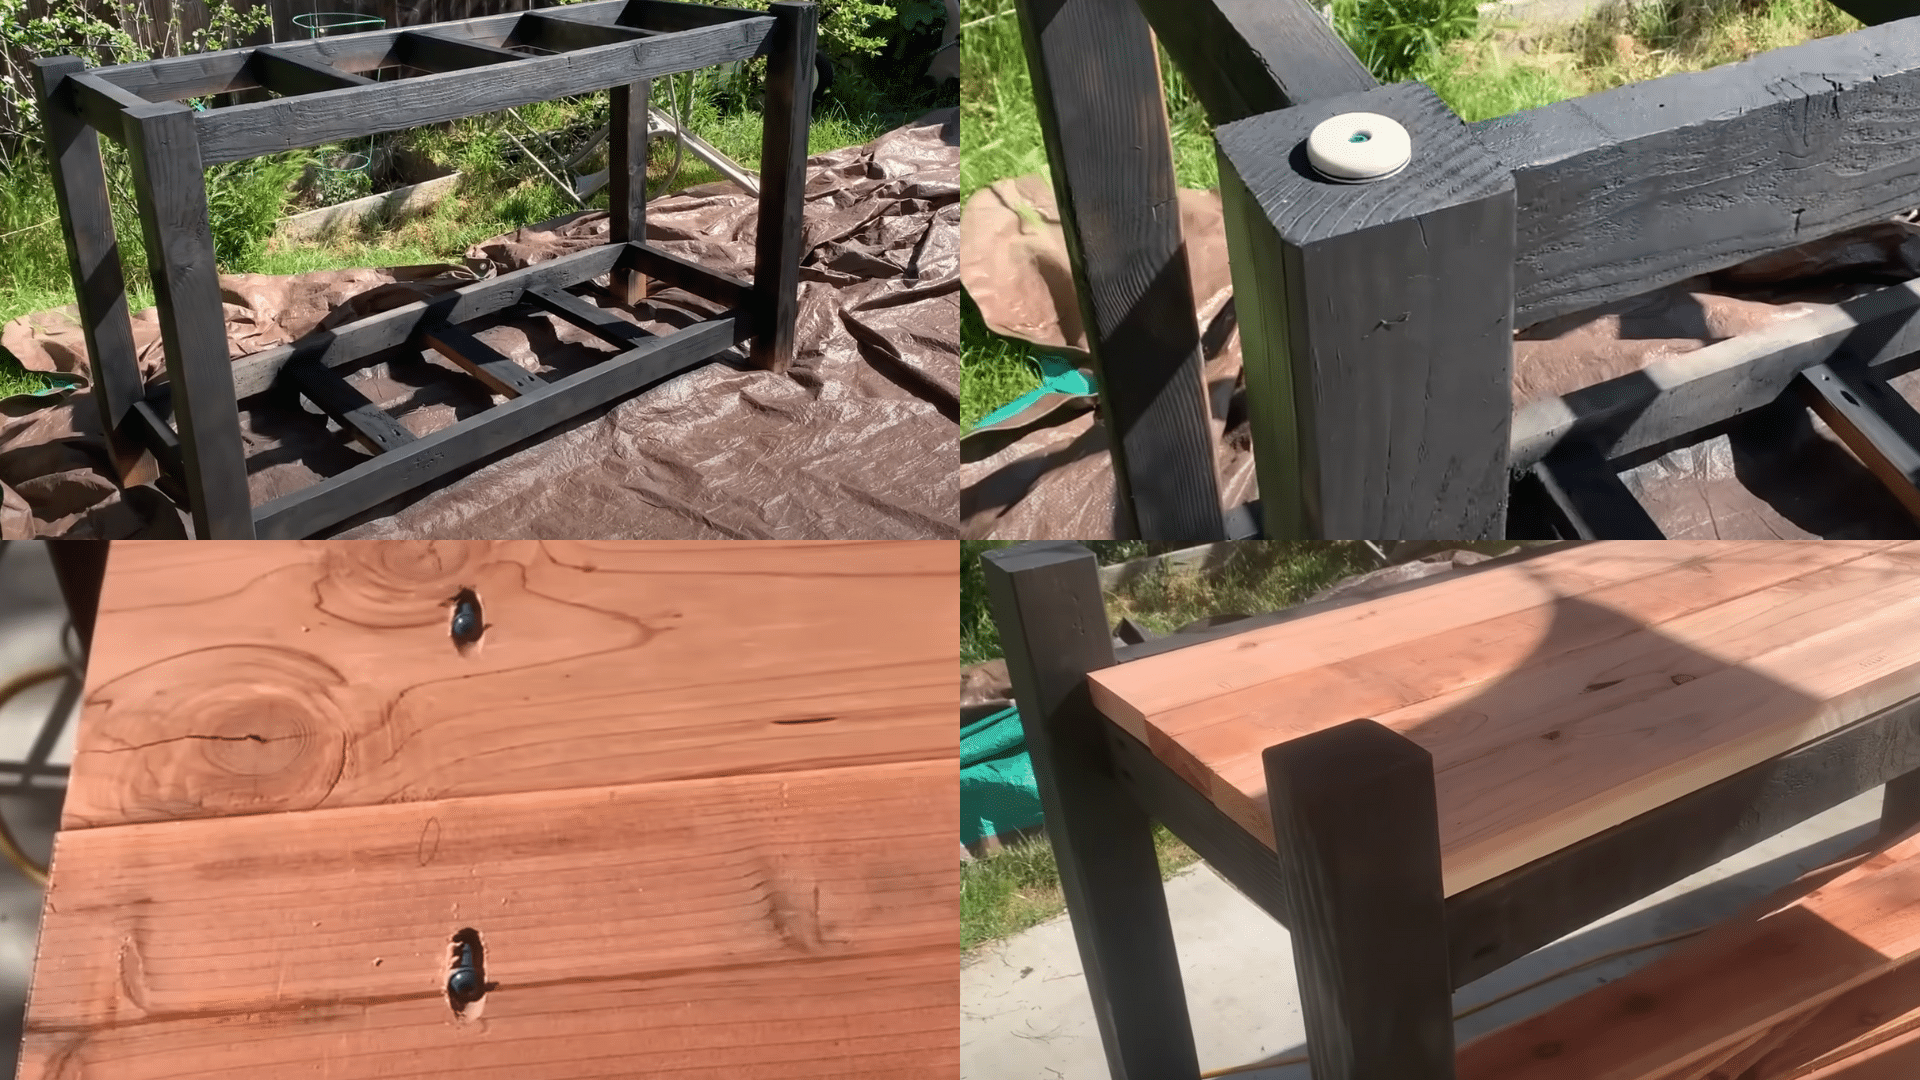
Step 2: Painting and Support Feet
-
Spray-paint the frame black before full assembly.
-
Attach plastic feet to prevent moisture absorption from the ground.
-
Temporarily clamp or screw support pieces in place while securing them.
Pro Tip:
Use leftover scrap wood to lift the legs off the ground while painting and drying for a cleaner finish.
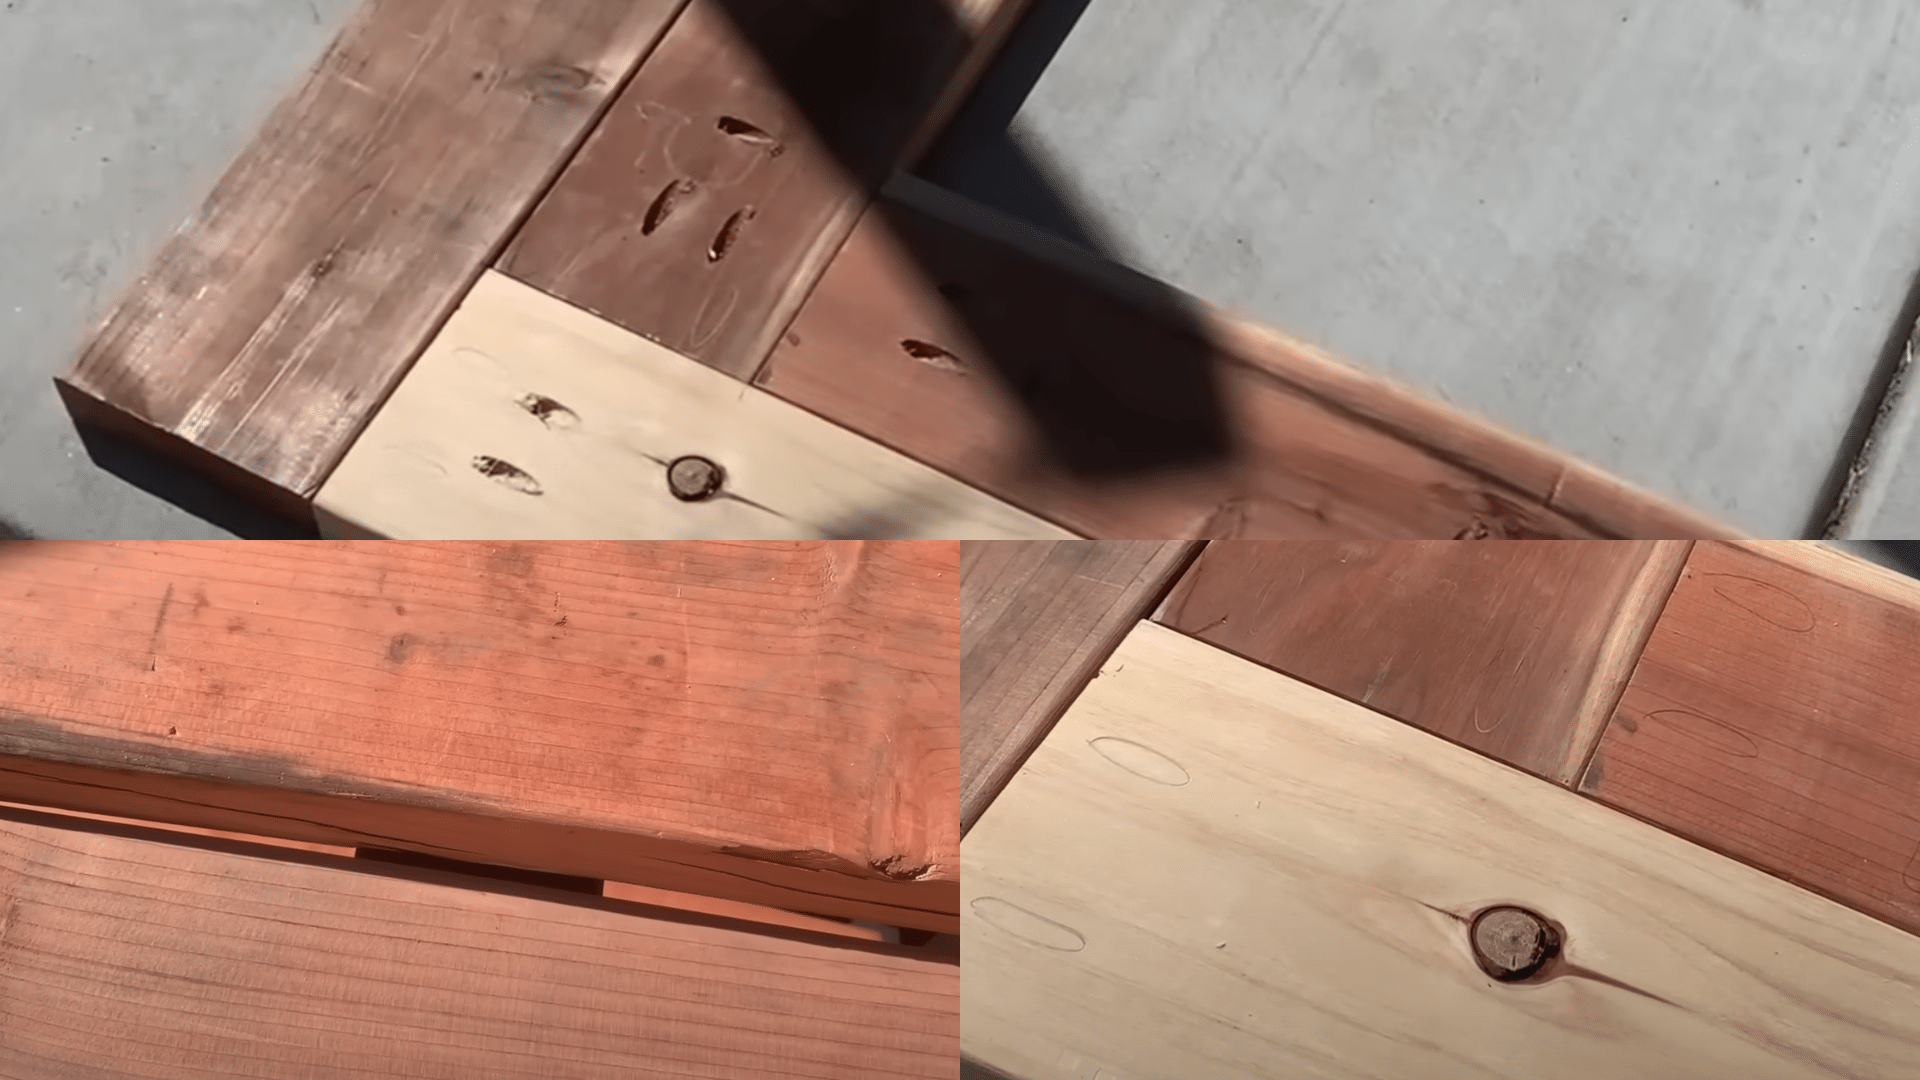
Step 3: Building the Countertop & Bar Top
-
Dry-fit and notch boards as needed.
-
Use pocket holes (no glue) for the countertop so it can be removed later for a sink.
-
Mark spacing for a sink cutout in the future.
-
Flip the boards and use circle markings to designate drill zones.
Pro Tip:
Don’t glue the boards if you plan to install a sink later—it’ll be easier to modify later.
Step 4: Siding and Bottom Shelf Installation
-
Nail fence boards vertically to the exterior, starting from the center.
-
Measure center points and align boards using pencil markings on the ground.
-
For the bottom shelf, notch the corners with a jigsaw, cut the boards to length, and stagger the joints to align with the support beams.
Pro Tip:
Always double-check board lengths—fence boards can vary slightly, which can affect alignment.
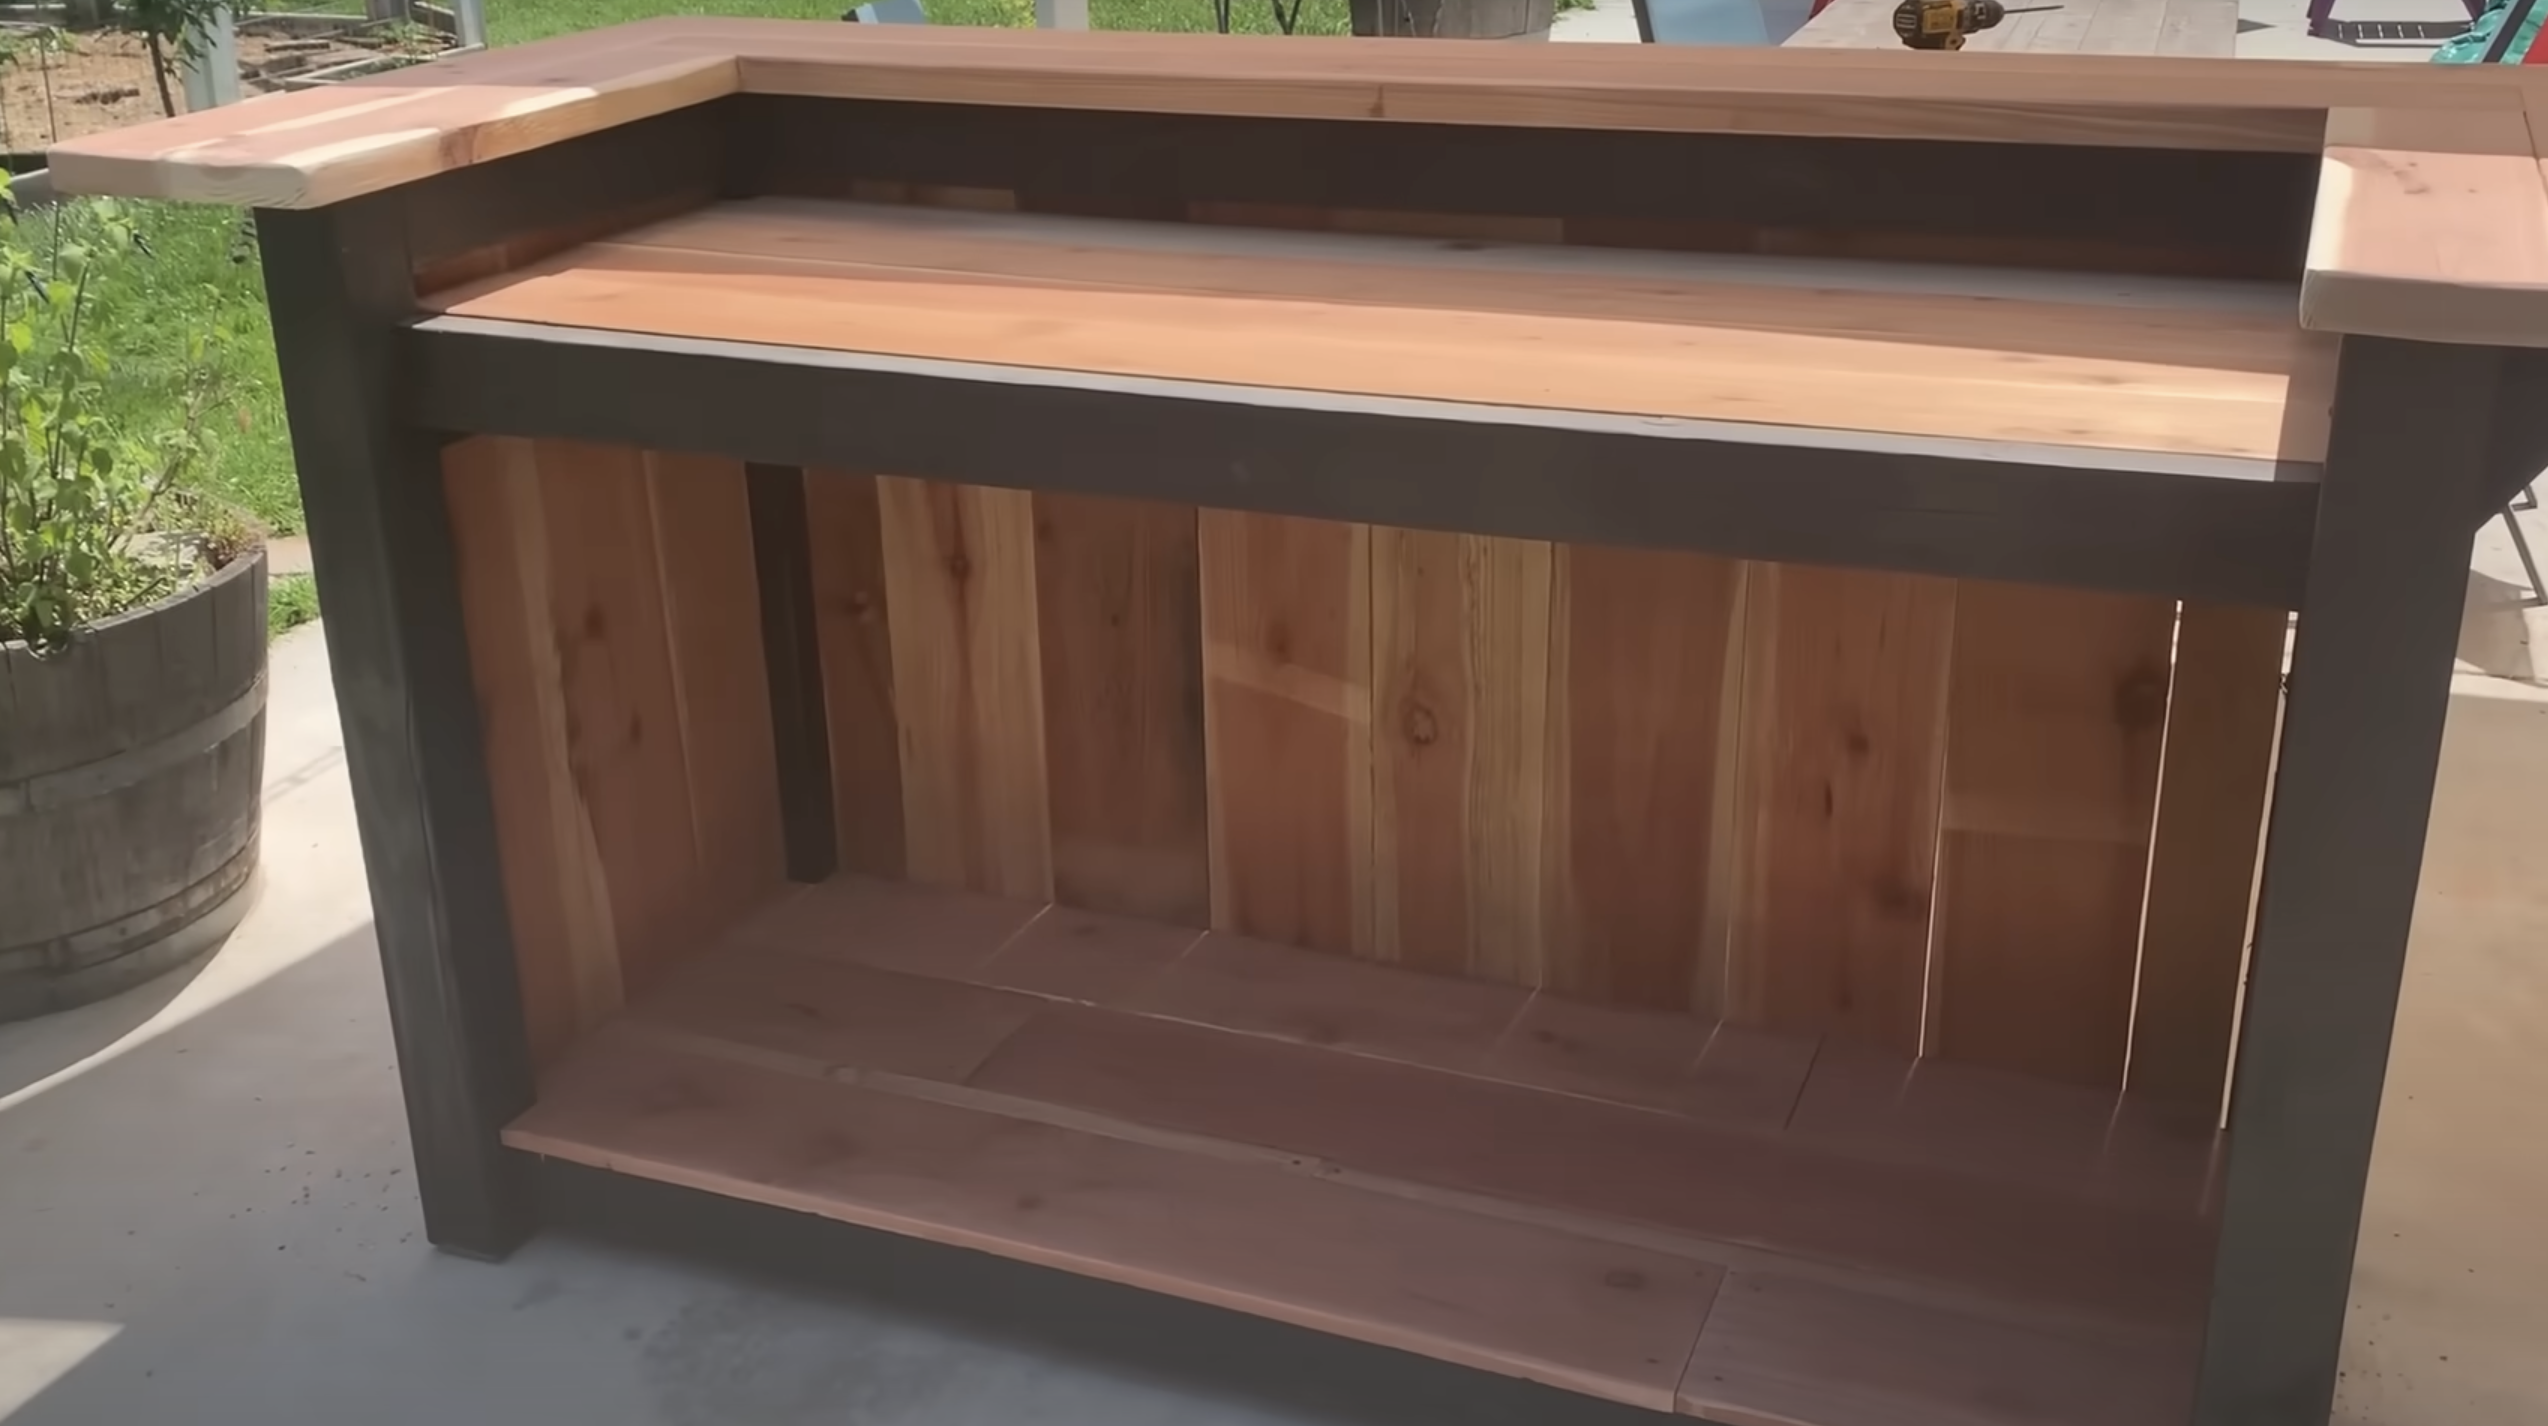
Step 5: Final Touches and Reinforcements
-
Sand the top: use a belt sander with 80-grit paper, then an orbital sander with 150- and 220-grit paper.
-
Add angled brackets beneath the top for additional strength.
-
Use an online triangle calculator to measure and cut the correct support angles.
-
Leave space for a mini fridge and sink to be installed in a follow-up phase.
Pro Tip:
Hold onto all scrap pieces until the end—those small cuts often save the day when you need filler or support!
Video Tutorial
Check out this video by @maurascreativeadventure for a step-by-step guide on a DIY Outdoor Bar.
Essential Tips for Your DIY Outdoor Bar
Before you start building your outdoor bar, consider a few key factors to ensure it’s functional, durable, and a perfect fit for your space.
- Location Selection: Choose a Spot with Good Traffic Flow, Convenient Home Access, and Flat Ground.
- Weather Resistance: Select Materials that Can Withstand Your Local Climate Conditions.
- Budget Planning: Set Realistic Costs for Materials, Tools, and Unexpected Expenses.
- Permit Requirements: Check Local Building Codes and HOA Rules Before Starting.
- Size and Scale: Plan Dimensions that Fit Both Your Yard Size and Entertaining Needs.
- Utility Access: Consider Water, Electricity, and Drainage Requirements.
- Maintenance Need: Different Materials Require Varying Levels of Upkeep.
Creative Ideas for Your DIY Outdoor Bar
Building a DIY outdoor bar can be a fun and practical addition to your backyard. Here are some creative ideas to get you started:
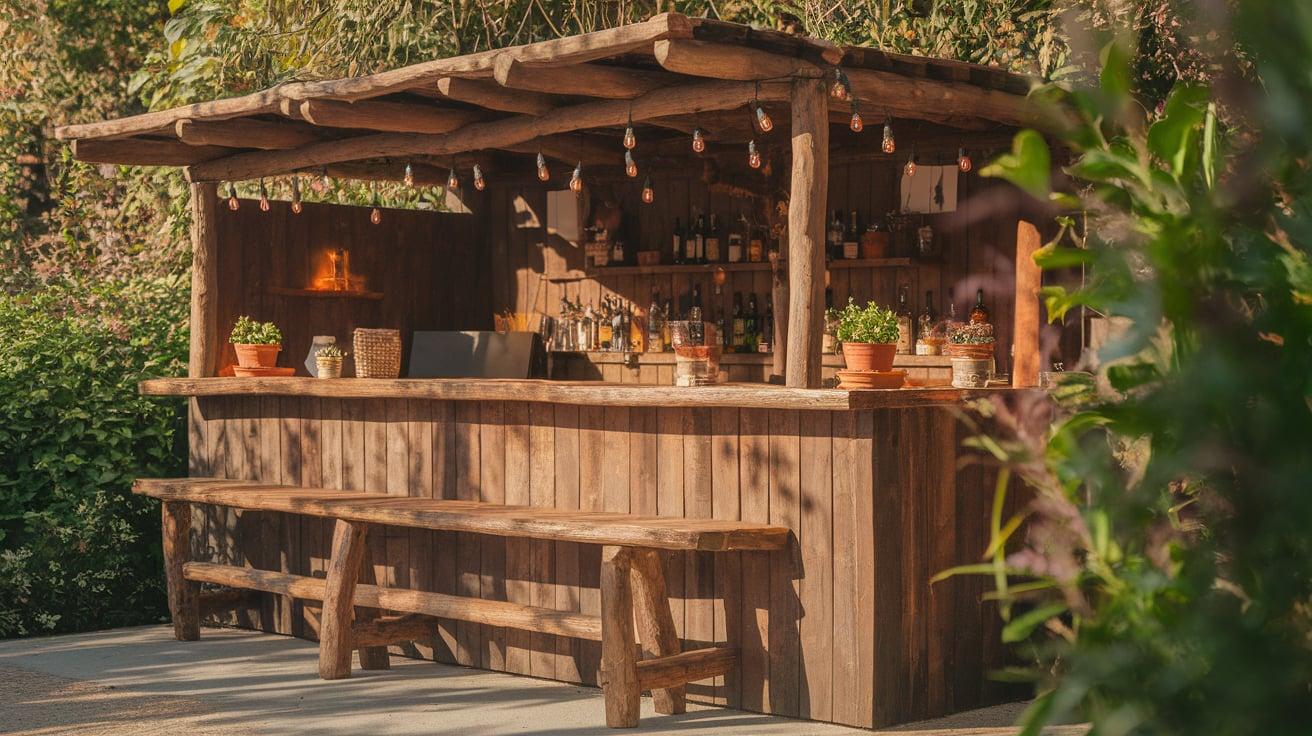
1. Repurposed Pallet Bar
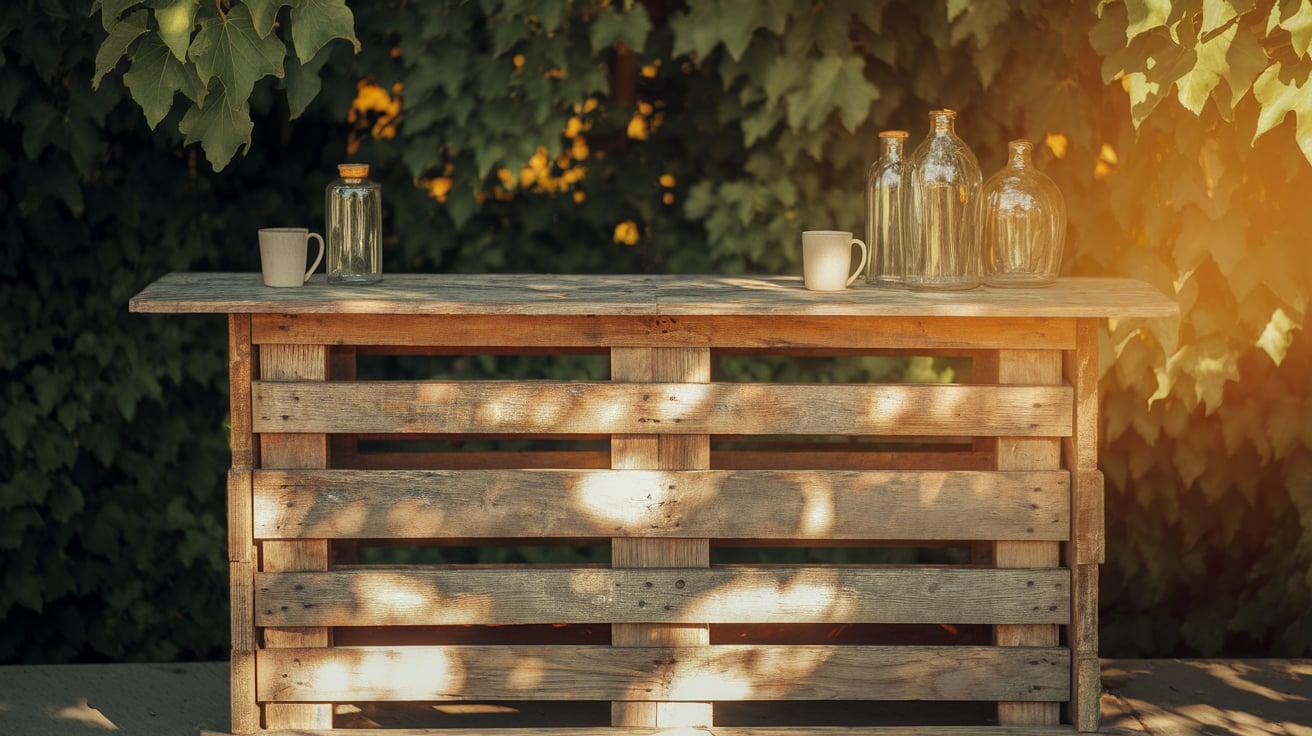
Pallets are a versatile and budget-friendly material for creating a rustic-style outdoor bar. Stack and secure pallets to form the base and shelves for your bar.
You can paint or stain the wood to match your outdoor décor. Add a countertop made of wood or stone for a finished look, and don’t forget to include some hanging shelves for storing glasses and bottles.
2. Bar with Built-In Cooler
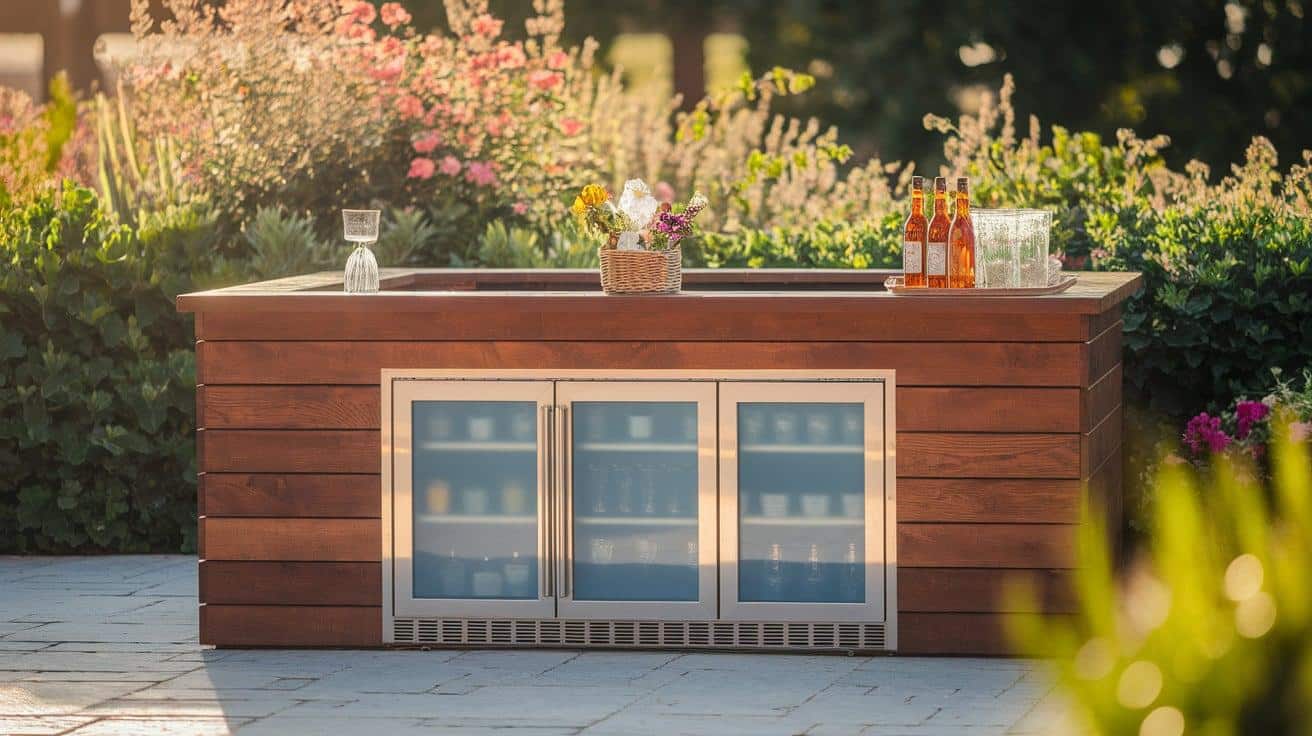
For convenience, integrate a built-in cooler into your bar design. This can be as simple as using a large cooler beneath the bar countertop or building a custom cooler box into the structure.
This way, your drinks stay cold without the need for extra ice buckets, and everything is within reach.
3. Tiki Bar Theme
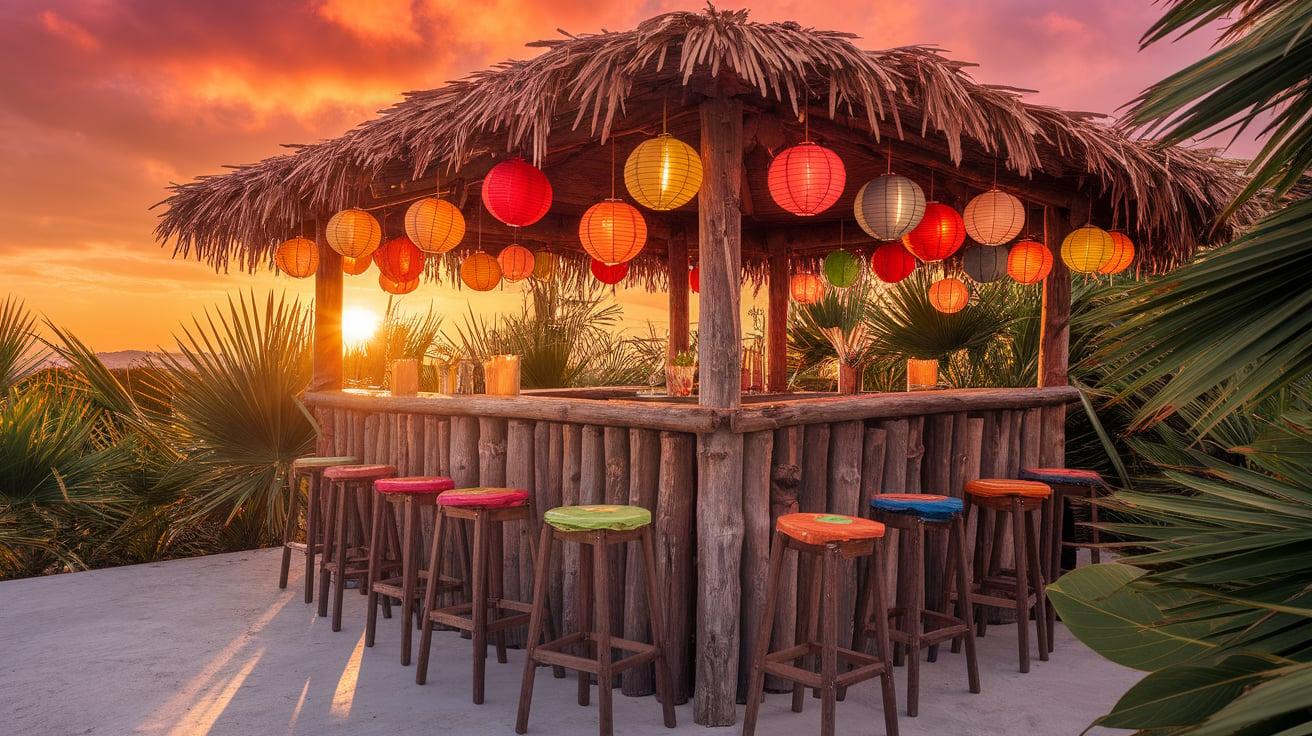
If you love the island vibes, go for a tiki bar theme. Use bamboo, palm leaves, and tropical accents to create a relaxed and festive atmosphere.
You can even add string lights, tiki torches, and a thatched roof to really sell the tropical look. A tiki-style outdoor bar is perfect for summer nights and will transform your backyard into a vacation-like destination.
4. Mini Wine Bar
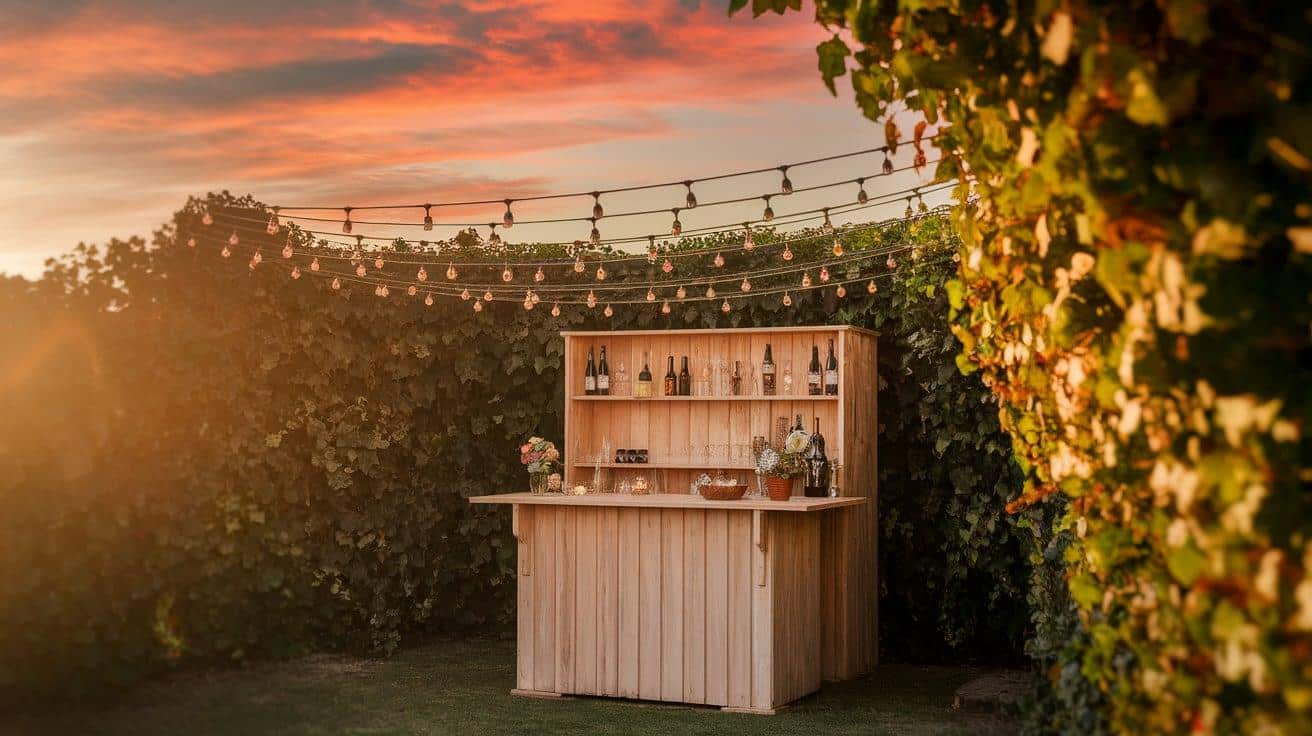
For wine lovers, a mini wine bar can be a stylish and compact addition to your outdoor space. Use reclaimed wood to build a simple bar with racks or shelves to store your favorite wines and glasses.
Add a small countertop for wine pouring, and don’t forget to include some decorative elements, such as vintage wine crates or a cork collection.
5. Bar with a Built-In Fire Pit
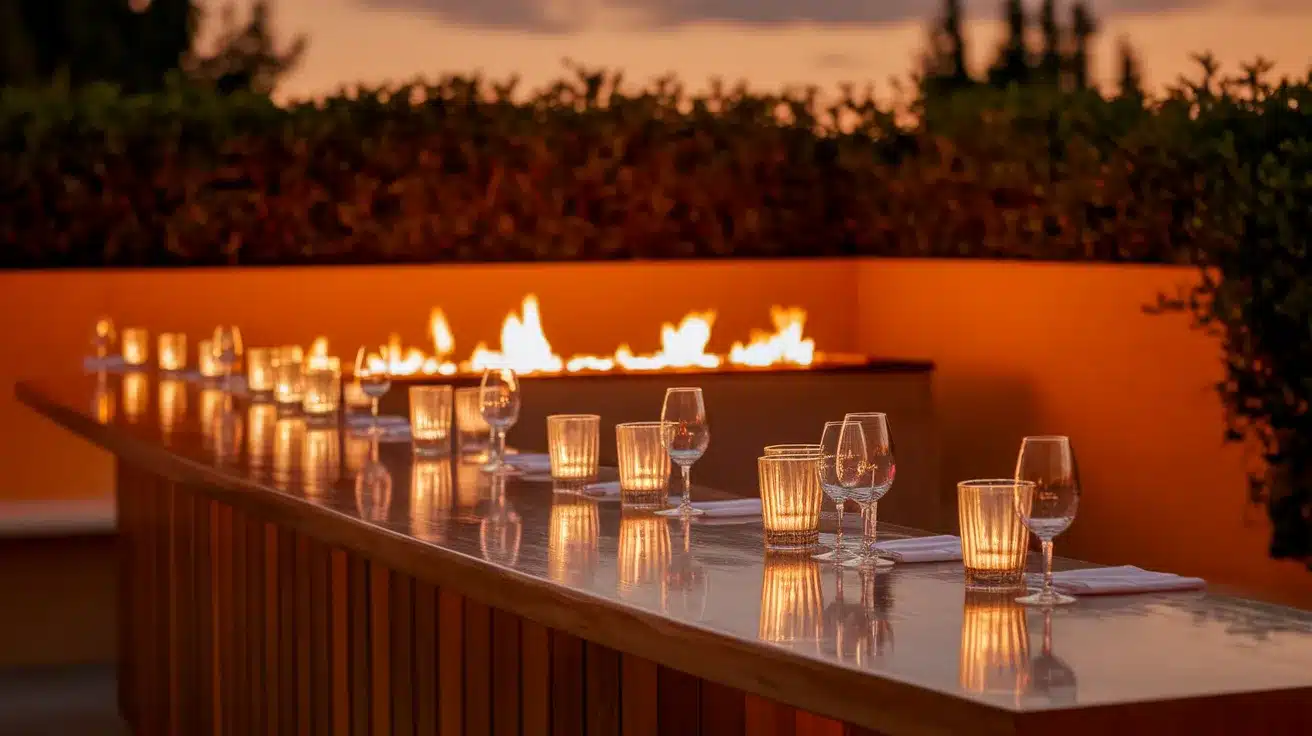
Combine the charm of a fire pit with your bar setup for a cozy and inviting space. You can build your bar around an existing fire pit or incorporate a small, portable fire feature into the design of the bar.
Not only will this create a warm, social atmosphere for guests, but it’s also perfect for chilly evenings spent outdoors.
6. Upcycled Bar Cart
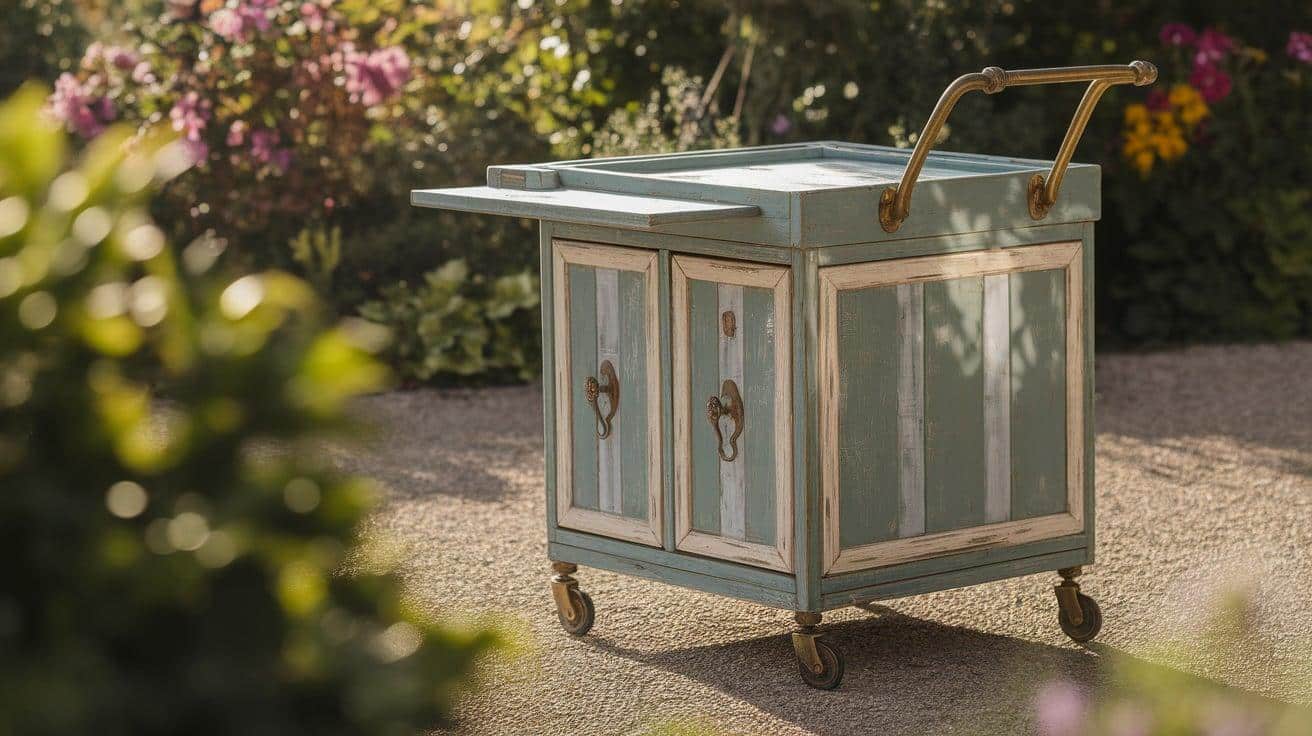
If you’re working with a smaller outdoor space, consider an upcycled bar cart. You can find old carts, tables, or cabinets at flea markets or thrift stores and repurpose them into a mobile bar.
Personalize the cart with paint, new hardware, and outdoor-friendly storage for bottles, glasses, and bar tools. It’s portable, space-saving, and stylish.
7. Repurposed Barrel Bar
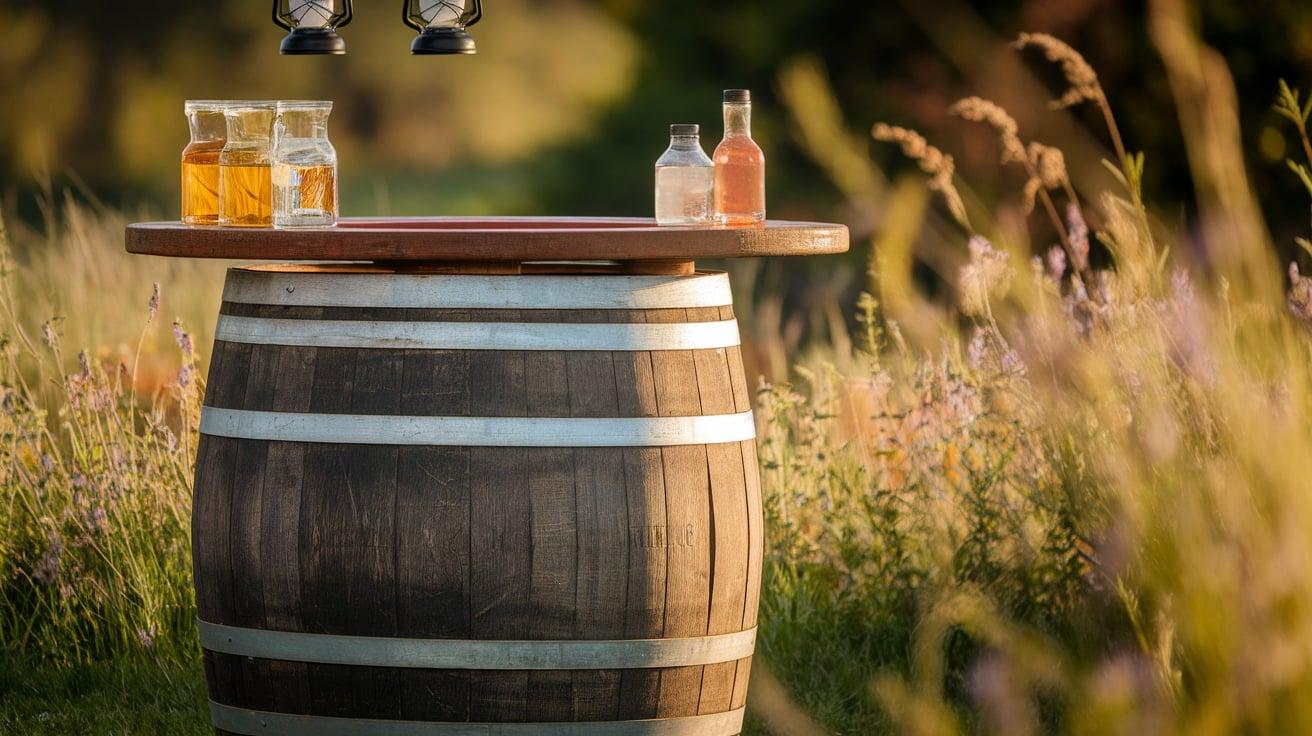
For a truly unique touch, use a repurposed barrel to create the base of your outdoor bar. You can transform a wine or whiskey barrel into a circular bar top or bar base.
Pair it with rustic wooden shelves and a simple countertop for a sophisticated, country-inspired bar.
8. Bar with Built-In Seating
Enhance your outdoor bar with built-in seating for added functionality and convenience. This creates a social environment where guests can sit comfortably while enjoying their drinks.
9. Modern Minimalist Bar
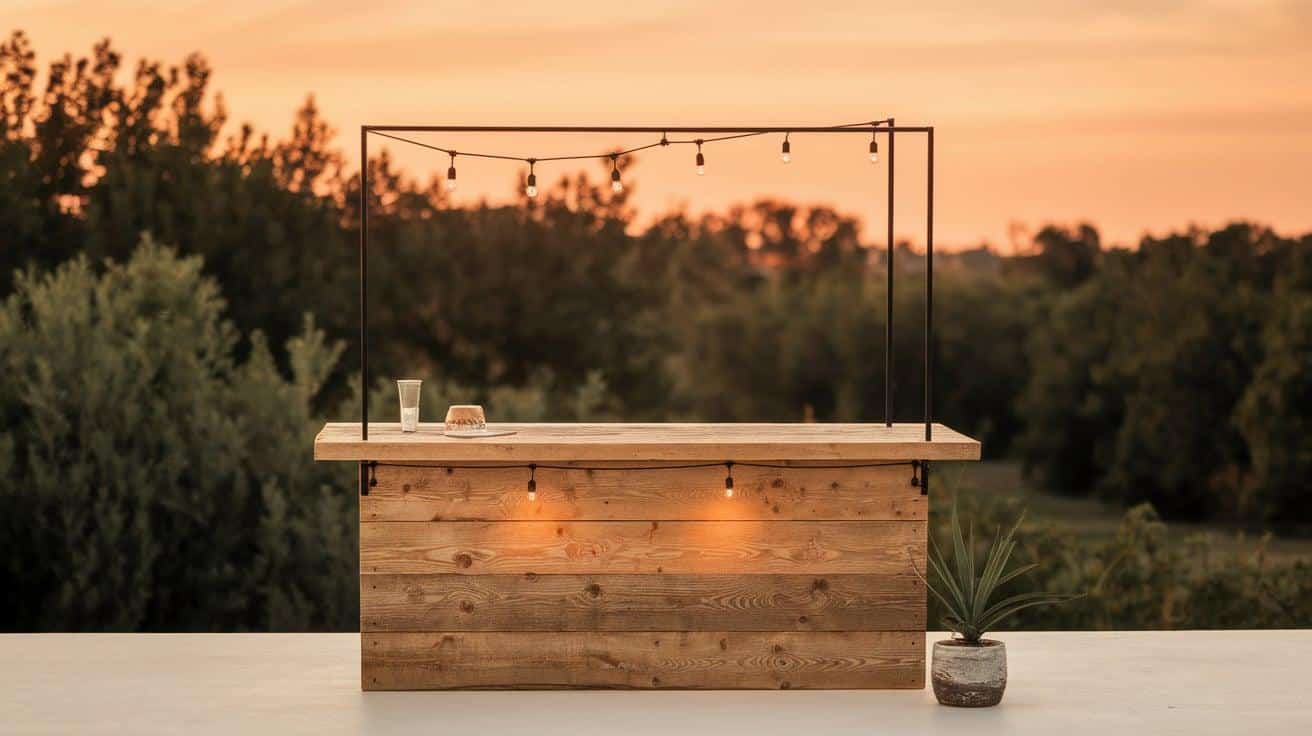
For a more contemporary look, go for a minimalist outdoor bar. Use clean lines, a simple countertop, and neutral colors like black, white, or gray.
Stainless steel or concrete countertops work well for a sleek, modern finish, and add some geometric shelving for bottle storage. It’s a perfect option for a modern, stylish backyard.
10. Outdoor Bar with Lights
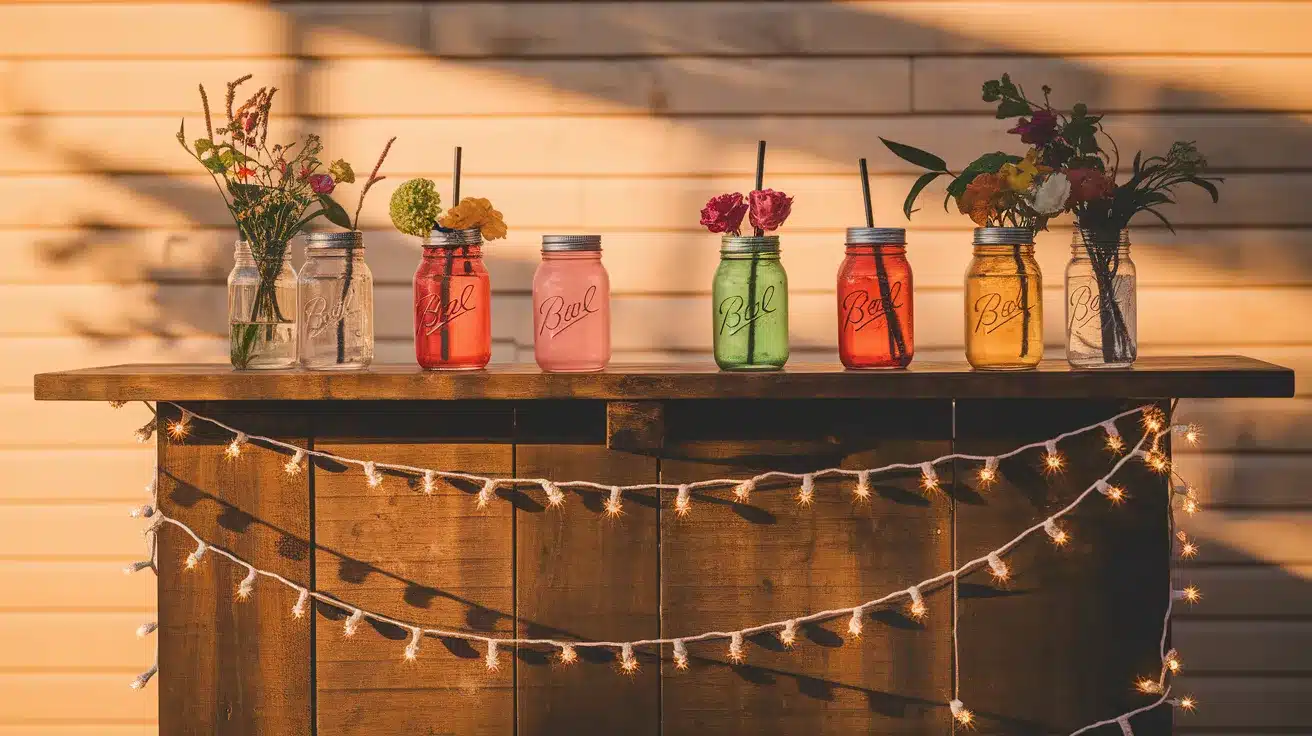
Create a bar that shines even when the sun sets by incorporating lights into your design. Add LED strip lights underneath the bar counter or install pendant lights overhead for a fun and functional lighting effect.
These ideas will help you create a functional and stylish DIY outdoor bar tailored to your space and needs!
In Conclusion
Creating Your Custom Outdoor Bar Is an Enjoyable Project that Can Elevate Your Yard Space While Remaining Cost-Effective.
From Repurposing Existing Items to Adding Personal Touches, You Have Endless Options for Designing a Space that Matches Your Preferences and Requirements..
Are You Prepared to Begin? Collect Your Supplies, Tap into Your Innovative Spirit, and Transform Your Yard into a Stylish Retreat.
We encourage you to display your completed outdoor bar—we’re excited to see your projects! Enjoy constructing!
Looking for more ideas? Check out our other DIY Project guides to create a space that’s uniquely yours.