Want to make an envelope but don’t have any glue on hand? Many people face this common problem when sending last-minute cards or notes.
You might think making envelopes requires special tools or adhesives, but the truth is you can create sturdy, functional envelopes using just paper and simple folding methods.
By learning these no-glue techniques, you’ll save money on store-bought envelopes and add a personal touch to your letters. Plus, these methods work with materials you already have at home.
Ready to make your own envelopes right now? This guide will show you step-by-step how to fold paper into perfect envelopes without using a single drop of glue. Let’s start folding!
Why Make an Envelope without Glue?
Making envelopes without glue has clear benefits.
It’s better for the environment since you avoid chemical adhesives and can reuse paper that would otherwise be wasted. This method saves money too, as you can use materials you already have at home instead of buying store-bought envelopes.
The no-glue approach gives you freedom to create custom sizes and designs that match your needs.
Best of all, you won’t deal with sticky fingers, drying time, or paper warping from wet adhesive. It’s a clean, simple process that produces envelopes that are just as functional as store-bought ones.
DIY Envelope Without Glue: Step-by-Step Guide
Tools and Materials You’ll Need
Before starting your no-glue envelope project, gather these basic supplies. The beauty of this craft is that you likely have most items at home already.
| Category | Items | Notes |
|---|---|---|
| Essential Supplies | Paper | Regular printer paper, crafting paper, magazine pages |
| Scissors | Sharp scissors work best for clean edges | |
| Ruler | For precise measurements and straight folds | |
| Pencil | For marking fold lines | |
| Optional Tools | Rubber stamps | For decorating the exterior |
| Washi tape | Can secure flaps and add color | |
| Thread | For stitched closure options | |
| Bone folder | Makes crisp, professional-looking folds | |
| Paper Types | Printer paper | 20-24 lb weight, good for simple envelopes |
| Crafting paper | Sturdier, comes in various colors | |
| Magazine pages | Colorful and free, but less durable | |
| Old calendars | Thick paper with built-in designs | |
| Recycled maps | Unique patterns, conversation starter |
Step 1: Measuring and Cutting the Paper
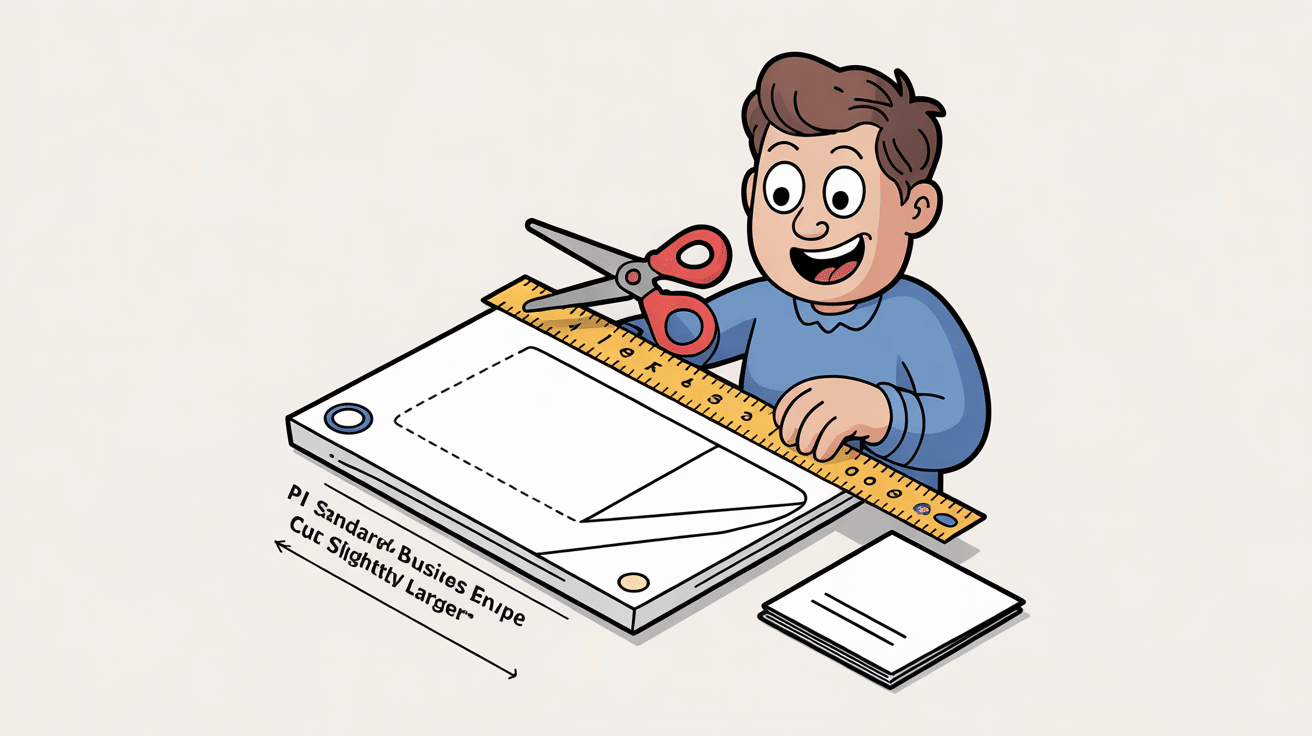
Select a paper that’s about twice as wide as your content. This gives you enough material to fold and create secure sides. The size depends on what you’ll put inside – cards need square shapes while letters work better in rectangular ones.
- Cut printer paper in half for a standard business envelope
- Quarter a sheet for small notes or cards
- Choose paper with the right thickness for your contents
Pro Tip: Always cut slightly larger than needed. You can trim excess later, but you can’t add paper once cut.
Step 2: Folding the Paper for the Envelope
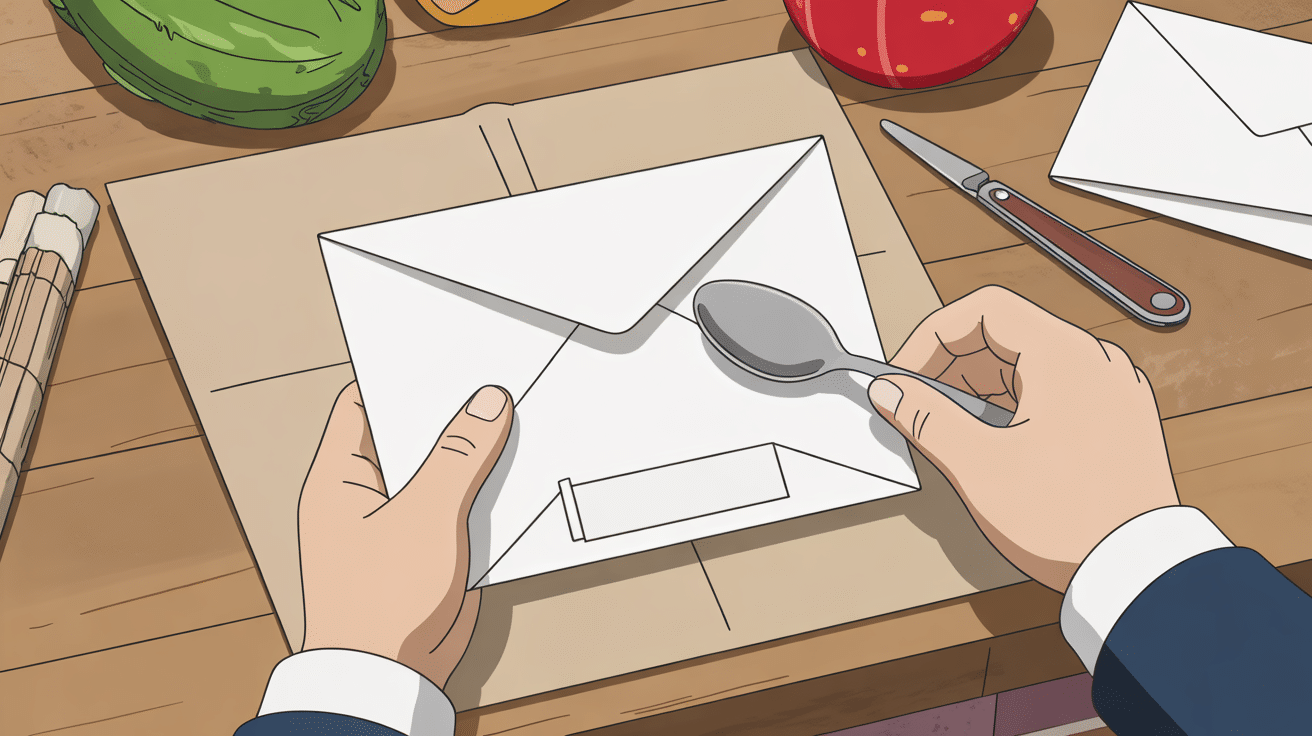
Place your paper with the decorative side down. Fold the bottom third up and the top third down. Check if your content fits inside before making firm creases.
- Test fit before finalizing folds
- Adjust for thicker items by making the middle section larger
- Keep all folds straight for a clean look
Pro Tip: Use the back of a spoon along fold lines for crisp, professional creases.
Step 3: Sealing the Envelope Without Glue
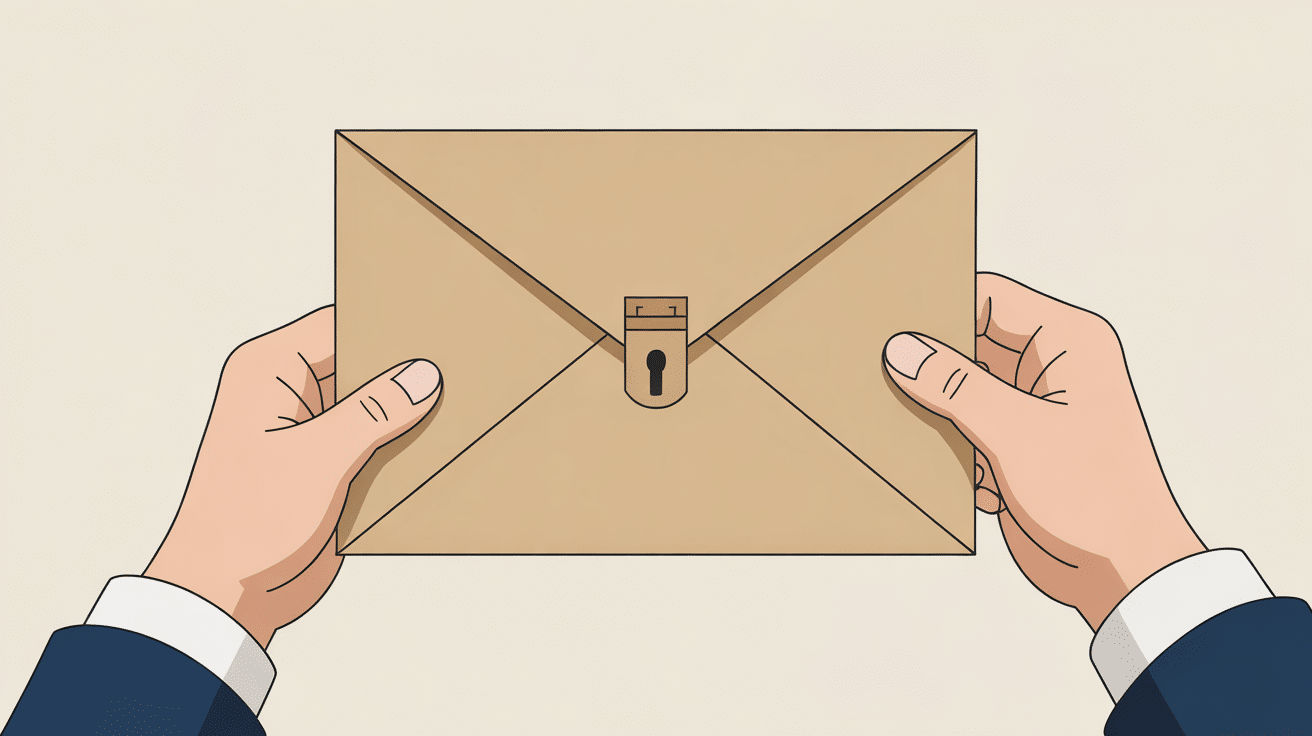
Create a tuck-in flap by cutting small triangles off the top corners at a 45-degree angle. Fold the sides in, then fold the top down so it tucks into the side folds.
- Make the tuck-in flap long enough to stay secure
- Press all folds firmly after tucking
- Test by gently shaking with contents inside
Pro Tip: Cut a small slit in the bottom fold and a matching tab in the top flap for a lock-and-key closure.
Step 4: Adding Decorative Touches
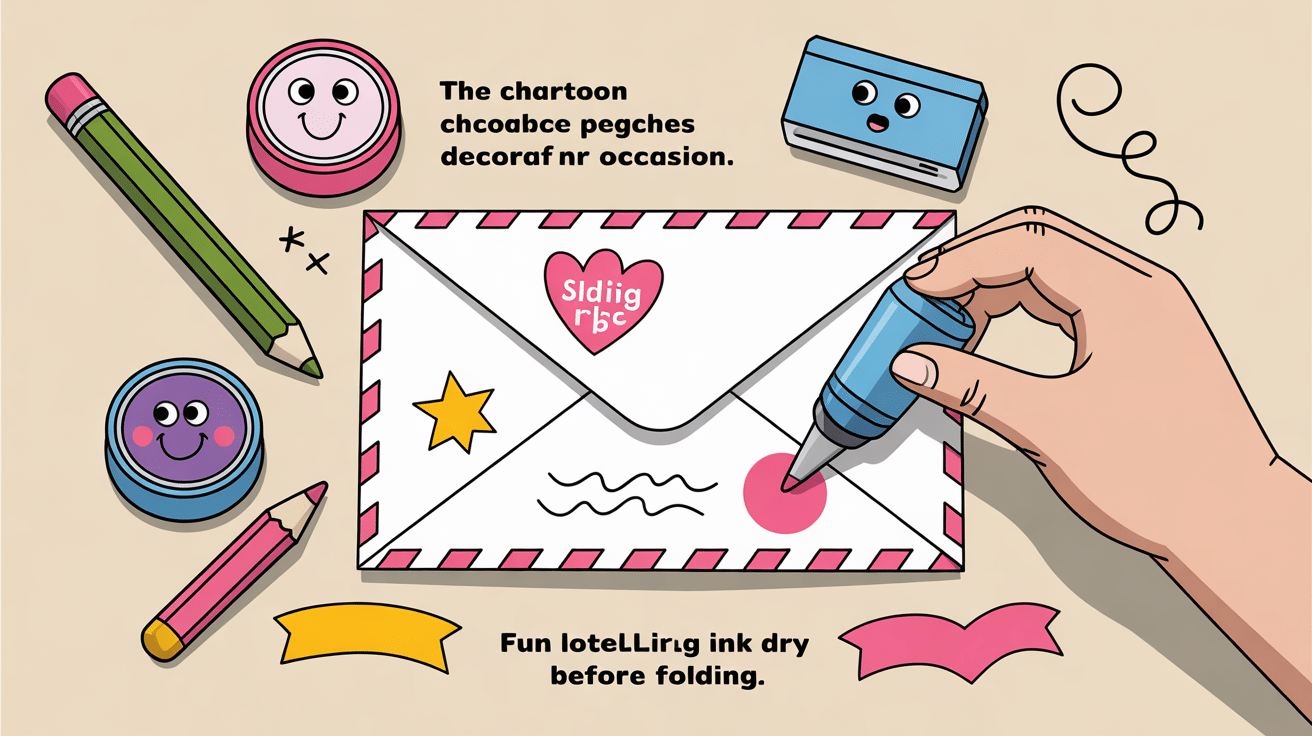
Decorate before or after assembly, though working on flat paper is often easier. Match the design to your recipient and the occasion.
- Use rubber stamps for patterns or messages
- Add colored pencil designs along the edges
- Apply washi tape for both decoration and extra security
Pro Tip: Let ink dry completely before folding to avoid smudges.
Step 5: Ensuring Durability
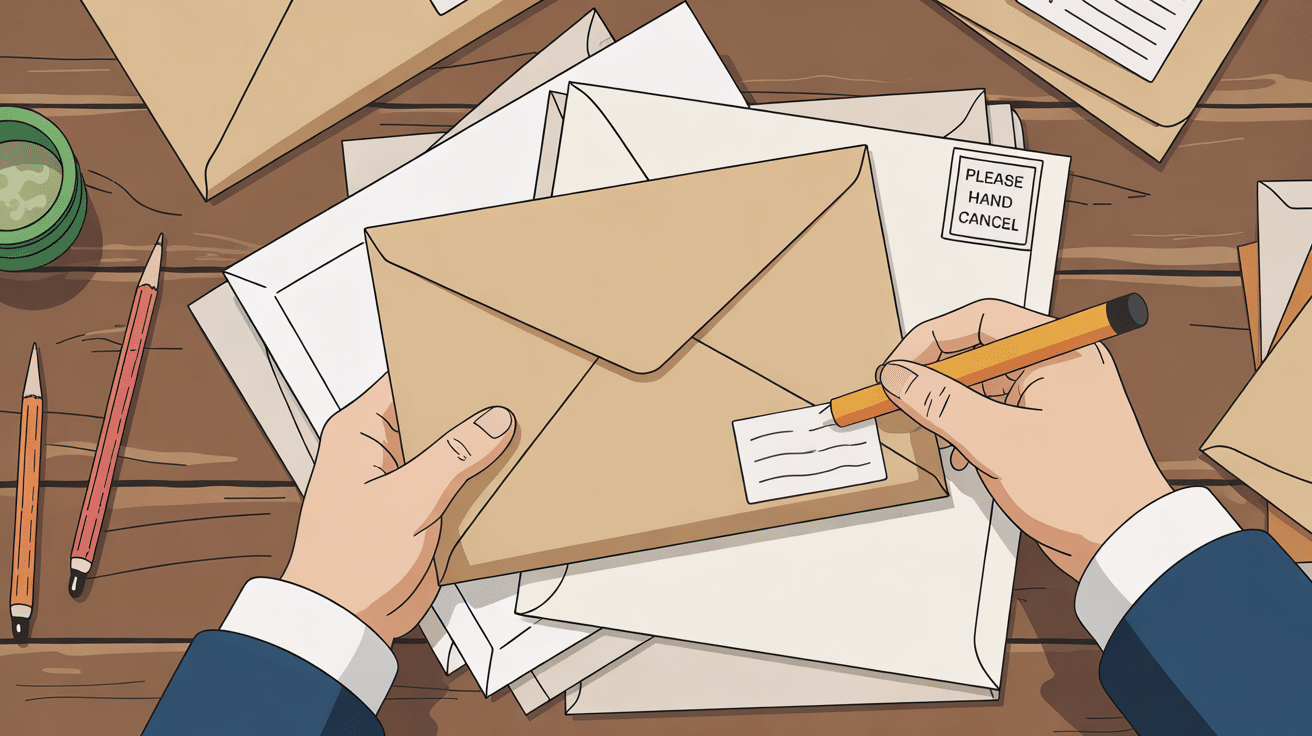
Paper weight affects durability – standard printer paper works for light contents, but use cardstock for heavier items. Well-creased folds create structure that helps maintain shape.
- Secure all corners before sending
- Consider an extra layer for mailed envelopes
- Use thicker paper for items that might bend
Pro Tip: Include a piece of cardstock with mailed envelopes and write “Please Hand Cancel” for gentler postal handling.
Creative Ideas for Different Occasions
DIY Greeting Cards
1. What they are: Custom envelopes that match your handmade cards in color, pattern, and style
2. Best uses: Birthdays, weddings, sympathy, thank you notes, and other personal correspondence
3. Materials needed: Same paper as your cards, or complementary colors and textures
4. Special touches: Cut a thumb notch for easy opening; include a teaser message on the outside
5. Best tip: Create and save a template of your favorite envelope size for quick future use
Eco-Friendly Invitations
1. What they are: Envelopes made from recycled or repurposed materials that demonstrate environmental values
2. Best uses: Weddings, corporate events, Earth Day celebrations, garden parties, and community gatherings
3. Materials needed: Recycled kraft paper, repurposed maps, sheet music, newspaper, or used book pages
4. Special touches: Pair with seed paper invitations; add pressed botanical elements between paper layers
5. Best tip: Number RSVP cards discreetly in pencil to track responses even if guests forget to add their names
Holiday-Themed Envelopes
1. What they are: Seasonal envelopes featuring colors, patterns, and motifs associated with specific holidays
2. Best uses: Christmas, Hanukkah, Easter, Halloween, Thanksgiving, Valentine’s Day, and other celebrations
3. Materials needed: Colored papers matching holiday themes, seasonal rubber stamps, stickers, or markers
4. Special touches: Use cookie cutters as stencils for holiday shapes; add a small amount of biodegradable glitter
5. Best tip: Create batches of seasonal envelopes in advance to have on hand during busy holiday periods
7 Common Mistakes to Avoid
Neglecting to measure twice before cutting – Always confirm dimensions before making that first cut, as paper that’s too small won’t fold properly to create secure closures.
Ignoring paper grain direction – Fold with the grain (the direction paper fibers run) whenever possible for cleaner creases and fewer cracks or tears along fold lines.
Using paper that’s too thin or flimsy – Regular printer paper (20 lb) may not hold up for larger envelopes; choose at least 24 lb paper for standard sizes and cardstock for anything holding heavier items.
Creating too small of a tuck-in flap – Your securing flap needs sufficient length to stay tucked in place; make it at least 1-1.5 inches long for reliable closure.
Overcrowding the design elements – Leave space for address and postage if mailing; too many decorations can make the envelope difficult to process or read.
Pressing too hard when scoring fold lines – Excessive pressure can cut through the paper rather than just creating a folding guide; use gentle, consistent pressure instead.
Testing the envelope empty rather than filled – Always check if your finished envelope holds its contents securely by filling it and moving it around before sending; many envelopes work when empty but pop open once filled.
Conclusion
Making envelopes without glue is both practical and fun. This simple skill lets you create custom mailing solutions with just paper and basic tools you already have at home.
Remember to choose the right paper weight for your needs, measure carefully before cutting, and make clean, sharp folds. These steps ensure your envelope looks good and works well.
The techniques shared here work for many occasions – from birthday cards to wedding invitations. You can adapt them to fit any size content or style preference.
Next time you need an envelope, try making one yourself instead of running to the store. Not only will you save money and help the environment, but you’ll also add a personal touch that store-bought options can’t match.
What will you mail in your first handmade envelope?
Frequently Asked Questions
How Do You Seal an Envelope without Glue?
You can seal an envelope without glue by using the tuck-in method, paper clips, washi tape, stickers, or by creating a slit-and-tab closure system for a secure hold.
Can You Use Water to Seal an Envelope?
No, water won’t work on no-glue envelopes. These designs rely on mechanical closures like tucking flaps, using decorative tape, or paper fasteners instead of moisture-activated adhesives.