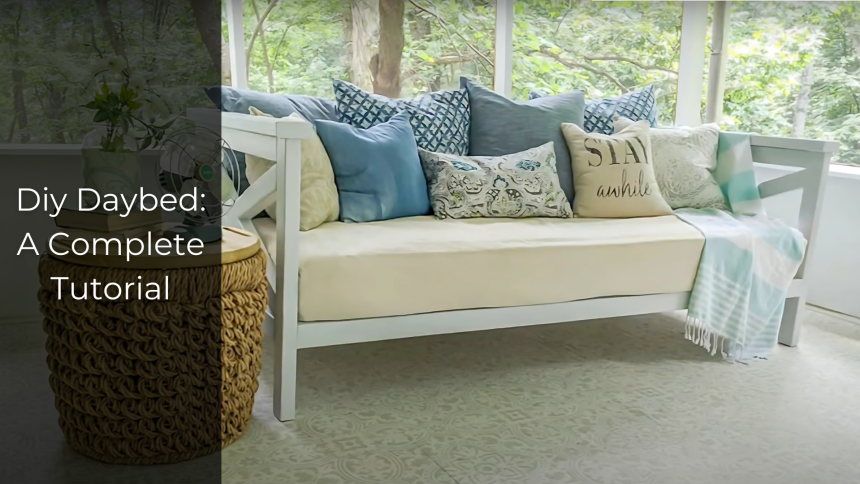
Making a DIY daybed might seem like a big project, but with the right tools and instructions, it’s actually quite manageable.
This weekend project can save you money while giving you a custom piece that fits perfectly in your space.
A daybed serves as both comfortable seating and an extra sleeping spot for guests. By building it yourself, you control the size, style, and finish to match your home’s look.
This guide breaks down the process into clear steps, from gathering materials to adding the final touches.
We’ve included detailed measurements, tool recommendations, and helpful tips to make your building experience smooth and successful.
Ready to create a beautiful, functional daybed that will impress your friends and family? Let’s get started with the essentials you’ll need.
Must-Have Tools for Your DIY Daybed
Before you begin building your daybed, make sure you have the right tools for the job. These essential tools will help ensure your project goes smoothly and your daybed is both sturdy and beautiful.
| Tool | Purpose | Why You Need It |
|---|---|---|
| Kreg Jig | For making pocket holes | Ensures strong, secure connections for building furniture. |
| Wood Glue | To bond wood pieces together | Provides extra strength to the joints for durability. |
| Finishing Nails | To attach certain wood pieces (like X shapes) | Helps keep pieces in place during assembly. |
| Screws | For connecting larger parts of the frame | Essential for creating a sturdy frame. |
| Scrap Wood | To support slats while attaching them | Keeps slats aligned and properly spaced. |
| Drill | For creating holes and screwing parts together | Makes assembly easier and faster. |
| Paint or Stain | To finish with color or protective coating | Protects the wood and gives a polished look. |
| Nail Gun (Optional) | For a cleaner, faster finish on the nails | Provides a professional finish, especially for top boards. |
| Plywood (Optional) | For added mattress support | Strengthens the daybed, especially if used outdoors. |
DIY Process in 6 Simple Steps
Building a daybed is a straightforward project. By following these six simple steps, you’ll have a sturdy and stylish piece of furniture in no time. Let’s get started!
1. Cut the Wood to Size

Start by cutting all your wood pieces according to the measurements listed below. These pieces will form the main structure of your daybed.
(15) 2x3s @ 8 ft for the frame and side supports.
(1) 2×2 @ 8 ft for the back support.
(1) 2×4 @ 8 ft for the front cross piece.
1/4″ plywood @ 36″ x 73″ for the mattress support.
Pro Tips:
- Before cutting, carefully check that all your pieces are measured correctly. One wrong cut can throw off the whole project.
- A miter saw will help ensure precise, clean cuts, especially when cutting the angled pieces for the back frame.
- Use a circular saw for the 1/4″ plywood to make straight, smooth cuts. A guide can help if you don’t have a straight edge on hand.
2. Build the Sides
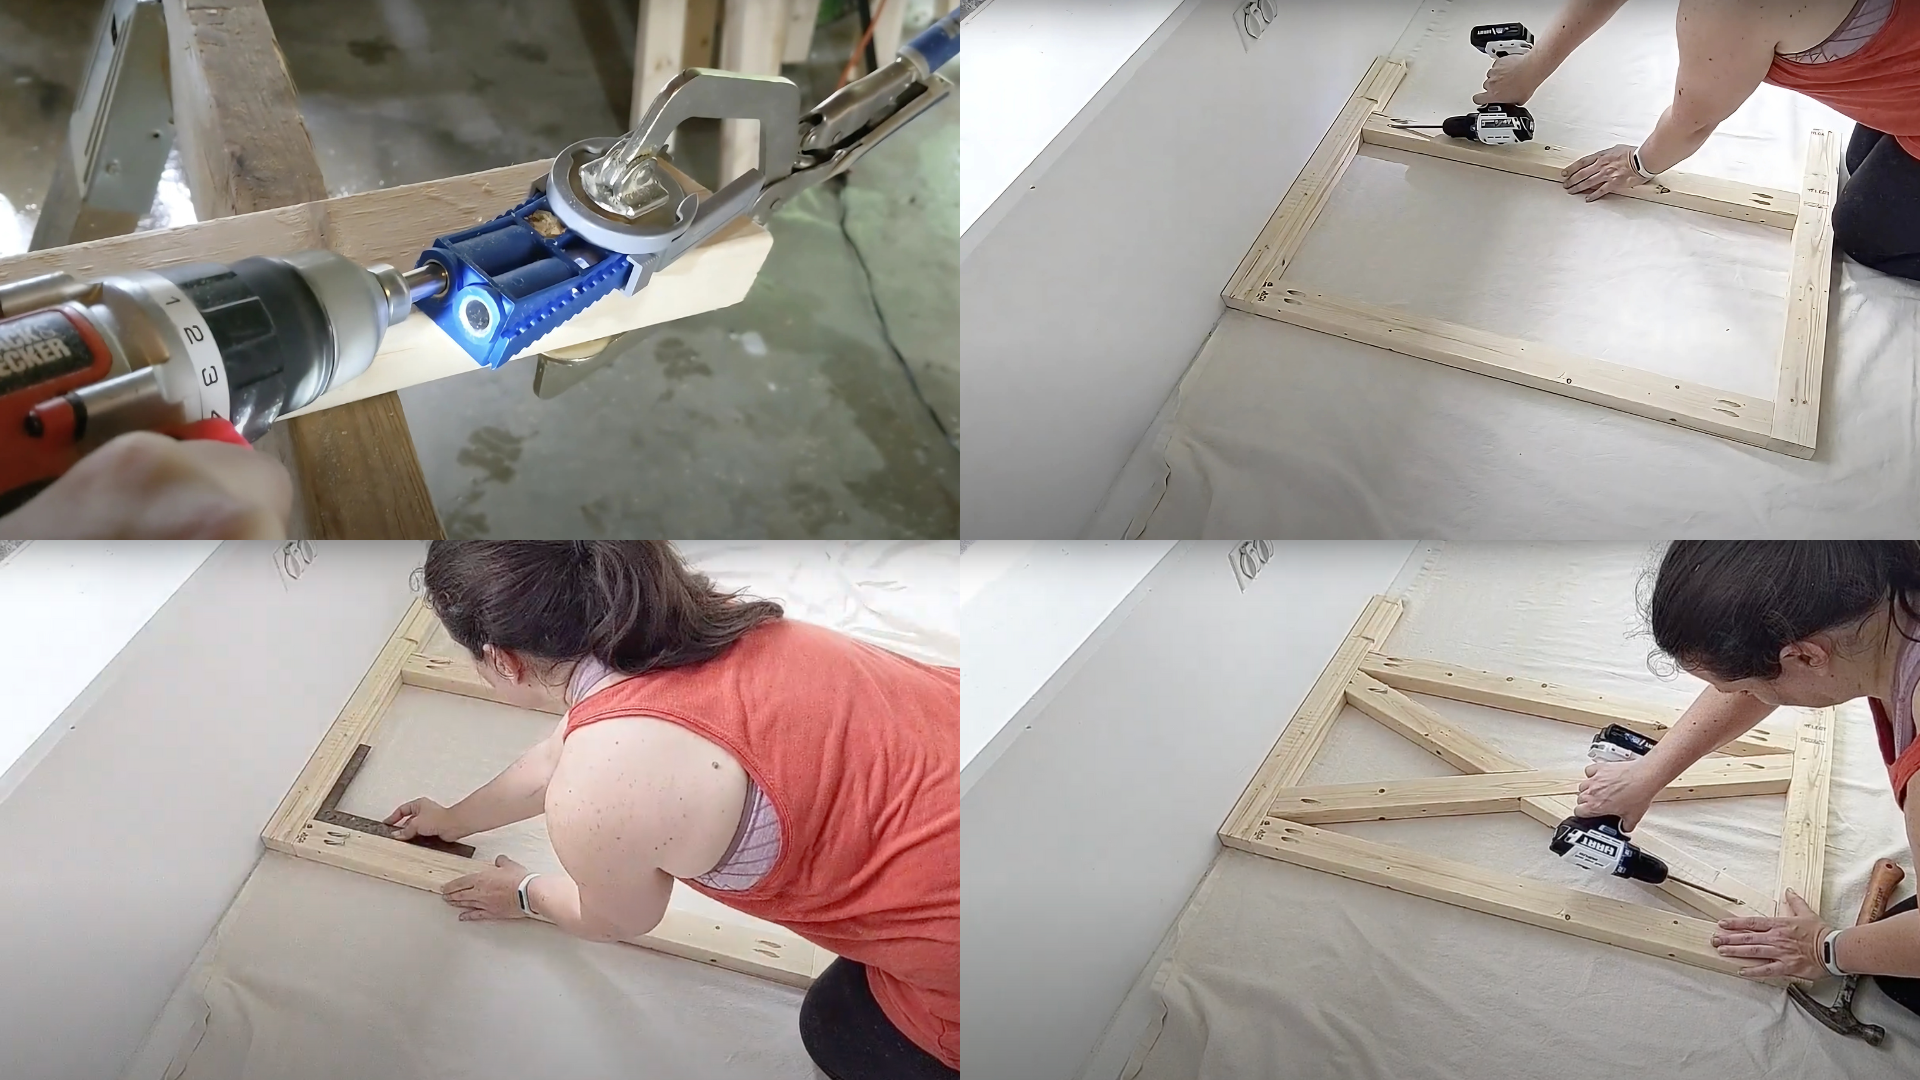
Using your Kreg jig, create pocket holes for the side frames (15 pieces of 2x3s). Assemble the two side frames of your daybed, ensuring everything is square.
Attach the X-shaped support in the middle of each side with wood glue, finishing nails, and pocket screws.
Pro Tips:
- When assembling the side frame, use a carpenter’s square to ensure the angles are perfect. This helps with alignment and the overall sturdiness of the structure.
- Make sure you’re using the right settings on your Kreg jig to avoid making too large or too small pocket holes. Correct hole size ensures a secure, strong joint.
- Clamp the pieces together while drilling and screwing them into place for a more stable and precise fit.
- Apply wood glue to the edges of each X-shape joint before screwing them together for added strength and durability.
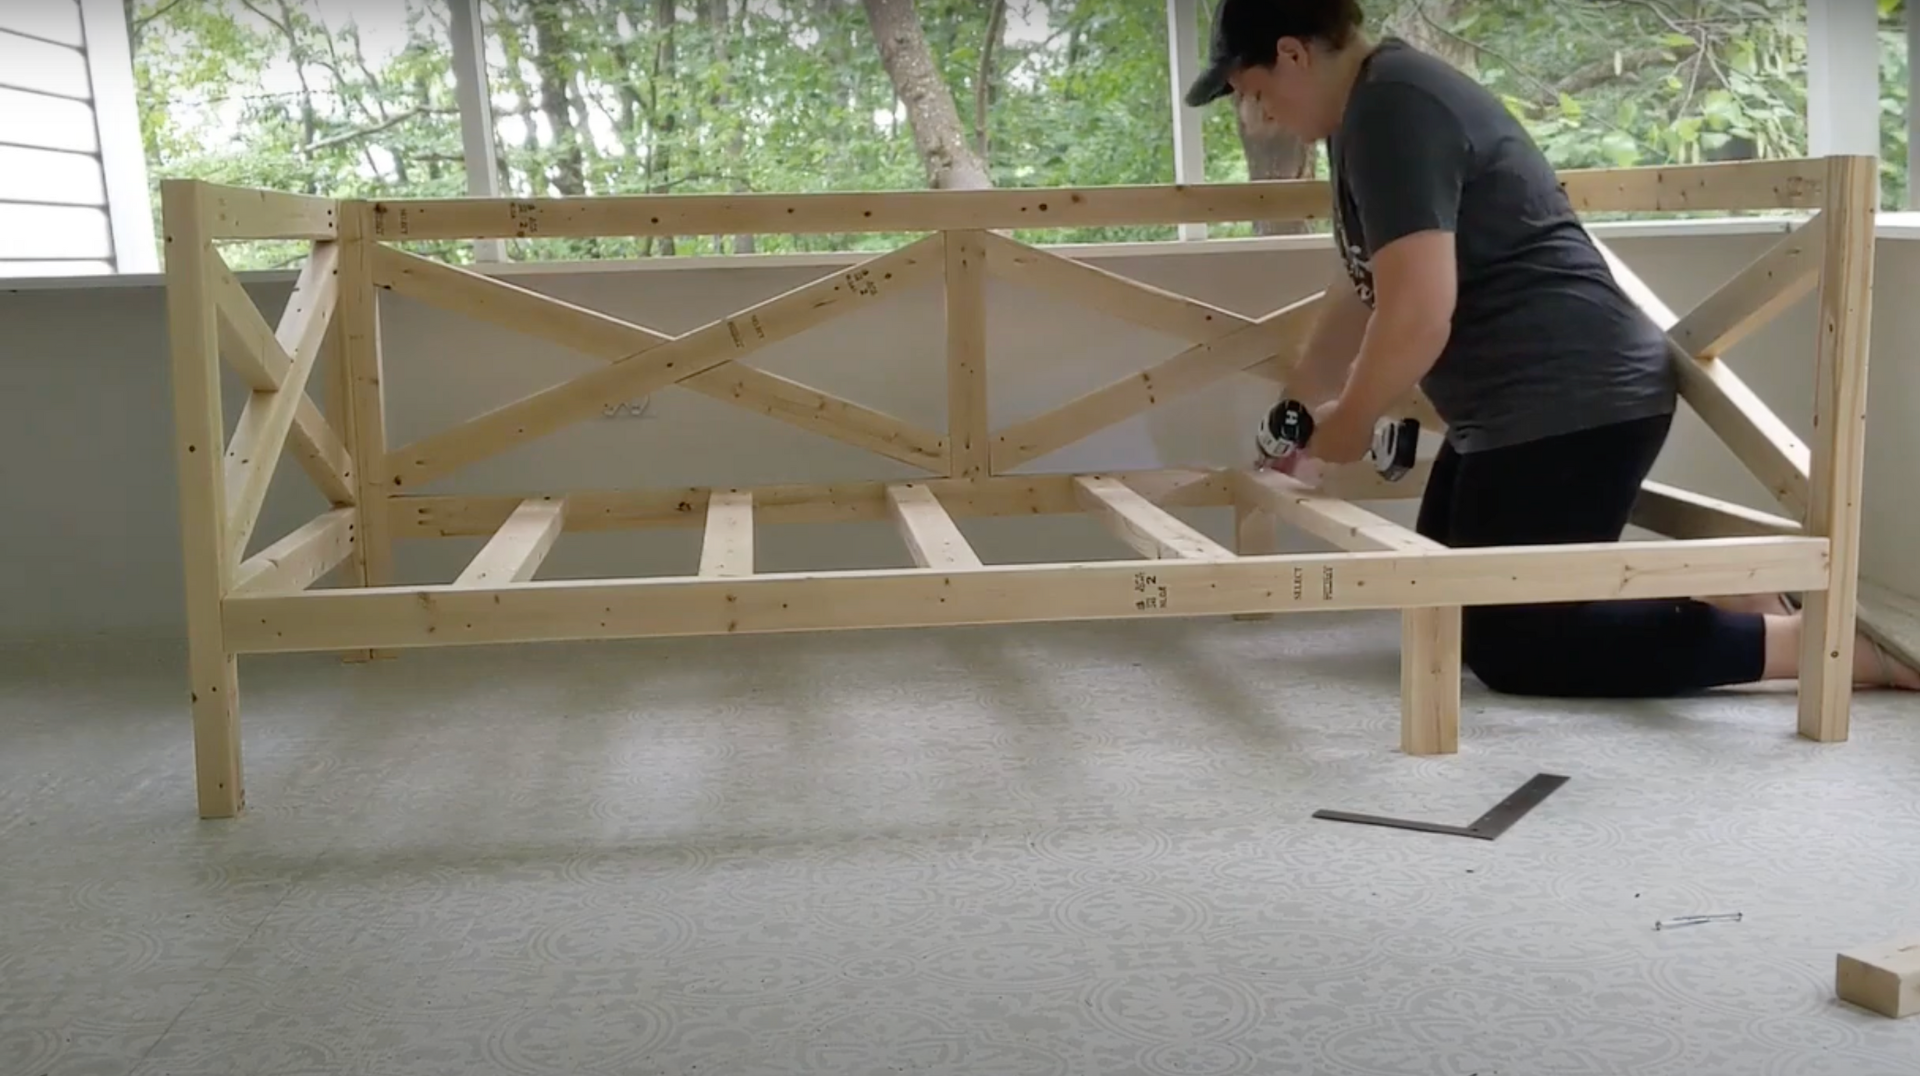
3. Build and Assemble the Back Frame
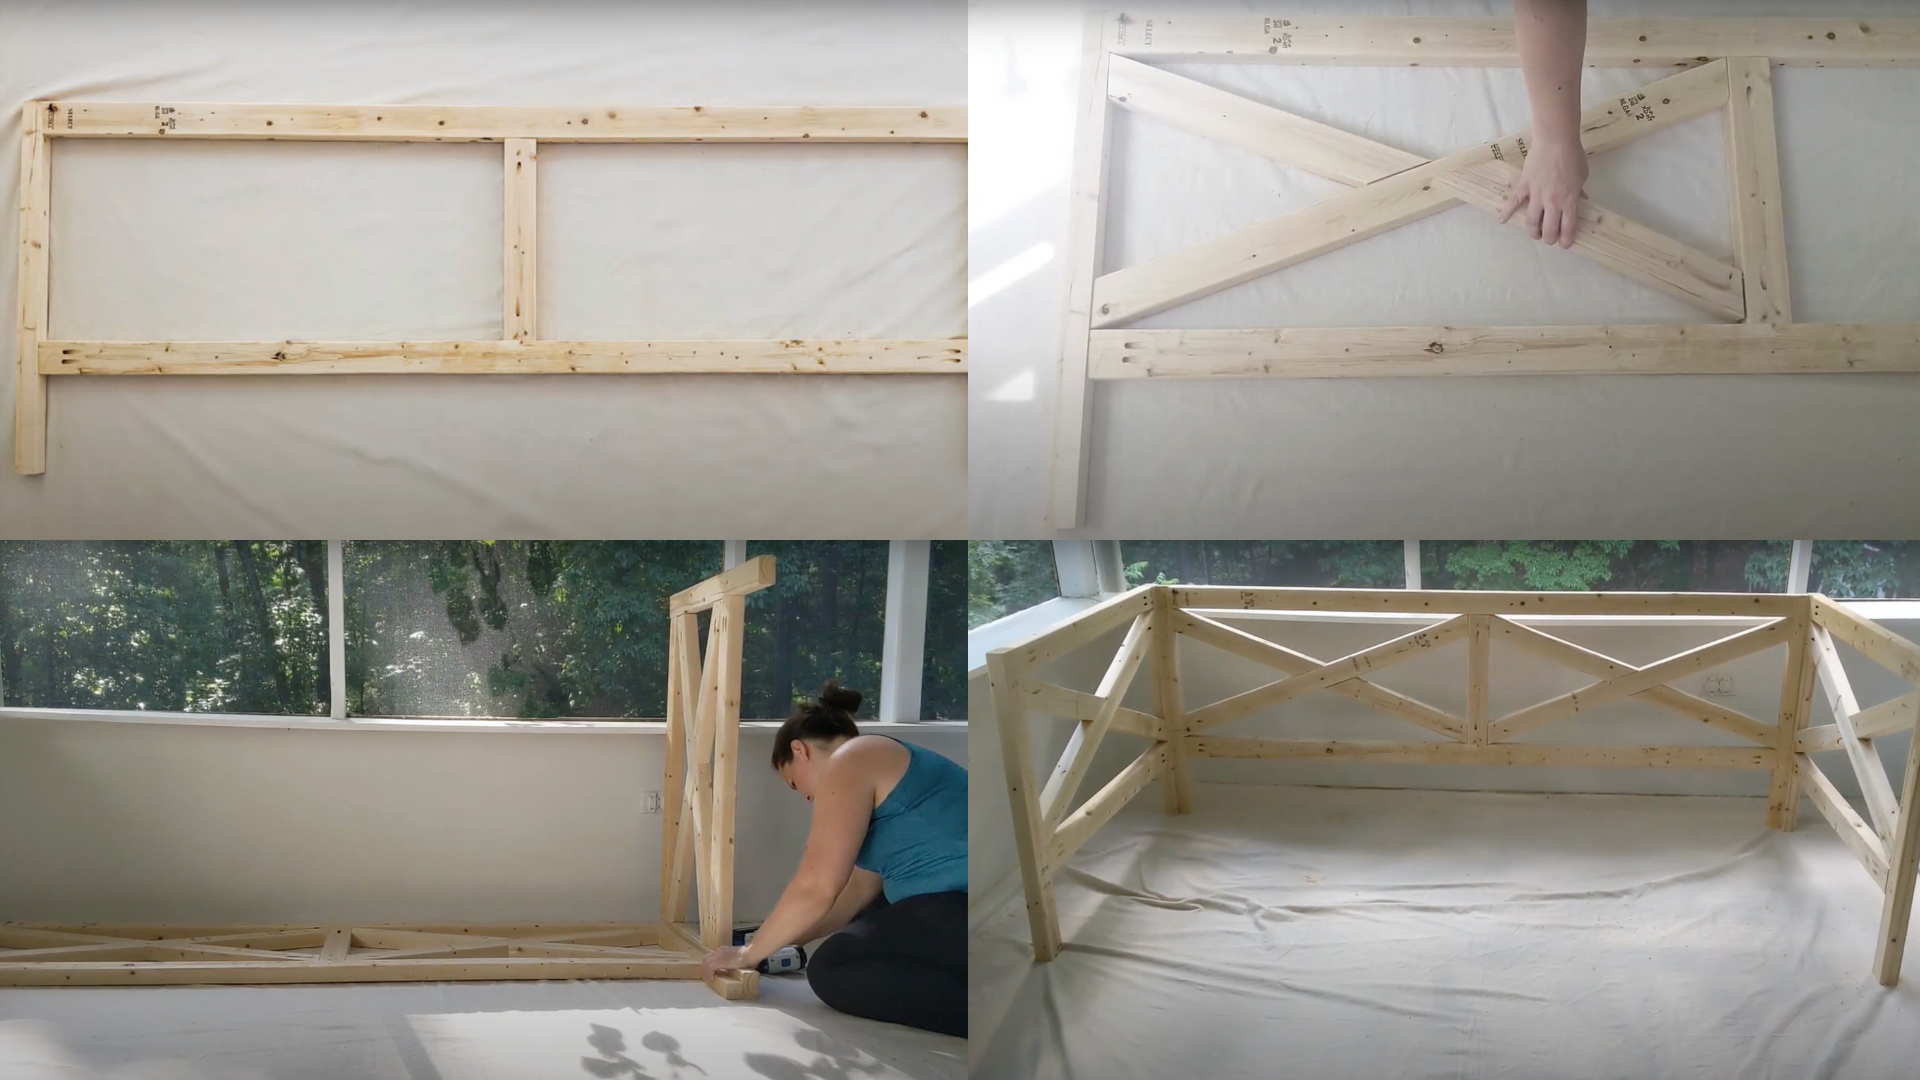
For the back of the daybed, you need to cut the 2x3s and 2x2s at a 20-degree angle. This angle ensures the back frame fits snugly and gives your daybed a sturdy, clean look.
How to Assemble:
- Cut the Pieces: Cut your 2x3s and 2x2s at a 20-degree angle using a miter saw for the back frame.
- Dry Fit the Frame: Arrange the pieces to check the fit before attaching them, ensuring the angles align correctly.
- Attach to the Sides: Once satisfied with the fit, pre-drill holes and attach the angled pieces to the side frames to avoid splitting.
- Secure with Screws: Screw the back frame into place, ensuring everything is flush and square for a stable structure.
Pro Tips:
- Use a protractor or adjustable angle ruler to measure the 20-degree cuts accurately. Small errors can affect the fit.
- Lay the pieces out without attaching them first to check the fit and ensure alignment before assembly.
- Use screws long enough to go deep into the wood for a secure, stable connection.
4. Attach the Front Piece
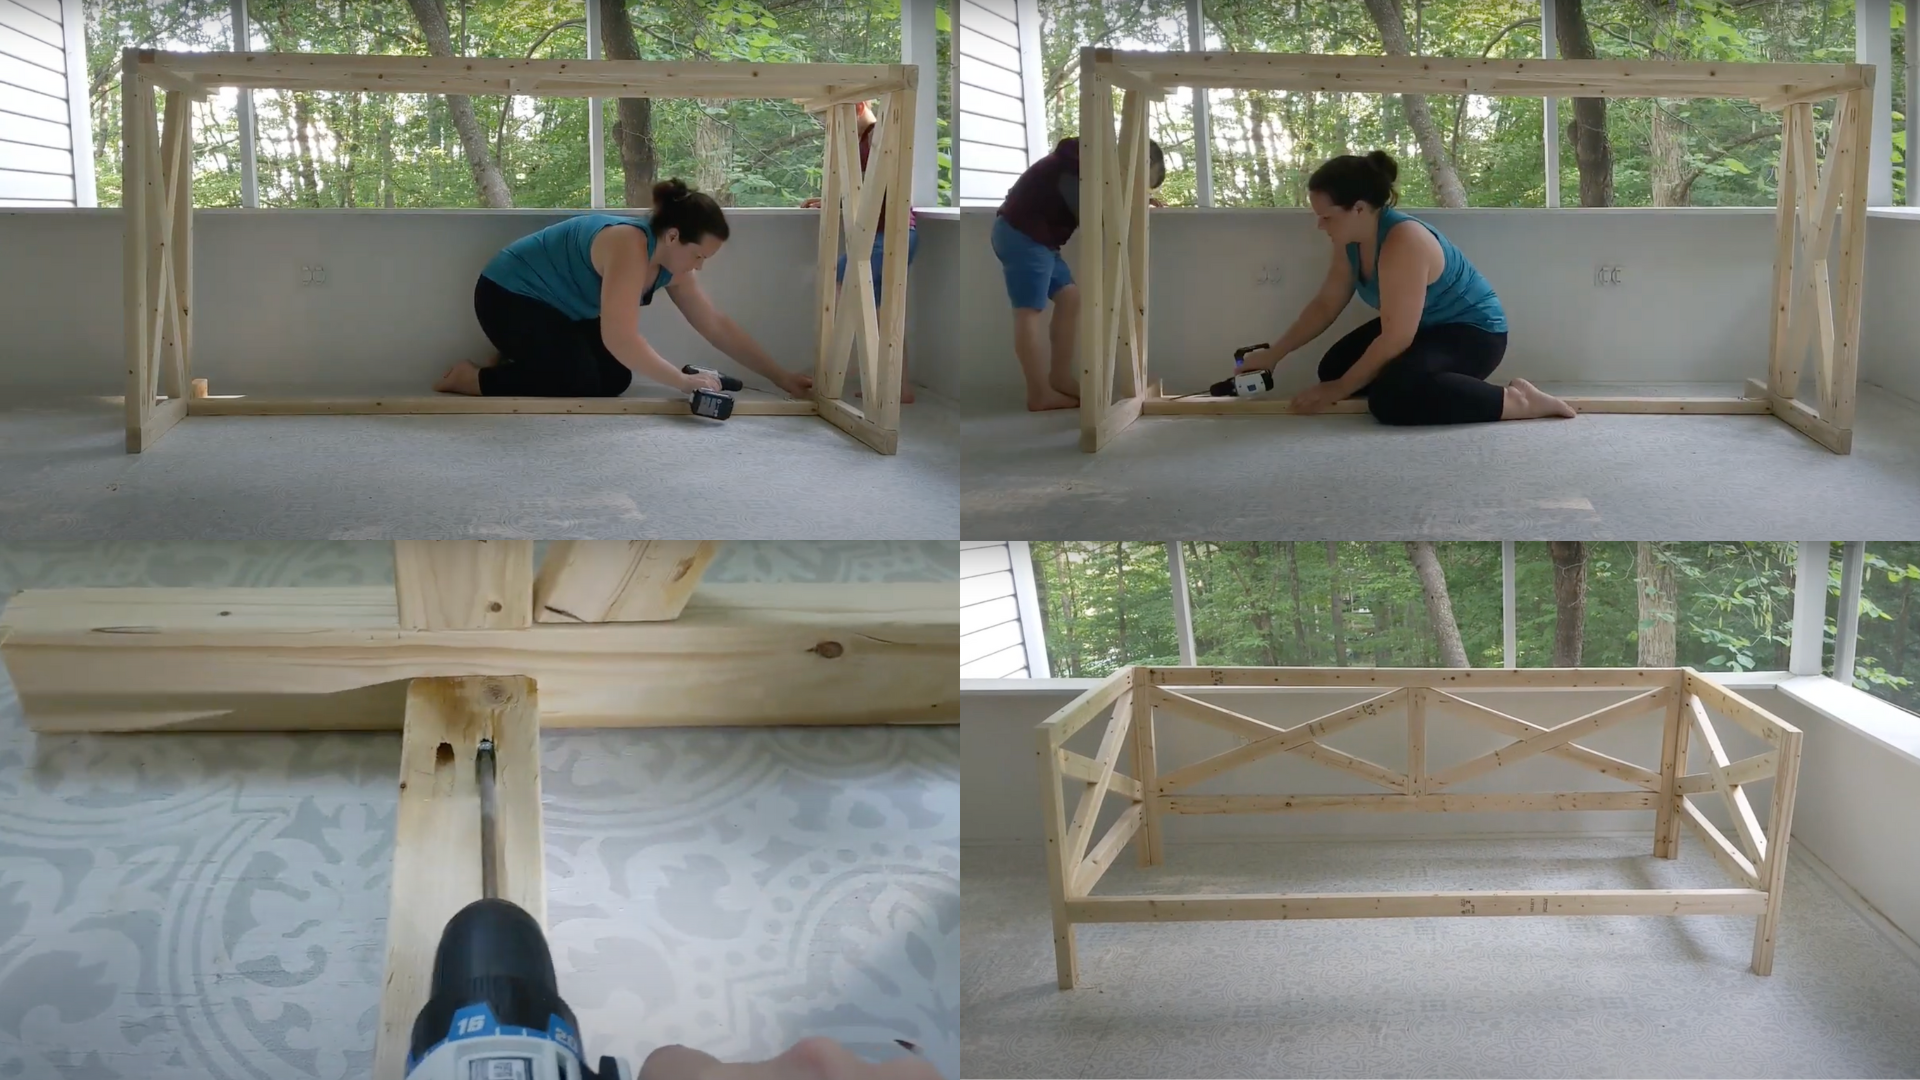
Add a 2×4 piece across the front of the daybed frame to complete the structure. This piece stabilizes the daybed and gives it a finished look.
Pro Tips:
- Apply a thin layer of wood glue to the edges of the 2×4 before securing with screws for extra strength. This will help the piece stay sturdy over time.
- Use clamps to hold the front piece in place while you drill and screw it in, ensuring it’s perfectly aligned with the sides and back frame.
5. Add the Slats for Mattress Support
Now, cut your 2x3s into slats that will go across the frame to support the mattress. For easier attachment, use some scrap wood to temporarily support the slats while you secure them in place.
Pro Tips:
- Space the slats evenly using a spacer (e.g., scrap wood) for consistent gaps.
- Use scrap wood or books to hold the slats in place while attaching.
- Secure each slat with screws and wood glue for strong support. Use wood screws for durability.
6. Finish with Paint or Stain

Fill in any holes or imperfections with wood filler or pocket hole plugs. Once that’s dry, you can either paint or stain the daybed to match your space. If it’s going outside, use exterior paint for added durability.
Optional: Add a piece of 1/4″ plywood (36″ x 73″) underneath the mattress for extra support.
Pro Tips:
- After filling holes with wood filler, let it dry completely, then lightly sand it smooth before painting or staining. This ensures a clean, even finish.
- If you want a smooth, even coat of paint, use a foam roller instead of a brush for a more professional finish. A foam brush works well for smaller, detailed areas.
- If the mattress feels too soft or unstable, add the plywood piece underneath to provide extra support.
Watch How It’s Done: DIY Daybed Art Video Tutorial
For more information, check out this video tutorial by Lovely ETC.
Budgeting for DIY Daybed: Costs Breakdown
The cost of creating a daybed depends on the materials you choose and the size of your project. Here’s a general breakdown of typical costs:
| Item | Quantity | Cost per Unit | Total Cost |
|---|---|---|---|
| 2×3 Framing Lumber | 15 pieces (8 ft) | $2.50 per piece | $37.50 |
| 2×2 Lumber | 1 piece (8 ft) | $3.00 per piece | $3.00 |
| 2×4 Lumber | 1 piece (8 ft) | $4.00 per piece | $4.00 |
| 1/4″ Plywood | 1 sheet (36″ x 73″) | $15.00 per sheet | $15.00 |
| Wood Glue | 1 bottle | $5.00 | $5.00 |
| Finishing Nails | 1 pack (1,000 pcs) | $6.00 | $6.00 |
| Screws | 1 box (1,000 pcs) | $8.00 | $8.00 |
| Wood Filler | 1 container | $4.00 | $4.00 |
| Paint or Stain | 1 can | $10.00 | $10.00 |
| Optional Plywood (under mattress) | 1 sheet (36″ x 73″) | $15.00 | $15.00 |
| Scrap Wood (for slat support) | Various | Free (recycled) | $0.00 |
Total Estimated Cost: $108.50
Notes:
- Cost may vary: Prices depend on local hardware store pricing and availability, so this is an estimated breakdown.
- Recycled materials: If you have any leftover or recycled materials, the total cost can be reduced.
Maintaining Your DIY Daybed to Ensure Longevity
Proper maintenance is essential to ensure that your DIY daybed remains in great shape and continues to provide comfort and style.
Your daybed can last for many years with proper care and maintenance. By following these tips, you can ensure it stays in great condition and continues to provide comfort and style for a long time:
- Direct sunlight can cause fading and weaken the wood. Place the daybed in a shaded area, or use curtains or blinds to protect it from prolonged exposure to the sun.
- Avoid high-humidity areas, as moisture can warp the wood. If your daybed is outdoors, use a waterproof cover during rainy weather.
- Dust the frame often and vacuum any fabric cushions. To remove dirt, wipe the wood with a mild, soapy solution.
- Use coasters or pads under decorative items to protect the surface of the wood from scratches and dents.
Common Mistakes to Avoid
While maintaining your daybed, there are a few common mistakes that can impact its longevity. To ensure it remains in optimal condition, be mindful of the following:
- Screws can loosen over time. Check and tighten the screws and joints every few months to maintain the daybed’s stability.
- If left unattended, spills can soak into the wood. Clean up liquids immediately to prevent stains and moisture damage.
- If your daybed is painted or stained, be sure to touch up the finish when it starts to wear off. A fresh coat will protect the wood and maintain its appearance.
Final Words: Making Your DIY Daybed a Reality
Creating your own daybed doesn’t have to be complicated. With basic tools, some lumber, and a few hours of work, you can build a sturdy, attractive piece that serves multiple purposes in your home.
Remember to measure twice and cut once, take your time with the angles on the back frame, and ensure all connections are secure. The small details make a big difference in both appearance and durability.
Once complete, your daybed will provide a cozy spot for reading, a comfortable place for guests to sleep, or simply a stylish addition to your living space. Regular maintenance will keep it looking fresh for years to come.
The satisfaction of building something with your own hands, customized to your exact needs, makes this project well worth the effort.
Enjoy your new daybed!