
Have you ever tried to keep kids busy on hot summer days? A DIY water table might be your answer. Many parents think these play stations cost too much or need special tools. Not true!
You can build a simple water table with items you likely have at home. Your kids will spend hours playing with it.
What makes water tables so good for kids? They help with motor skills, teach cause and effect, and keep children cool. Plus, they’re just plain fun.
Want to build one this weekend? You don’t need fancy materials or tools. I made one last summer in about two hours.
Ready to learn how to create a water play station your kids will use all summer long? Let’s get started.
Why Build a DIY Water Table?
Many parents wonder if making a water table is worth the effort. The short answer is yes, and here’s why:
A water table does more than keep kids busy. It helps them learn about the world through hands-on play. When children pour water from one cup to another, they build muscles in their hands and learn about volume. They see what objects float and which ones sink. They notice how water changes shape in different containers.
- Quick weekend project – Most people finish building in one afternoon with basic tools.
- Budget-friendly – Costs about one-third of store-bought models.
- Customizable size – Unlike store models, you can adjust dimensions to fit your space.
- Develops motor skills – Pouring, scooping, and splashing build hand muscles.
- Teaches basic science – Kids learn about water flow, floating, sinking, and volume.
- Builds social skills – Encourages sharing and taking turns when playing with others.
- Improves focus – Many children play longer and more carefully at the water table.
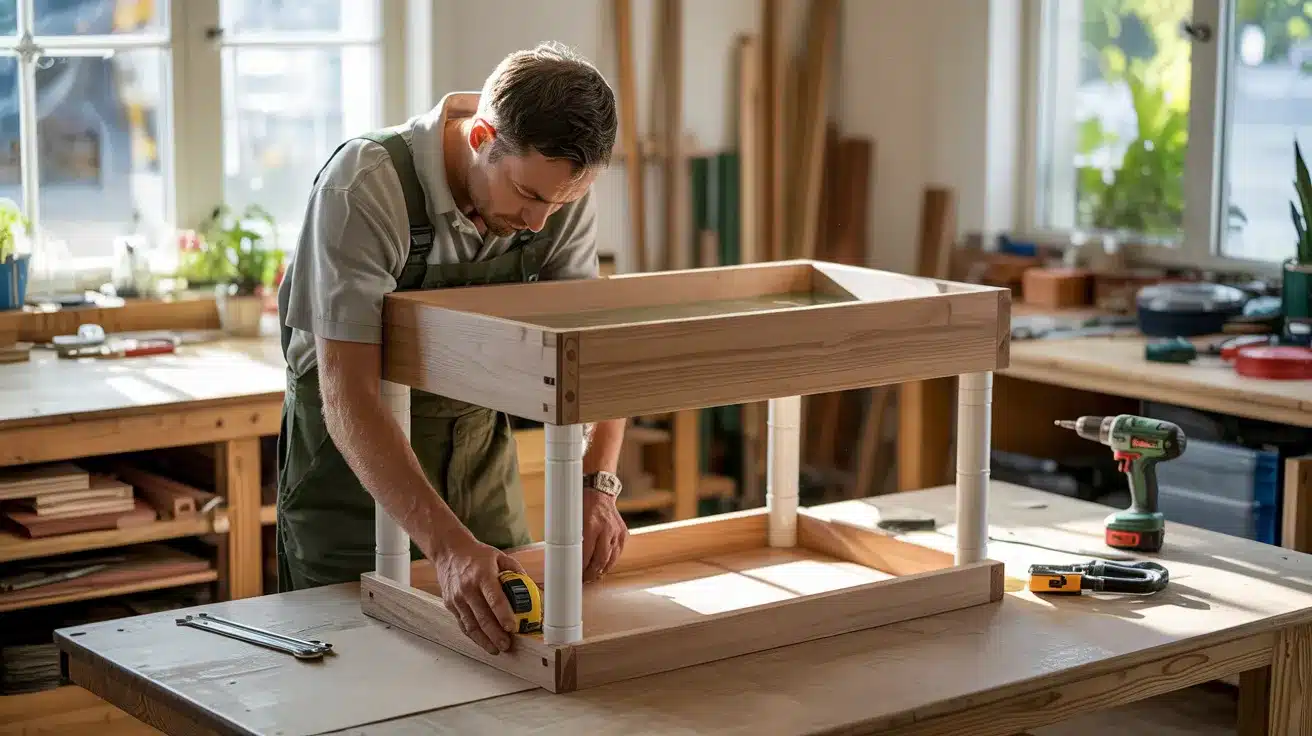
How to Build Your DIY Water Table?
Building your water table is easier than you might think. With just a few basic tools and some PVC pipe, you’ll have a fun water play station in no time.
Materials Needed
The first step in your DIY water table project is getting the right supplies. Here’s what you’ll need to get started:
- 19 feet of 3/4 inch PVC pipe
- 8 three-way elbow connectors
- 2 T connectors
- 2 elbow connectors
- 40-gallon plastic bin
- PVC pipe cutter
- Optional: spray paint, lid for storage
These basic materials form the backbone of your project. The PVC pipes create a sturdy frame, while the plastic bin holds the water. A PVC pipe cutter allows for clean cuts with minimal effort.
The beauty of this project is that all these items can be found at your local hardware store. The total cost typically stays under $50, which is significantly less than store-bought options.
You may want to purchase extra connectors as a precaution. This gives you room for mistakes or design changes as you build.
Step 1: Cut the PVC Pipe
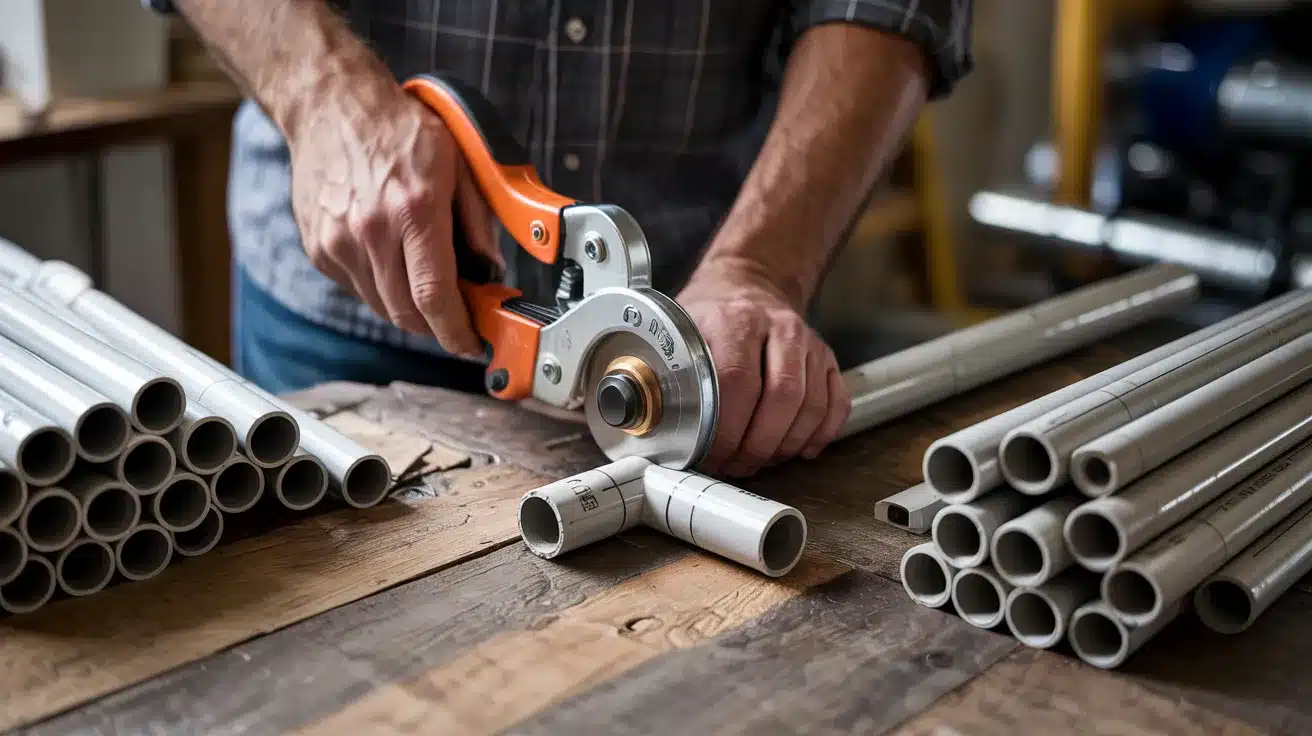
First, grab your PVC pipe and cutter. You’ll need to measure and cut the pipe into specific lengths. Take your time with this step—accurate cuts make assembly much easier later.
Mark each pipe with a pencil before cutting. This helps you keep track of which piece goes where. Cut slowly to avoid jagged edges that might scratch little hands.
Sort your cut pieces by size. This speeds up the building process. If you make a mistake, don’t worry—PVC is cheap and easy to replace.
Step 2: Build the Base
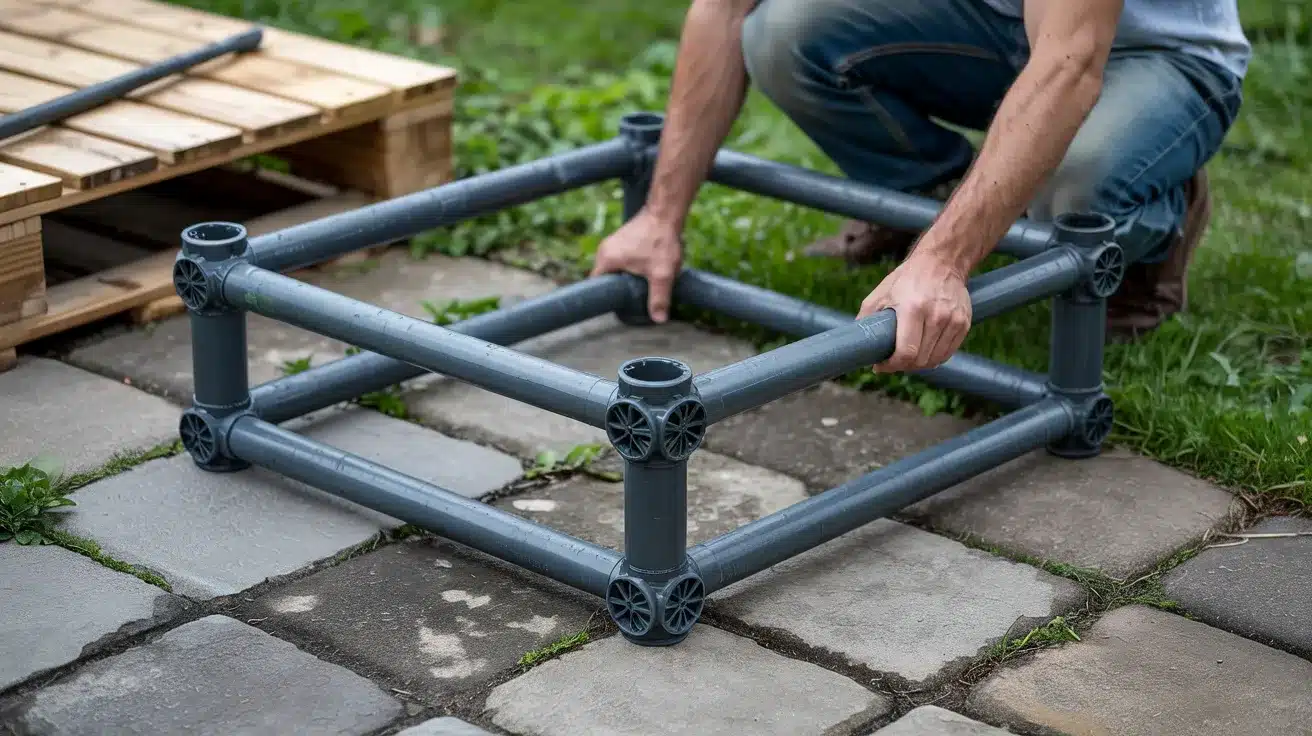
Now let’s create the base of your water table. Take the 21-inch and 14.5-inch pipes and arrange them in a rectangle shape.
Insert the pipes into the three-way elbow connectors at each corner. Push firmly until they snap into place. The base should be sturdy and level when placed on the ground.
Check that all connections are tight. Loose joints might cause the table to wobble when filled with water.
Step 3: Assemble the Top Frame
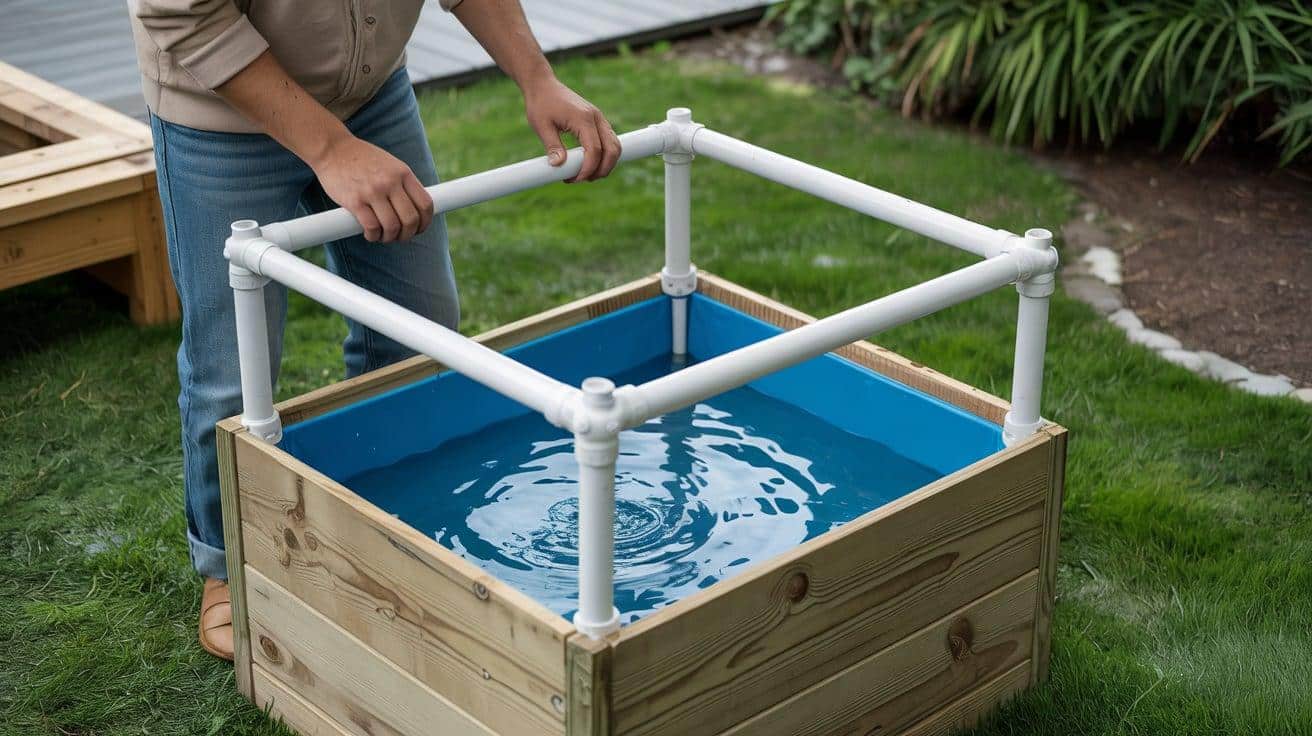
It’s time to work on the top frame. Connect the 10-inch pipes using T connectors and elbow joints to form another rectangle.
Make sure this top frame matches the size of your base. The frame needs to be strong enough to hold your plastic bin.
Double-check all connections. The top frame must be solid to support the weight of water and toys.
Step 4: Add the Stabilizer Bar
For added support, consider adding a stabilizer bar. Insert the short 3.5-inch pieces into T connectors across the middle of the frame.
This bar prevents the frame from flexing when weight is added. Think of it as the backbone of your table.
Adjust as needed to make sure everything fits perfectly. This small addition makes a big difference in stability.
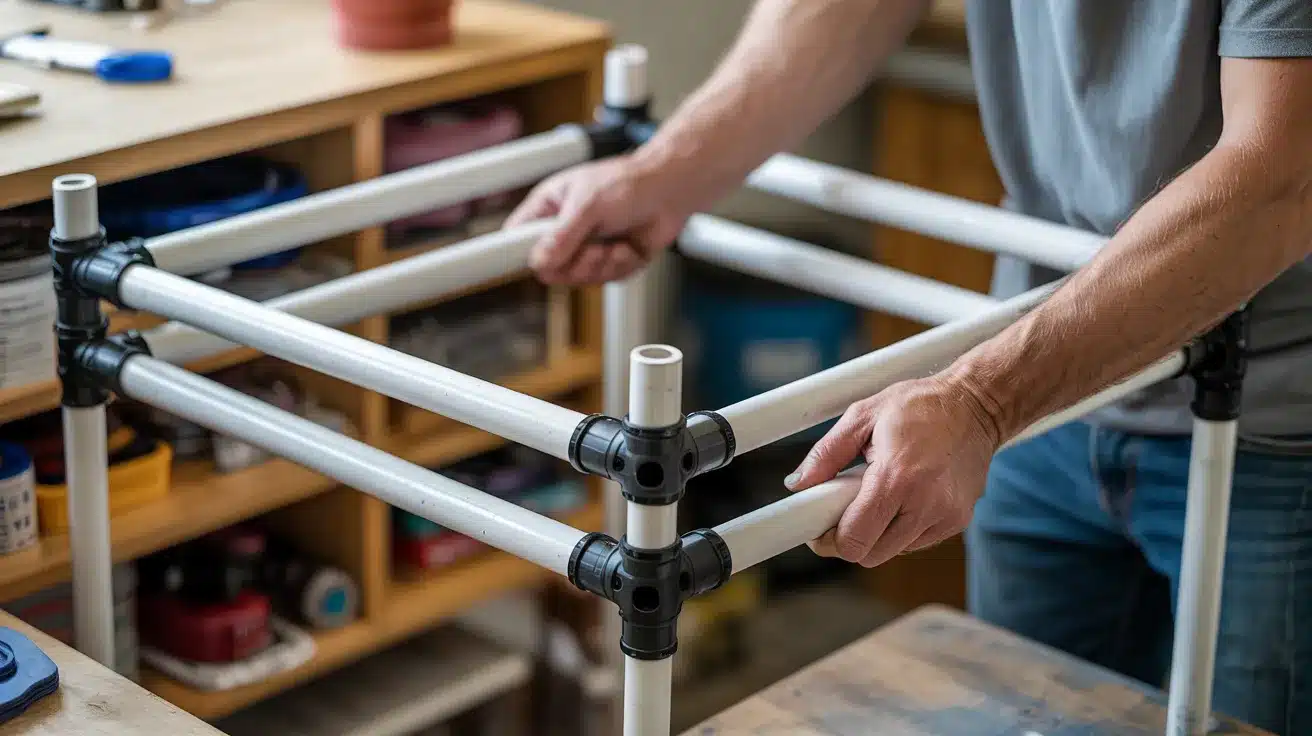
Step 5: Attach the Legs
Finally, insert the remaining PVC pieces as legs. Attach them to both the base and the top frame.
Measure to ensure all legs are the same length. Uneven legs will make your water table tilt and spill.
Test the stability by pressing down on the frame. If it feels unstable, check your connections and make any necessary adjustments to ensure stability.
Video Tutorial
Special thanks to WhatsUpMoms for providing valuable insights in their video, which I referenced while creating this guide.
Final Touches to Personalize Your Water Table
Once you’ve built the basic structure of your water table, you can add personal touches to make it special. These small changes can make your table last longer and look better in your yard.
- Paint options – Spray paint made for PVC adds color and protection to the frame.
- Weather protection – Add a UV-resistant clear coat to prevent fading in the sun.
- Add a lid – Cut plywood to fit over the bin for overnight storage or to convert to a sand table.
- Extra height – Insert PVC extenders into the legs to achieve a taller table.
- Fun features – Add funnels, tubes, or cups with holes for more water play options.
- Wheels – Attach casters to the bottom for easy moving around the yard.
- Drain plug – Install a simple drain in the bin for easier emptying.
- Shade cover – Add a small canopy to keep the sun off on hot days.
Conclusion
Building a DIY water table is easier than you might think. With just a few PVC pipes, connectors, and a plastic bin, you can create hours of summer fun for your kids.
Remember why this project makes sense: it saves money, teaches children valuable skills, and lets you customize the size and features to fit your needs.
The steps are simple—cut the pipes, build the base, add the top frame and legs, then personalize with paint and extras. Even if you’re not handy with tools, you can finish this project in an afternoon.
So what’s next? Gather your materials over the weekend and begin building. Your kids will thank you with smiles, laughter, and wet, happy memories that last all summer long.
What water table features are you excited to try? Let us know in the comments!