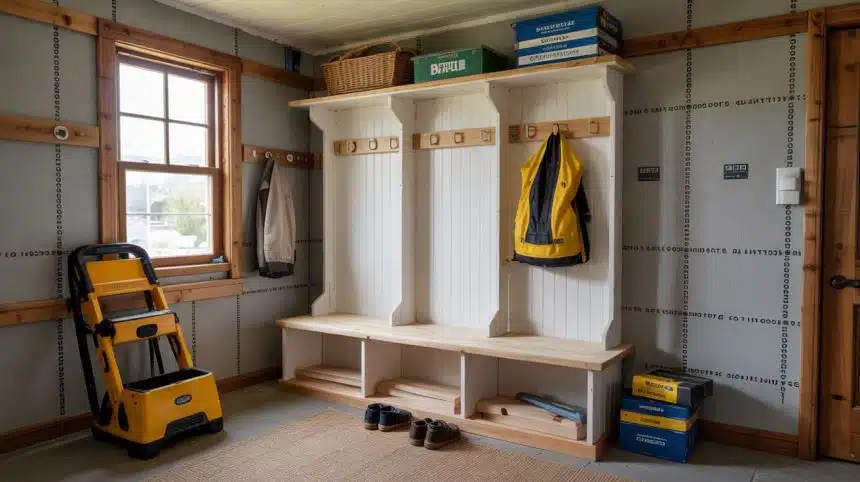
Ever walked into your home juggling groceries, kids’ backpacks, and dripping umbrellas with nowhere to put them all? That was me last year, drowning in entryway chaos. I knew I needed a solution, but custom-built-ins seemed way out of my budget.
So I rolled up my sleeves and built a mudroom bench that transformed my cluttered entryway into an organized haven.
The best part? It cost a fraction of what custom-built-ins would have.
In this tutorial, I’ll show you exactly how I created this sturdy and attractive bench using only basic tools and materials.
Whether you’re a DIY novice or weekend warrior, I’ve broken down each step so you can build this practical piece for your home as well. Let’s get building!
Why Build a Mudroom Bench?
Benefits of having a mudroom bench in your home
- Storage: Organizing shoes, bags, and outdoor gear
- Seating: A Comfortable place to put on shoes or settle down for a moment
- Pleasing: Enhancing your entryway or hallway decor
- Organization: Reduces clutter and keeps essentials within reach
- Space-saving: Makes the most of hallway or entryway areas
- Practical: Creates a transition zone between outdoors and your clean home
- Customizable: Built to fit your exact space and match your home’s style
Step-by-Step Guide to Creating a Mudroom Bench
Tools and Materials Needed
| Tools Used | Materials Used |
|---|---|
| Table saw | Plywood sheets (at least 2 full sheets) |
| Circular saw | 1×3 lumber (for face frame) |
| Kreg Rip-Cut jig | 1×4 lumber (for face frame, bottom, and back trim) |
| Pocket hole jig (Kreg jig) | Screws (1¼-inch pocket hole screws) |
| Orbital sander | Wood glue |
| Brad nailer | Iron-on edge banding |
| Drill (for pre-drilling holes) | KILZ 3 primer |
| Paint brushes | Sherwin-Williams paint |
| Paint rollers (including trim rollers) | Clear coat finish |
| Wooden hooks |
Step 1: Cut and Prepare Wood Pieces
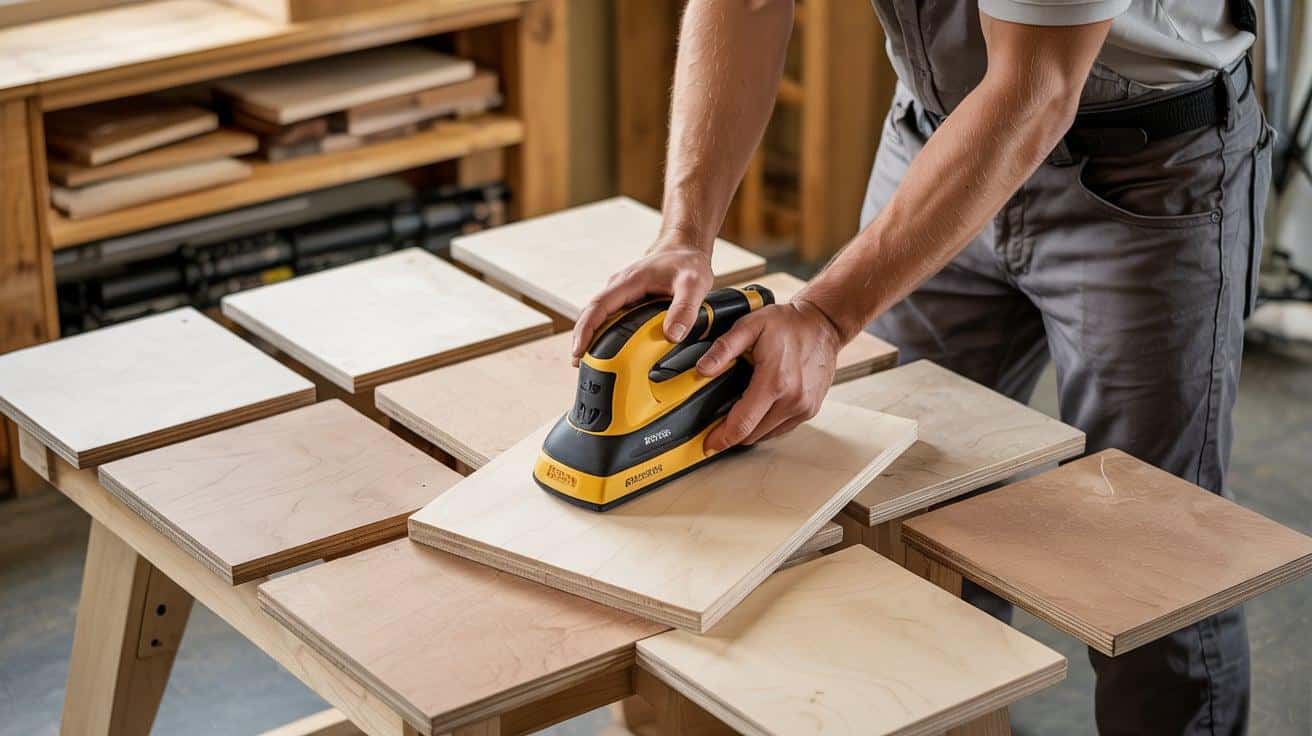
Cut plywood into seven 18-inch square panels for the bench structure, plus six support strips from the offcuts. Sand all pieces thoroughly before assembly to ensure smooth surfaces and edges, especially in areas that will be difficult to reach later.
Pro Tip: Set up your saw guide to 18 inches once, and then cut all pieces without needing to remeasure. Sand with progressively finer grits (120 to 220) for best results, and always save offcuts—they often become perfect material for smaller parts!
Step 2: Drill Pocket Holes and Assemble Bench Box
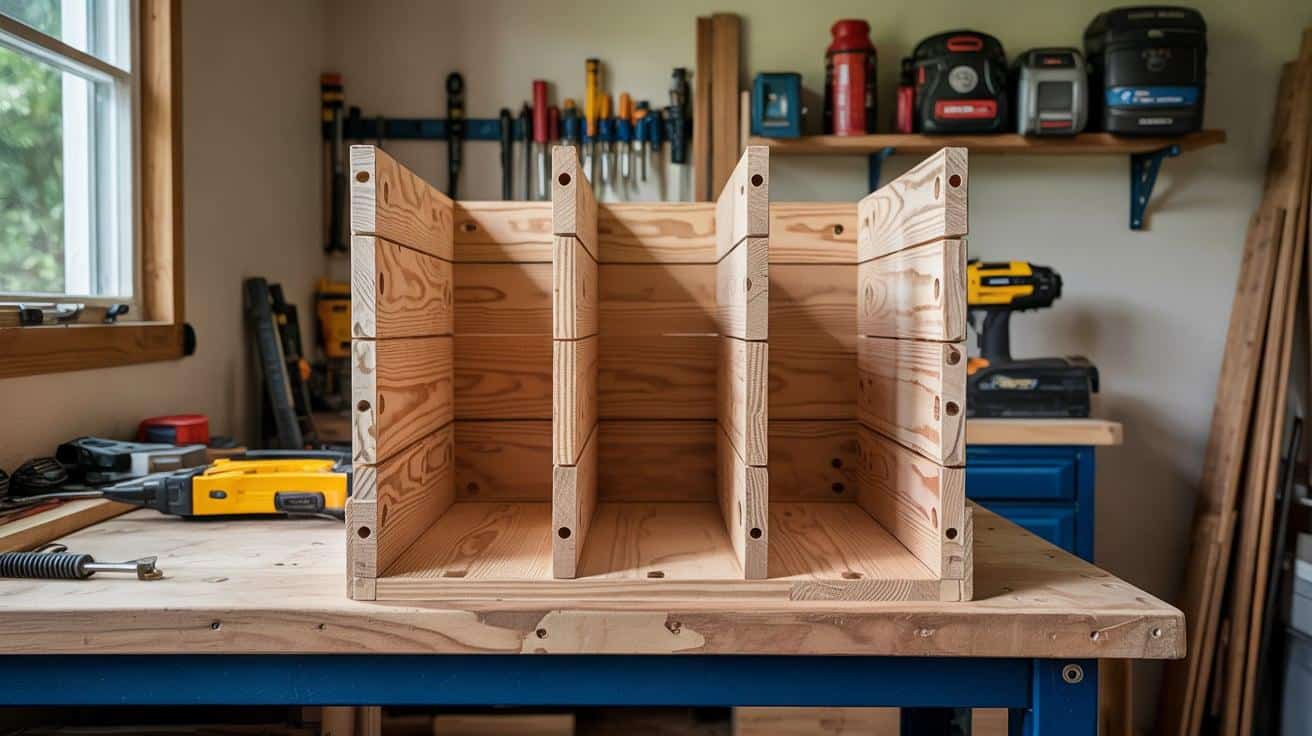
Drill ¾-inch pocket holes into the ends of support strips and three panels. Measure 3⅜ inches up from the bottom edge of side panels, align the bottom panel at this mark, and attach with pocket hole screws. Continue building the three compartments, adding support strips at the top of each section.
Pro Tip: When drilling pocket holes in plywood, use shorter screws than with solid wood to prevent breaking through. Use clamps to hold pieces in position while driving screws for perfectly square corners.
Step 3: Build and Attach Face Frame
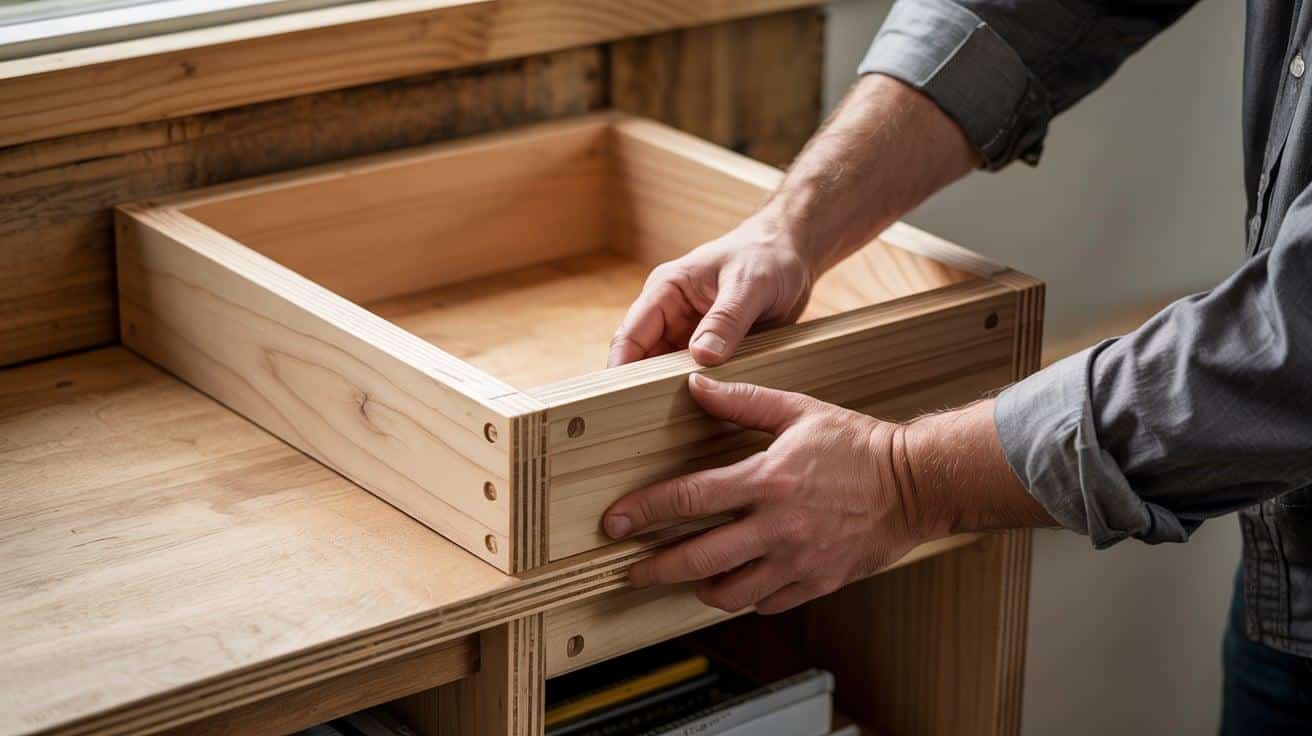
Create a face frame using 1x3s for the top and dividers and a 1×4 for the bottom. Assemble with pocket holes, then test-fit before attaching to the bench box. Once aligned, secure with wood glue and brad nails, filling nail holes and joints with wood putty for a seamless look.
Pro Tip: Make your face frame slightly larger (⅛ inch) than the cabinet box. This provides wiggle room during installation and creates a nice subtle overhang that adds a professional touch to the finished piece.
Step 4: Prepare and Attach Back Panel
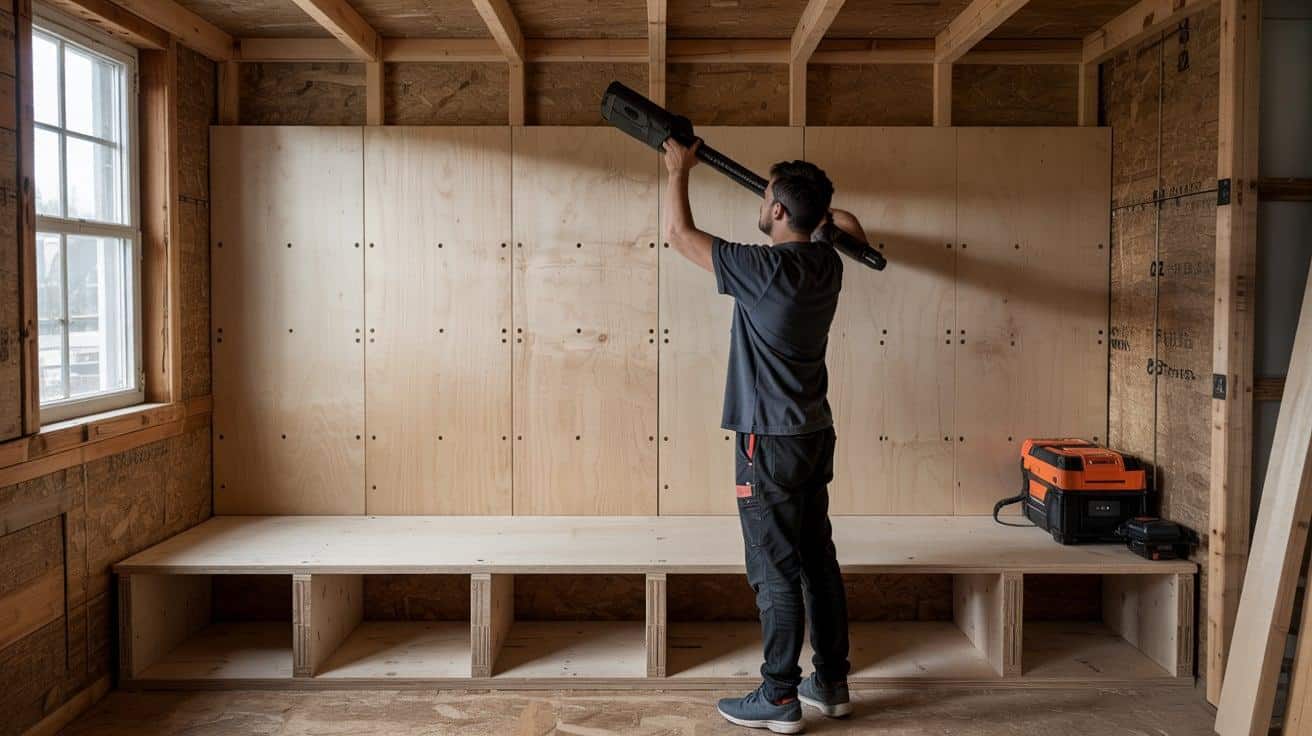
Cut and join plywood pieces to create one large back panel, using pocket holes facing the front side where they’ll be hidden by trim later. Pre-drill holes before attaching the panel to the bench with screws along sides, top, and bottom for added stability.
Pro Tip: When joining plywood panels, lightly sand edges that will meet for smoother seams. Be careful after adding the back panel it makes the bench top-heavy and could tip backward easily until fully secured.
Step 5: Add the Bench Seat and Trim
Cut the bench seat to fit the top of the unit. Add trim to the back edges using 1×4 boards, attached with glue and brad nails. Leave space at the bottom for the bench seat to slide in. Fill all nail holes and joints with wood putty for a seamless finish.
Pro Tip: For a premium look, consider making the bench seat from solid wood instead of plywood. Cut trim pieces slightly long, then trim to exact fit during installation for tight, gap-free corners.
Step 6: Add Crown Molding and Sand Surfaces
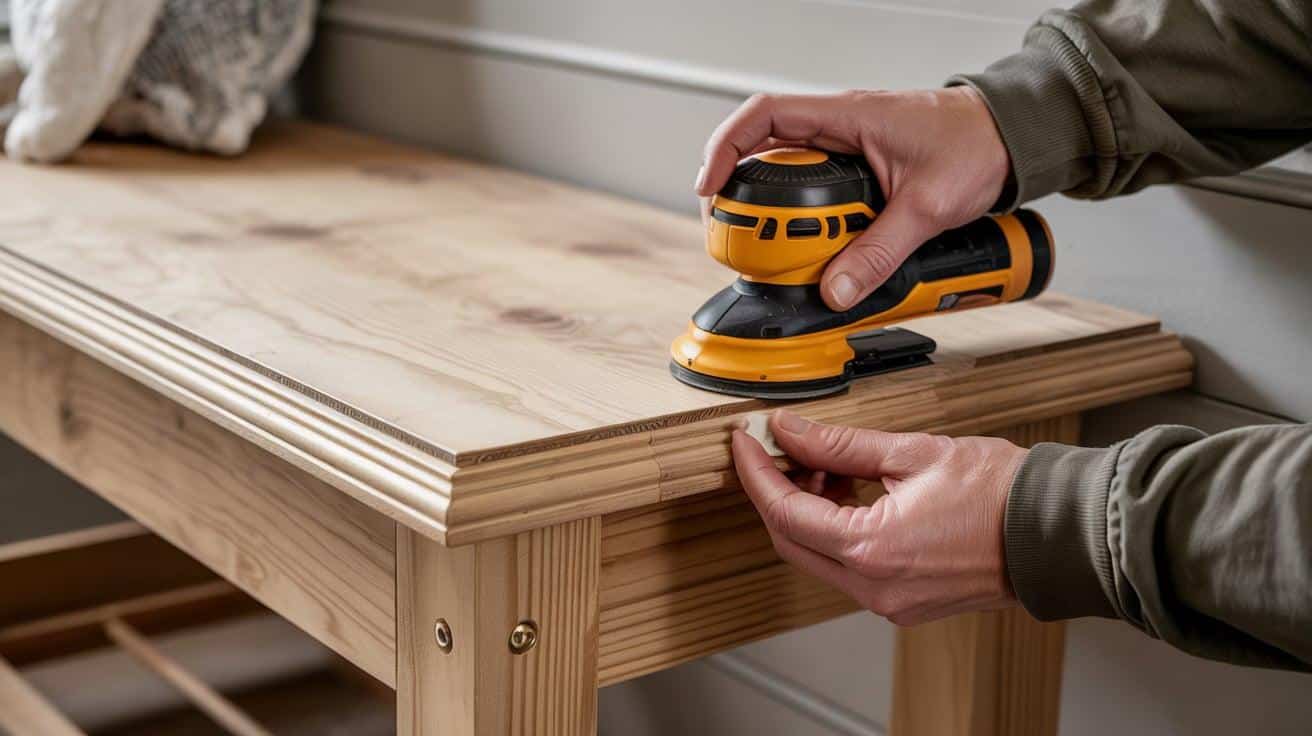
Install crown molding around visible top edges (front and exposed side). Secure with glue and brad nails, filling seams and nail holes with putty. Use an orbital sander to smooth all surfaces, putty, and joints, focusing on transitions between pieces.
Pro Tip: For clean crown molding corners, use a coping saw for inside corners rather than simple miters. Sand in the direction of the wood grain whenever possible to avoid visible scratches in the finished product.
Step 7: Prepare for Painting with Primer and Caulk
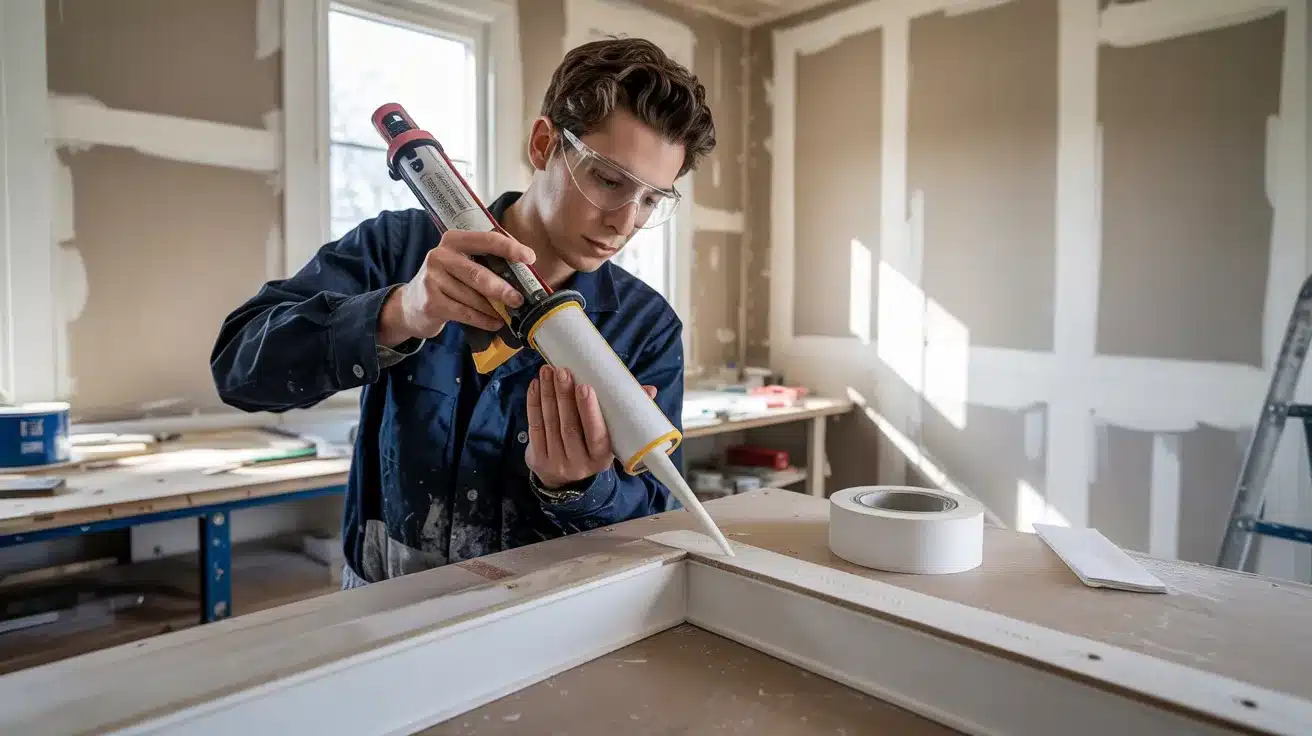
Apply caulk to fill any remaining gaps in corners and joints once dry. Prime all surfaces that will be painted, starting with brushing corners and edges, then rolling flat surfaces. After primer dries, lightly sand with fine sandpaper (220-400 grit).
Pro Tip: Cut the caulk tube tip at an angle and as small as possible for better control. Tint primer slightly toward your final paint color to achieve better coverage with fewer coats of finish paint.
Step 8: Paint and Finish the Surfaces
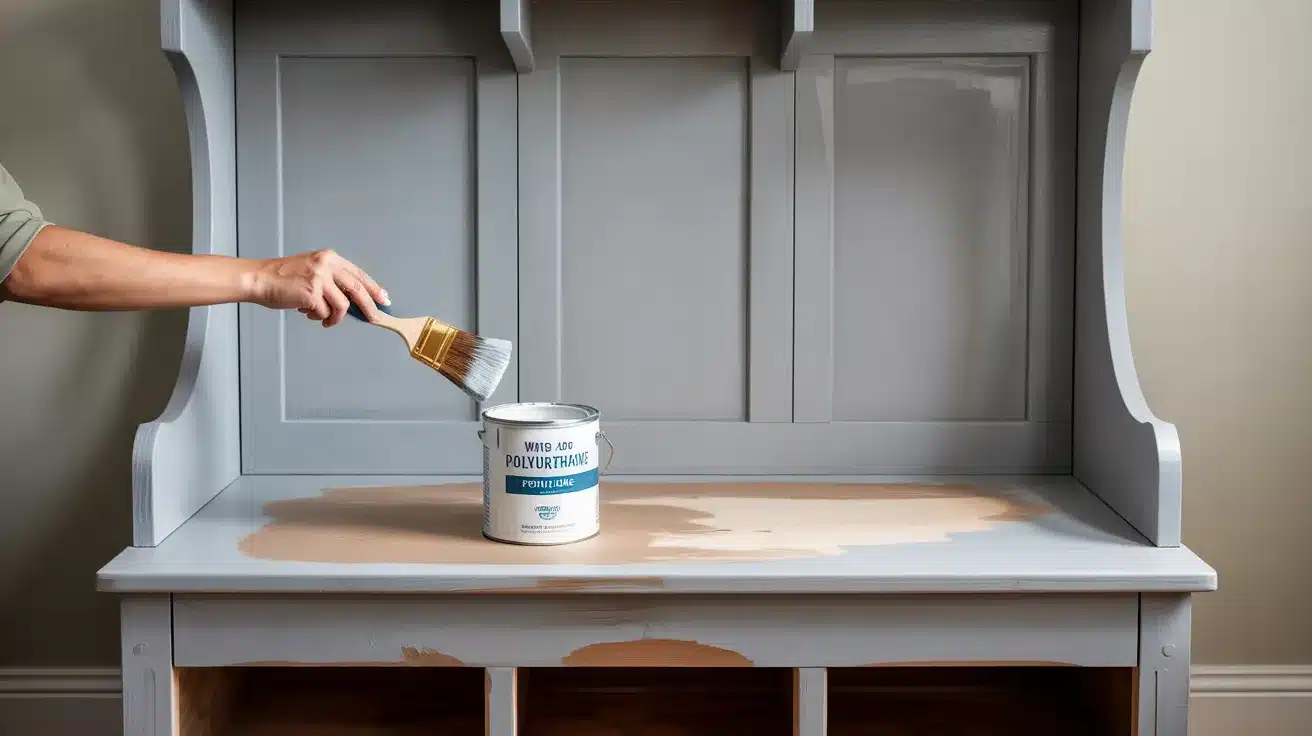
Apply paint in at least two coats, using a brush for corners and edges and a roller for flat surfaces. Allow proper drying time between coats. For the inside compartments and bench seat, apply a clear protective finish, sanding lightly between coats.
Pro Tip: Apply paint in thin, even layers rather than thick coats for a smoother finish with fewer drips or brush marks. Choose water-based polyurethane for the clear coat it has less odor and dries faster than oil-based options.
Step 9: Add Edge Banding to the Bench Seat
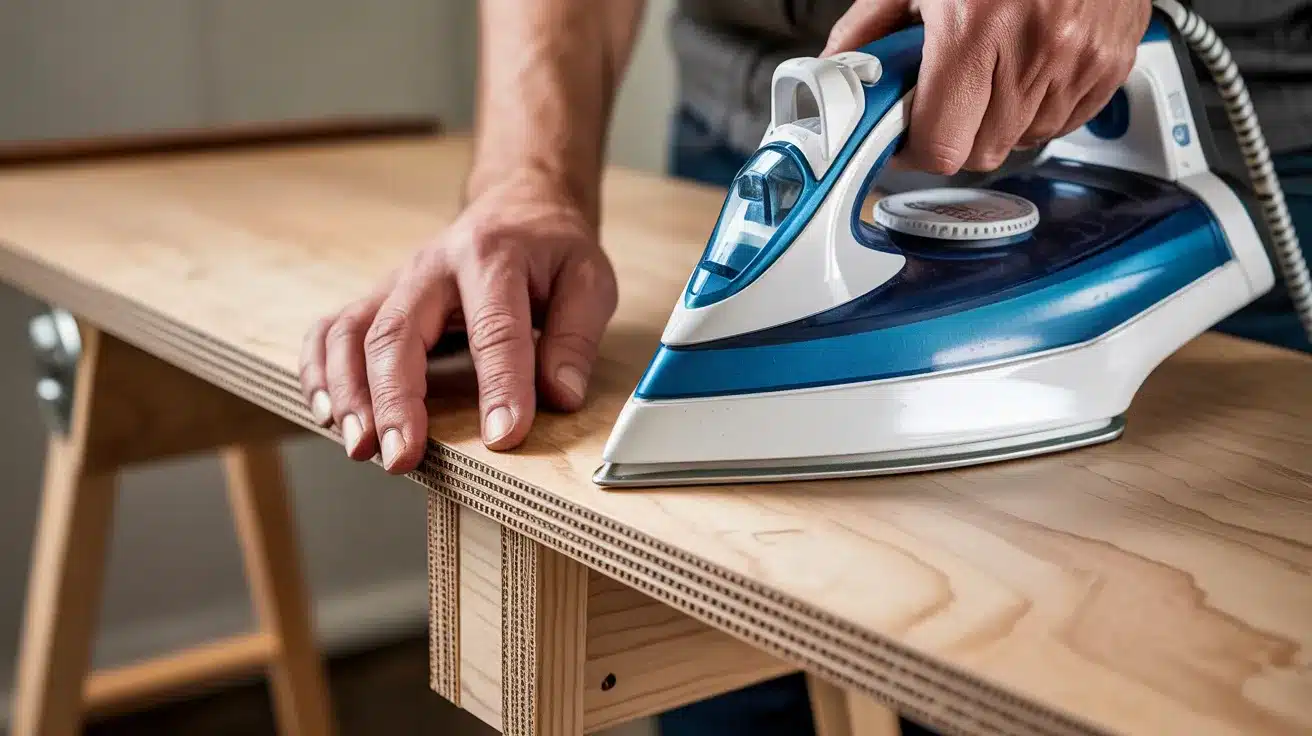
Apply iron-on edge banding to the exposed plywood edges of the bench seat. This simple step hides the plywood layers and gives a clean, professional finish to the most visible part of the bench.
Pro Tip: Use a household iron on medium heat and work in small sections. Apply firm pressure after heating to ensure good adhesion, and use a sharp utility knife to trim any excess after cooling.
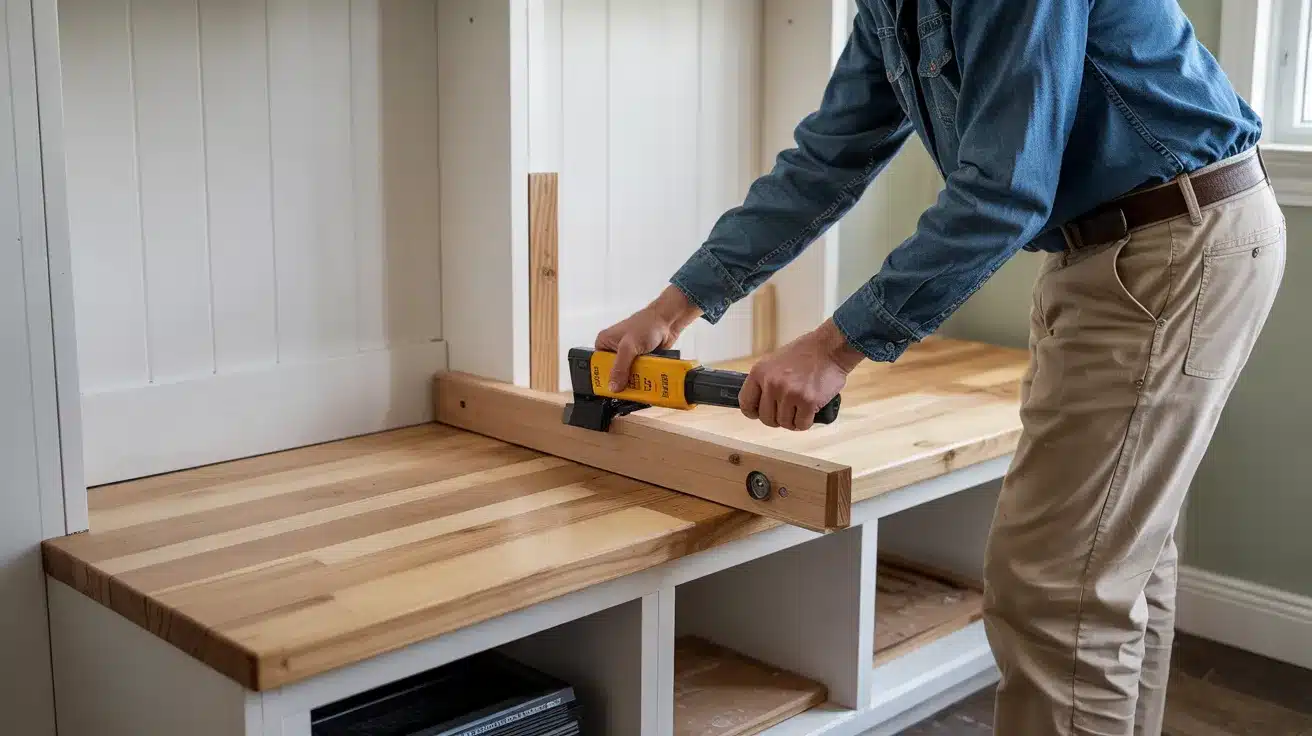
Step 10: Install Bench Seat and Final Assembly

Position the bench seat flush with the back panel and secure using screws through the support strips from inside the bench. Add wooden hooks if desired. When installing in the final location, secure the bench to the wall studs for stability and safety.
Pro Tip: Pre-drill holes for screws to prevent splitting. Use a stud finder to locate wall studs and secure the bench to at least two studs for maximum stability this prevents tipping, especially if someone sits on one edge of the bench.
I’d like to acknowledge Shara Woodshop Diaries for the insightful video, which was a key reference in putting this guide together.
Common Mistakes to Avoid
- Improper Face Frame Sizing: Always test-fit the face frame before attaching. In the transcript, she mentions, “I made sure to first test-fit the face frame to ensure it would fit over the front of the bench, and thank goodness it did, because I didn’t have enough material to rebuild it.”
- Not Planning for Wall Installation: Remember, this bench will be top-heavy. The creator warns, “Adding this large panel to the back made the bench very top-heavy, so I had to be careful not to push it or it would tilt backward quite easily.”
- Forgetting About Width Constraints: Standard plywood is 4 feet wide, but the bench may require a wider width. Plan for joining panels: Since this bench is wider than 4 feet, which is the width of a sheet of plywood, I would have to piece the back panel together.
- Skipping Putty and Sanding: For painted projects, surface preparation is crucial. The woodworker emphasizes: “because I was painting this project I wanted to make sure that things were nice and smooth so after it was installed I puted over the nail holes and all of the joints.”
- Poor Caulking Technique: Apply caulk to inside corners for seamless joints. She explains, “The purpose of the caulk is just to make cleaner joints…if there are any boards that are a little bit warped, this will seal that gap so that when I paint, it’ll look seamless.”
Conclusion
Creating your own mudroom bench solves the entryway chaos problem while saving money compared to custom solutions.
This project combines practical storage with an attractive design, providing your home with both function and style. With basic tools and some weekend work, you’ll have a sturdy piece that corrals shoes, bags, and outdoor gear while providing a comfortable spot to sit.
Remember to secure your bench to wall studs for safety and consider your specific entryway needs when planning.
Ready to tackle this project? Grab your materials, follow these steps, and enjoy the satisfaction of building something that makes your daily routine simpler. Your entryway deserves this practical upgrade!
Frequently Asked Questions
1. What Type of Wood Is Best for a Mudroom Bench?
For a mudroom bench, plywood is a practical choice due to its affordability and durability.
2. How High Should a Bench be in a Mudroom?
Standard mudroom bench height is 17-20 inches from the floor. This matches typical chair height and makes it comfortable for sitting while putting on shoes.
3. How Far Apart Should Coat Hooks Be in a Mudroom?
Coat hooks in a mudroom should be spaced 12-18 inches apart for adults and 8-12 inches apart for children’s hooks to prevent crowding.