
Have you ever looked at your old china cabinet and wished it could tell a new story? You’re not alone. Many folks feel stuck with furniture that works fine but looks tired.
What if I told you that a simple coat of chalk paint could turn that dusty cabinet into the star of your dining room?
Chalk paint makes old cabinets look fresh with minimal effort. No sanding, no primer – paint and go.
But here’s what most people don’t know: the finish you pick can make or break your project. I learned this the hard way when my first painted cabinet looked great for a month… and then started to chip.
Ready to bring your china cabinet back to life? Let’s start with the basics.
Why Choose Chalk Paint for Your China Cabinet?
Chalk paint is a thick, water-based paint that dries to a soft, matte finish. It adheres to most surfaces with minimal preparation. This makes it perfect for older furniture, such as china cabinets.
The paint gets its name from its chalky look when dry. It’s not the same as chalkboard paint—they serve different uses.
Chalk paint works well on china cabinets for several reasons:
- No sanding required: The paint adheres to a variety of old finishes, including glossy ones.
- Less prep work: Skip the primer and jump straight to painting.
- Quick drying time: You can finish a project in one day.
- Matte finish: This creates a soft, old-world look that complements formal dining spaces well.
- Easy to distress: Want a worn, vintage look? Chalk paint sands down easily in spots, revealing the wood beneath.
Most people find chalk paint simpler to use than other paints. For a china cabinet—often the focal point of your dining room—this paint type allows you to create a custom look with minimal fuss.
How to Transform Your China Cabinet with Chalk Paint?
Follow this step-by-step guide to transform your old china cabinet into a stunning, professionally finished statement piece. Each step builds on the last to yield results you’ll be proud to showcase.
Step 1 – Remove Hardware and Clean the Cabinet
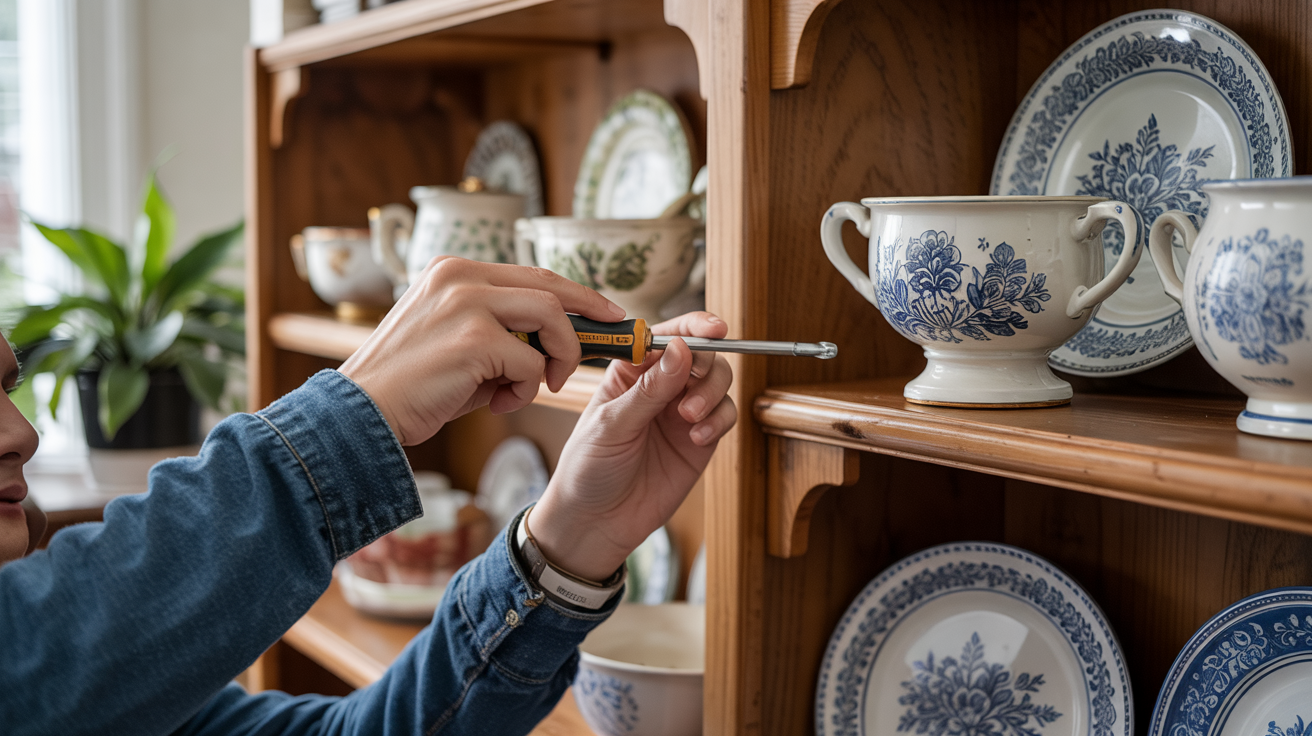
Start by taking off all knobs, handles, and hinges from your china cabinet. This gives you full access to every part of the surface. Store these bits in a small bag or container to prevent them from getting lost.
Next, wipe down the entire cabinet with a good cleaner. A microfiber cloth is ideal for capturing all dust and grime. Ensure the surface is completely dry before proceeding to the next step.
Step 2 – Repair Any Damages or Dings
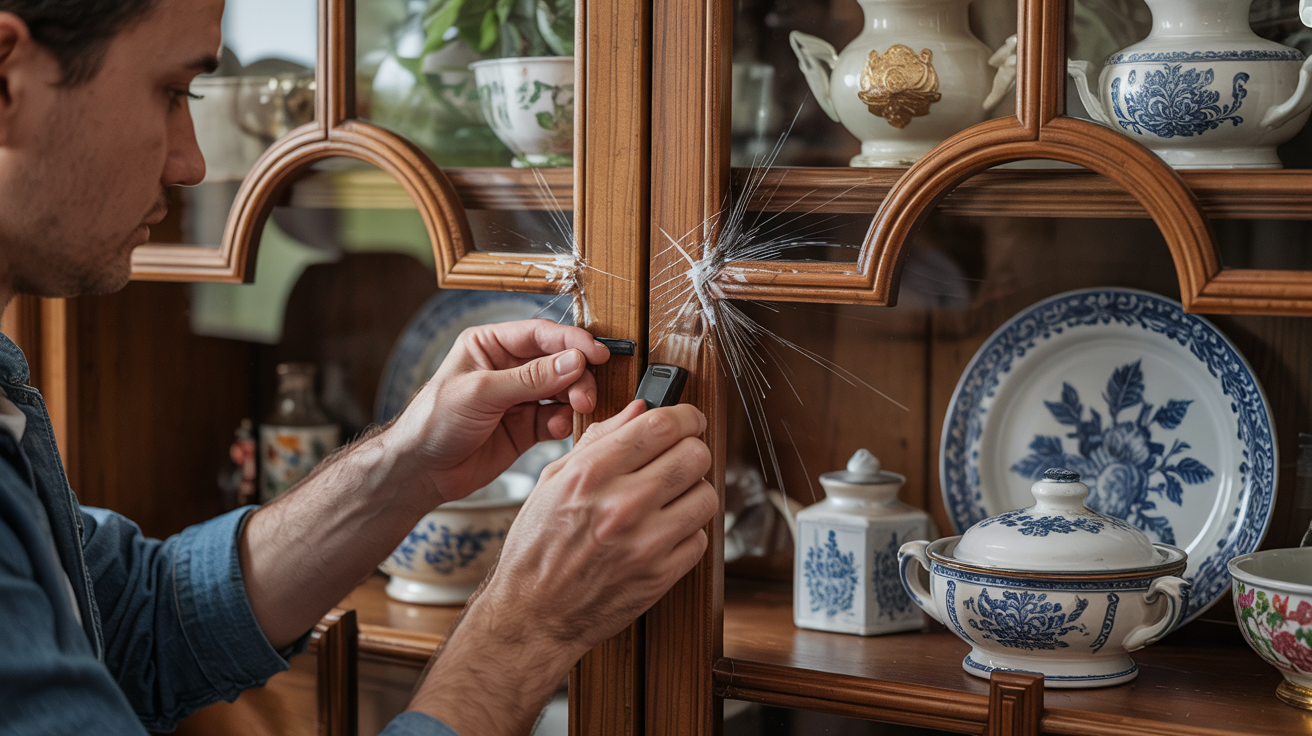
Check your cabinet for scratches, dents, or chips in the wood. For small surface scratches, apply Bondo glazing and spot putty with a plastic spreader. This fills in those tiny imperfections.
Be cautious not to use Bondo on deep gouges, as it may crack later. Allow all repairs to dry completely, then lightly sand them to a smooth finish that matches the surrounding surface.
Step 3 – Sanding

Begin sanding with 120-grit sandpaper to smooth out any rough spots. This helps the paint stick better. Then switch to finer 220-grit paper for a smoother finish. Focus on edges and detailed areas.
When done, wipe away all sanding dust with a clean cloth. Any dust left behind will show up in your paint job. A clean surface now means a better finish later.
Step 4 – Apply a Primer

Apply a coat of quality primer, such as Bullseye 123. This creates the perfect base for your chalk paint to stick to. Stir the primer well before using.
Try the primer on a piece of cardboard first to check the mix and your brush technique. Apply it in even strokes and allow it to dry completely. This step prevents stains from coming through your final paint.
Step 5 – Choose Your Chalk Paint Color
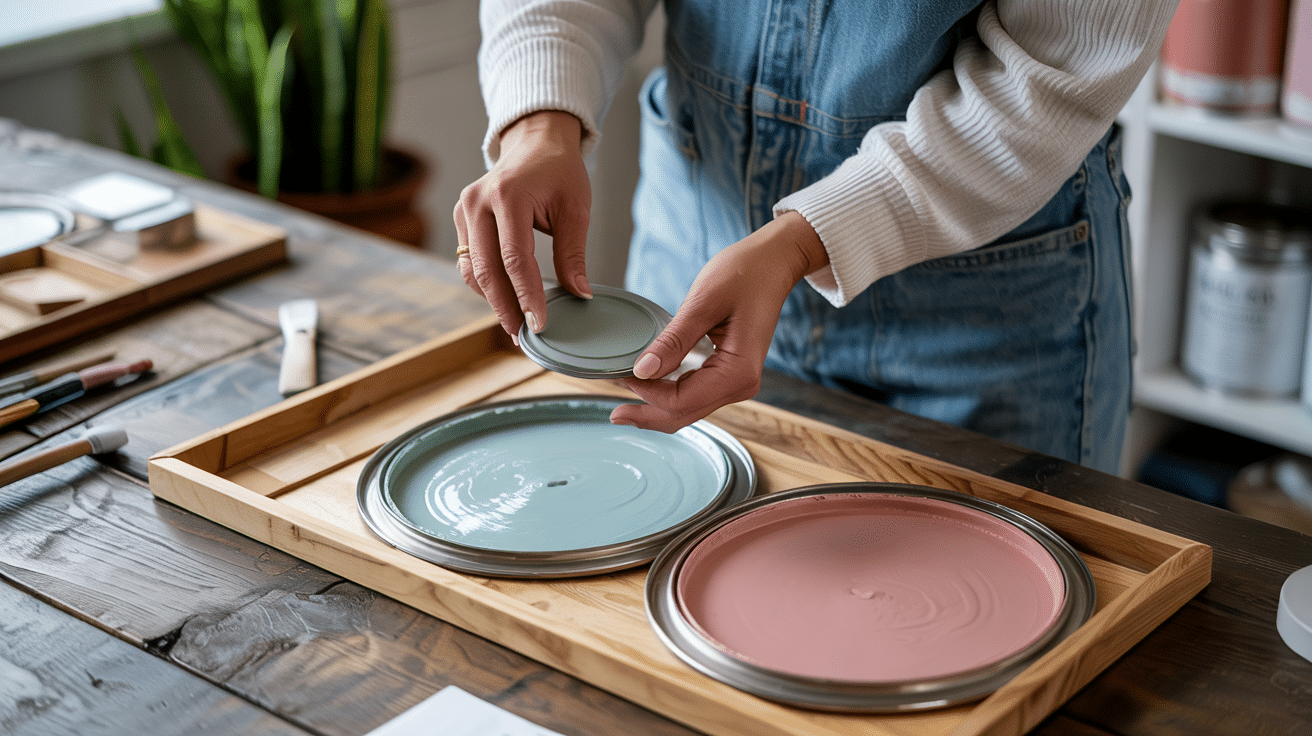
Pick a chalk paint color that fits your space and style. Good brands produce paints that apply smoothly and last longer. Consider colors like deep gray or forest green for a classic yet fresh appearance.
Consider the other furniture in your room when making your choice. The right color can make your china cabinet stand out or blend in, depending on your preference. Consider purchasing a small sample first if you’re unsure.
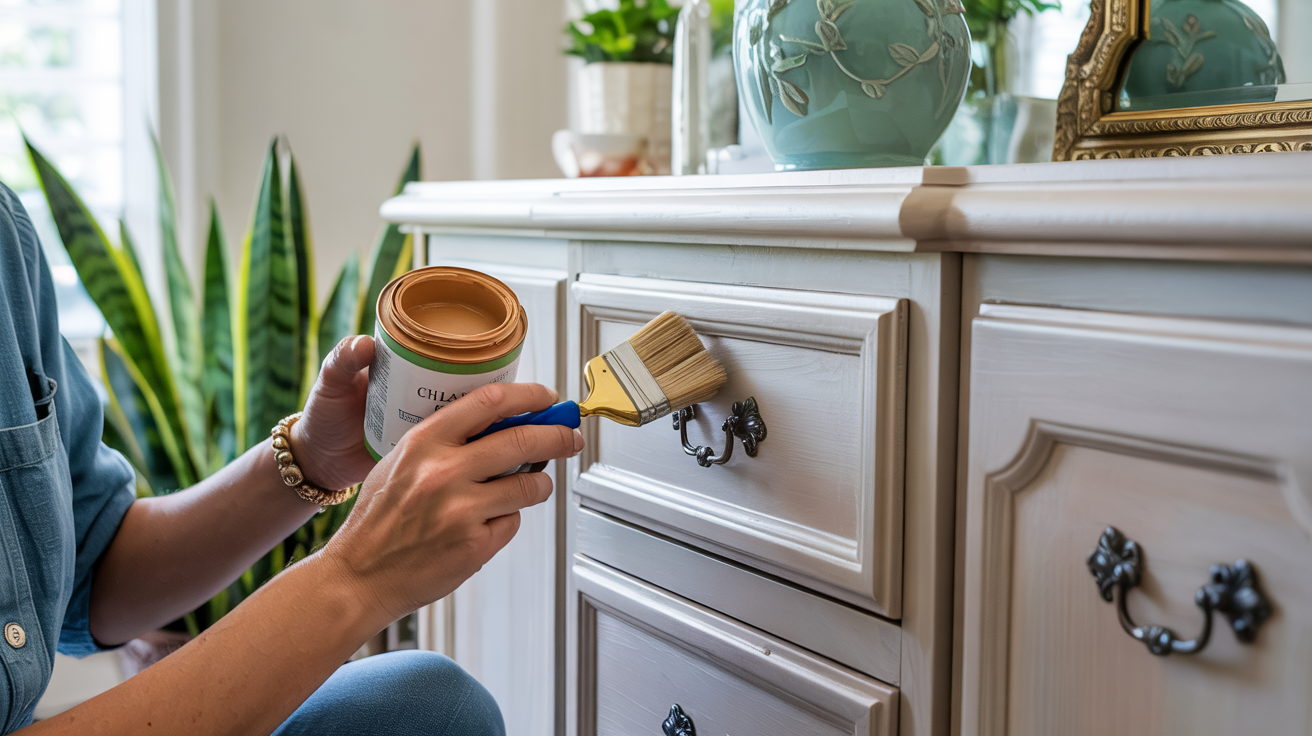
Step 6 – Apply Chalk Paint
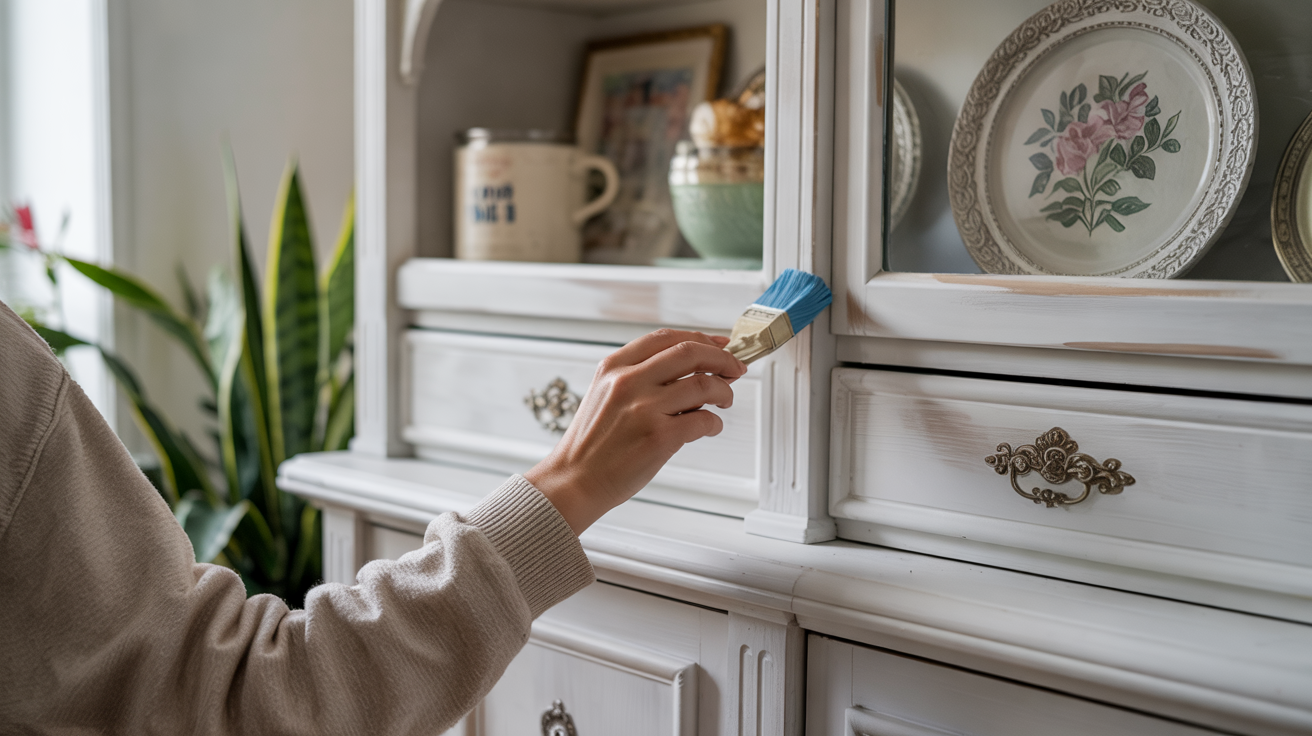
Paint your first coat in smooth, even strokes. Don’t worry if it looks patchy—chalk paint often does on the first coat. Allow this layer to dry fully according to the paint can’s instructions.
Apply a second coat (and possibly a third) until you achieve even coverage. Sand very lightly between coats with fine sandpaper for a smoother finish. Each layer should be thin rather than thick to avoid drips.
Step 7 – Sealing and Protecting the Paint for Durability
After your paint has dried fully, you’ll need to apply a topcoat. This step isn’t just extra work—it’s what keeps your china cabinet looking good for years. Without it, the paint might chip when you open doors or place items inside.
For optimal results, select a topcoat tinted to match the color of your paint. This helps prevent white streaks that can appear when clear sealers dry over dark colors. Apply the topcoat in thin, even layers with a good-quality brush.
Step 8 – Apply a Topcoat to Seal the Paint
Before applying the topcoat, lightly sand the painted surface with 400-grit sandpaper. This creates a super smooth base and helps the topcoat stick better. Wipe away all dust with a tack cloth.
Now choose your finish based on how you want the cabinet to look. A matte topcoat gives a soft, classic look. Satin offers a slight shine that’s easy to clean. Glossy finishes make colors pop, but they also reveal more imperfections. Apply 2-3 thin coats, allowing each coat to dry completely.
Video Tutorial
Special thanks to Brick Wall Furniture Gallery for providing valuable insights in their video.
Common Problems and How to Avoid Them
Even the most meticulous painters encounter issues. Here are common problems that can occur when chalk painting china cabinets, along with tips on how to address them before they ruin your project.
| Problem | How to Fix It |
|---|---|
| Paint Bleed-Through | Apply a stain-blocking primer first. For spots that still show through, apply a second coat of primer only to those areas before continuing with the paint. |
| Brush Marks | Use a high-quality brush and thin your paint slightly with water. Apply paint in long, smooth strokes. For very visible marks, sand lightly between coats. |
| Chipping Paint | Sand the chipped area smooth, clean it well, and apply a spot of primer. Repaint the area, feathering the edges to blend with existing paint. Always use a topcoat when finished. |
| Uneven Coverage | Apply multiple thin coats rather than one thick coat. Allow each layer to dry completely before adding the next. Dark colors typically require 3-4 coats for optimal coverage. |
| Wax Turning Cloudy | Apply wax in very thin layers using a lint-free cloth. Remove excess wax while still wet. If cloudiness occurs, buff the area with a clean cloth until it clears, or apply a small amount of wax to reactivate the cloudy area. |
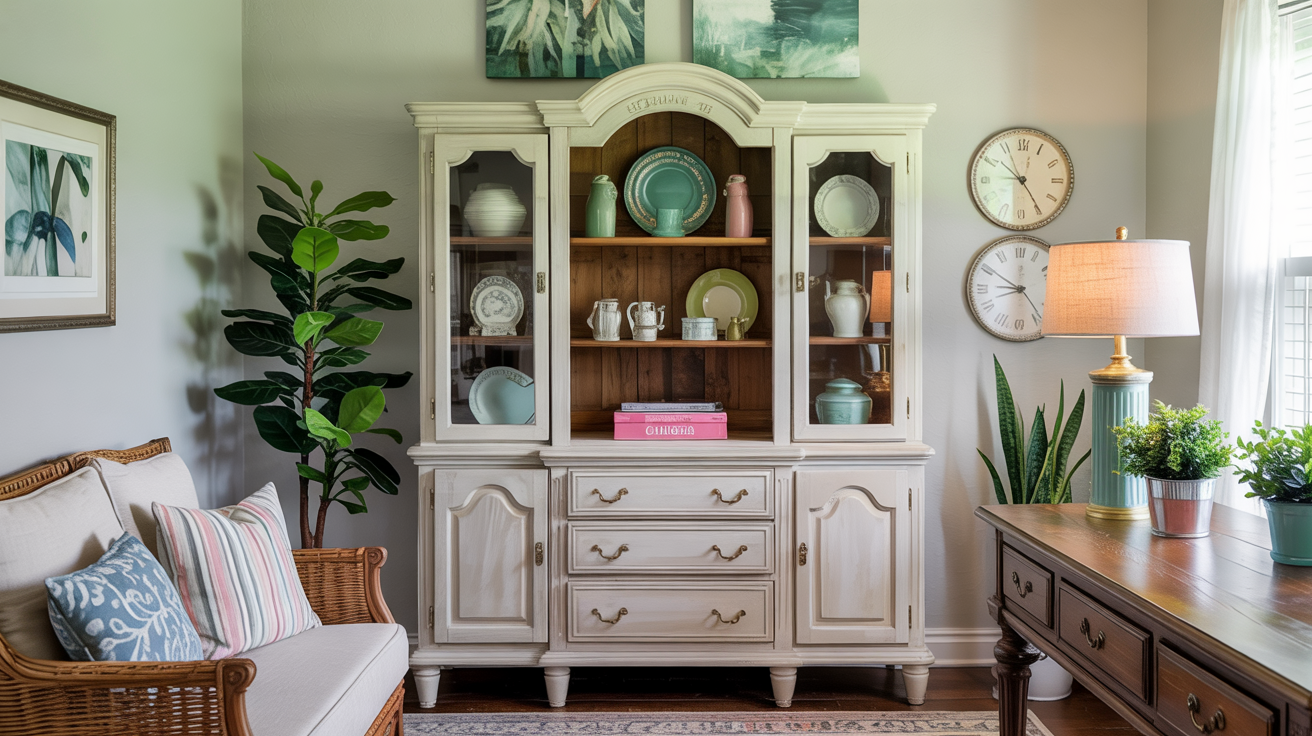
Conclusion
Turning an old china cabinet into something fresh with chalk paint is easier than you think. The steps we covered take you from dusty old furniture to a showpiece you’ll want to talk about.
Chalk paint makes this project possible for both new and skilled DIYers—no special tools needed—just paint, a brush, and a weekend.
The best part? You get to choose how your piece looks. Go bold with deep colors or opt for soft pastels. Make it smooth and perfect, or worn and rustic.
When friends ask about your “new” cabinet, you’ll feel that special joy that comes from making something with your own hands.
So grab that brush. Your china cabinet is waiting for its second chance to shine.