Ever stared at those pricey kitchen cabinets and thought, “I could make that”? You’re right! I was tired of spending thousands on custom cabinetry, so I found a way to build sturdy cabinet boxes using just basic tools.
The secret?
A Kreg jig and some pocket holes! Creating your cabinet boxes isn’t just a money-saving measure; it’s actually quite simple once you know the steps.
I’ve built dozens of cabinets for my kitchen island project, and I’m going to show you exactly how to cut, assemble, and finish professional-looking cabinet boxes without fancy equipment. Ready to create custom storage that perfectly fits your space?
Let’s grab that plywood and get started!
Tools and Materials Used to Make a Simple Cabinet Box
| Tools | Materials |
|---|---|
| Kreg Jig K4 System | Plywood Sheets (3/4-inch) |
| Table Saw | 1×4 Red Oak |
| 4-Foot Level | Pocket Hole Screws |
| Random Orbital Sander | Water-Based Polyurethane |
| Impact Driver | Painter’s Tape |
| Corner Clamps | Sandpaper (120 grit & higher) |
| 36-Inch Bar Clamps | Wood Glue |
| Square | Wax |
Step-by-Step Guide: Building a Simple Cabinet Box at Home
Step 1: Plan Your Cabinet Box
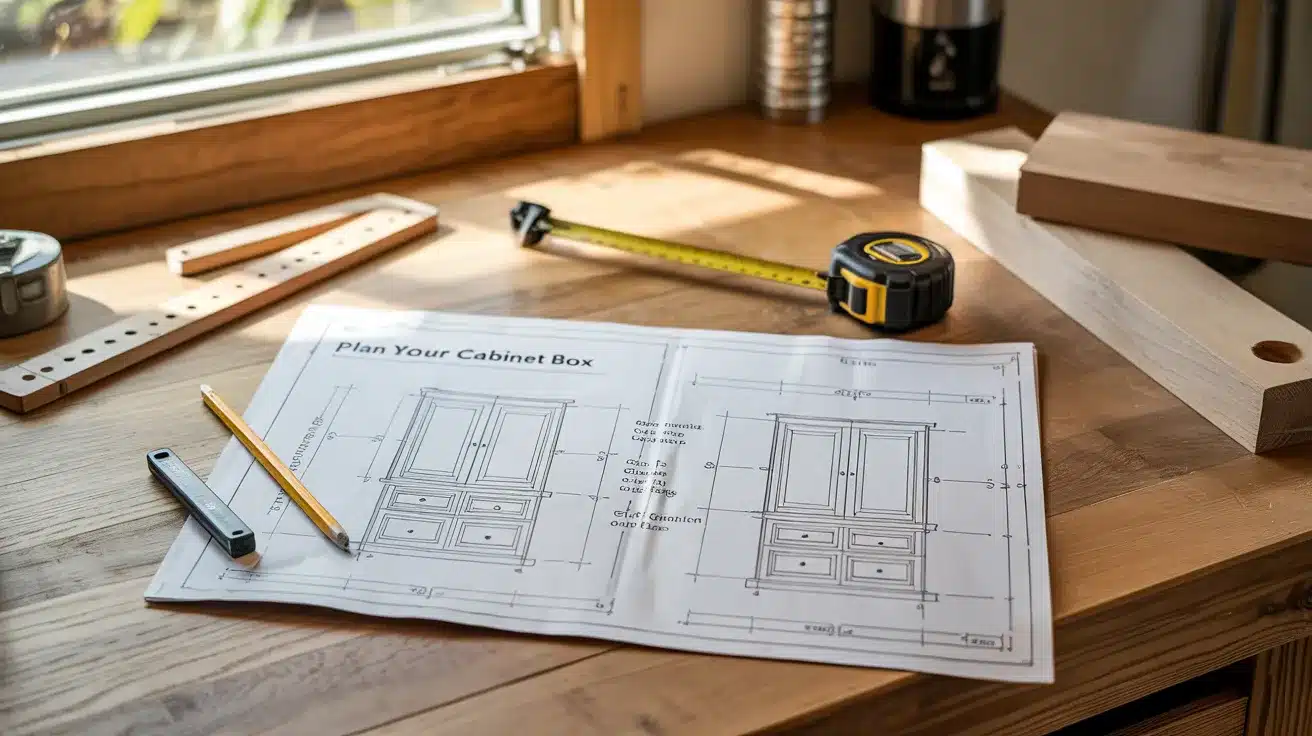
Measure the space where your cabinet will go and sketch your design on paper. You’ll need to note the height, width, and depth of your cabinet box. Create a cutting list for all the pieces you’ll need, typically including two sides, a top, a bottom, a back, and possibly shelves.
Figure out how much plywood you’ll need to buy. Most cabinet boxes use 3/4-inch plywood for the main structure. Don’t forget to plan for a face frame if you want one on the front of your cabinet.
Pro Tip: Add 3/4 inch to your depth measurement to account for the face frame that will be attached later.
Step 2: Cut Your Plywood
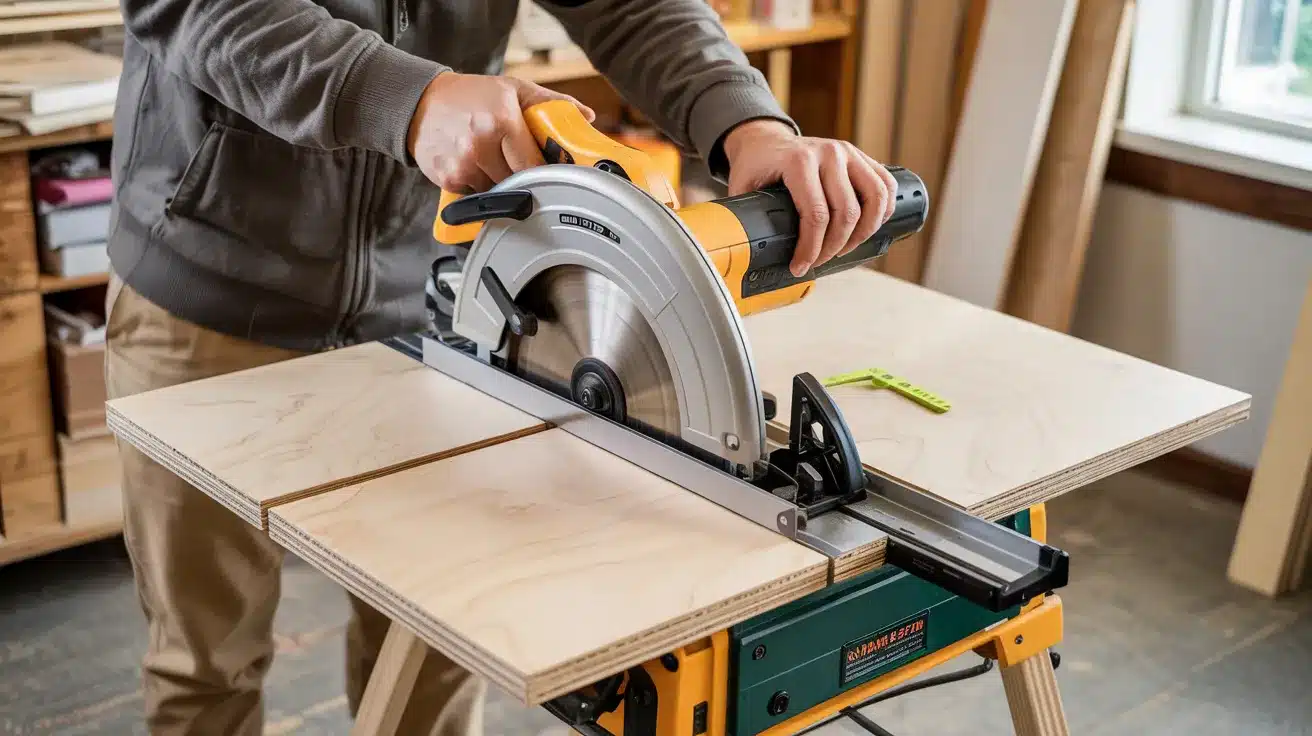
Set up your table saw with an 80-tooth blade for clean cuts, or use a circular saw with a straight edge guide. Carefully measure and mark all your pieces on the plywood sheet. For cross cuts, apply painter’s tape along the cutting line to prevent tear-out on the good side of the plywood.
Make all your cuts, labeling each piece as you go so you don’t get confused later. If you don’t have a table saw, many home improvement stores will make some cuts for you.
Pro Tip: Cut all pieces about 1/16 inch larger than needed, then trim to final size for perfect fits.
Step 3: Sand All Pieces
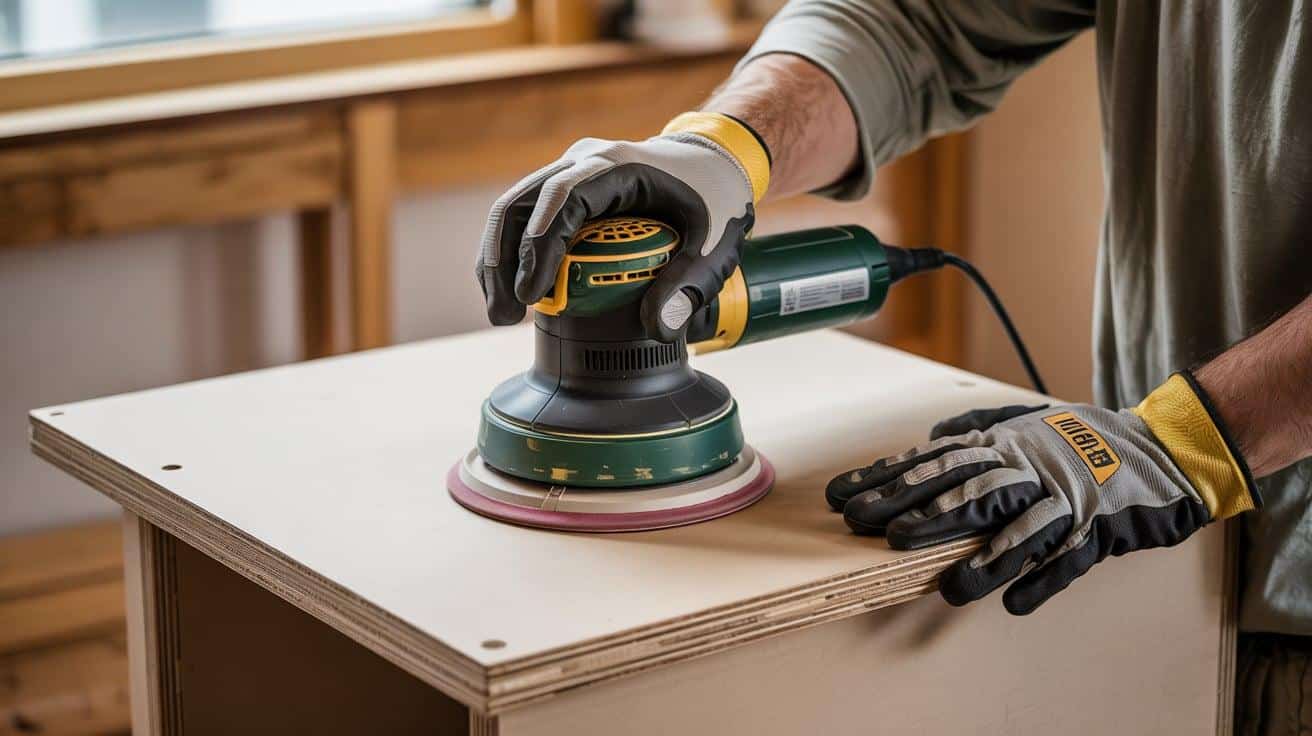
Grab your random orbital sander and 120-grit sandpaper to smooth all the plywood pieces. Pay special attention to the cut edges, which can be quite rough. Sand all surfaces that will be visible in the finished cabinet. If the inside of your cabinet is visible, sand those surfaces too.
Don’t skip this step; sanding now will make finishing much easier later. Wipe all the pieces clean with a tack cloth to remove dust before moving to the next step.
Pro Tip: Buy anti-vibration gloves if you’ll be doing a lot of sanding – they’ll save your wrists from fatigue and pain.
Step 4: Mark and Drill Pocket Holes

Set up your Kreg jig for 3/4-inch material. Mark where your pocket holes will go, typically every 6-8 inches along the edges that will be joined. Clap the Kreg jig securely to your workpiece and drill each pocket hole.
You’ll need pocket holes on the top and bottom panels to connect to the sides, and possibly on shelves if you’re adding those. Ensure that you drill pocket holes on the surfaces that won’t be visible in the finished cabinet.
Pro Tip: Coat the tips of your pocket hole screws with wax to make them drive more easily into hardwoods and prevent splitting.
Step 5: Assemble the Box Frame
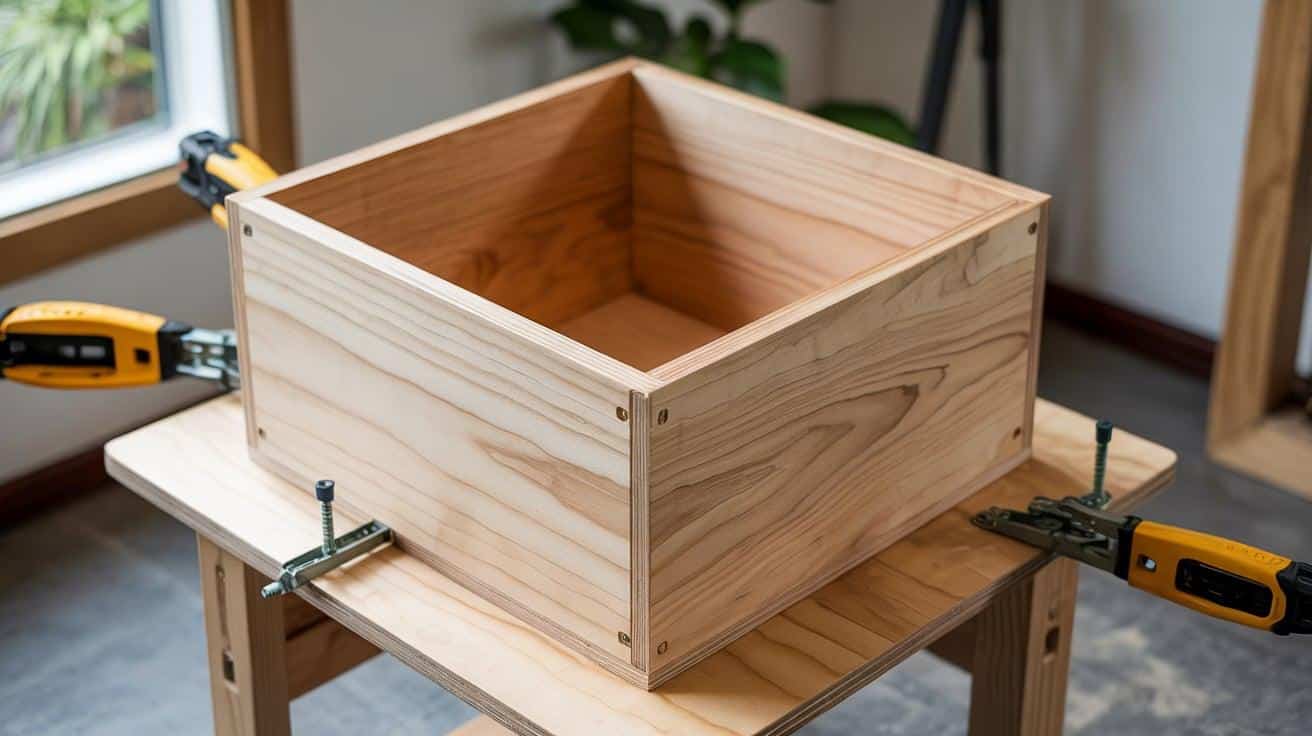
Apply wood glue to the edge of your bottom panel, then align it with one side panel. Use corner clamps to hold the pieces at a perfect 90-degree angle. Drive pocket hole screws to secure the joint. Repeat this process, attaching the second side panel to the bottom.
Next, add the top panel in the same way. Check that your box is square by measuring diagonally across the box in both directions; the measurements should be equal if the box is square.
Pro Tip: Slightly loosen the screws if the box isn’t square, adjust until diagonal measurements match, then tighten the screws.
Step 6: Add Shelves (if needed)
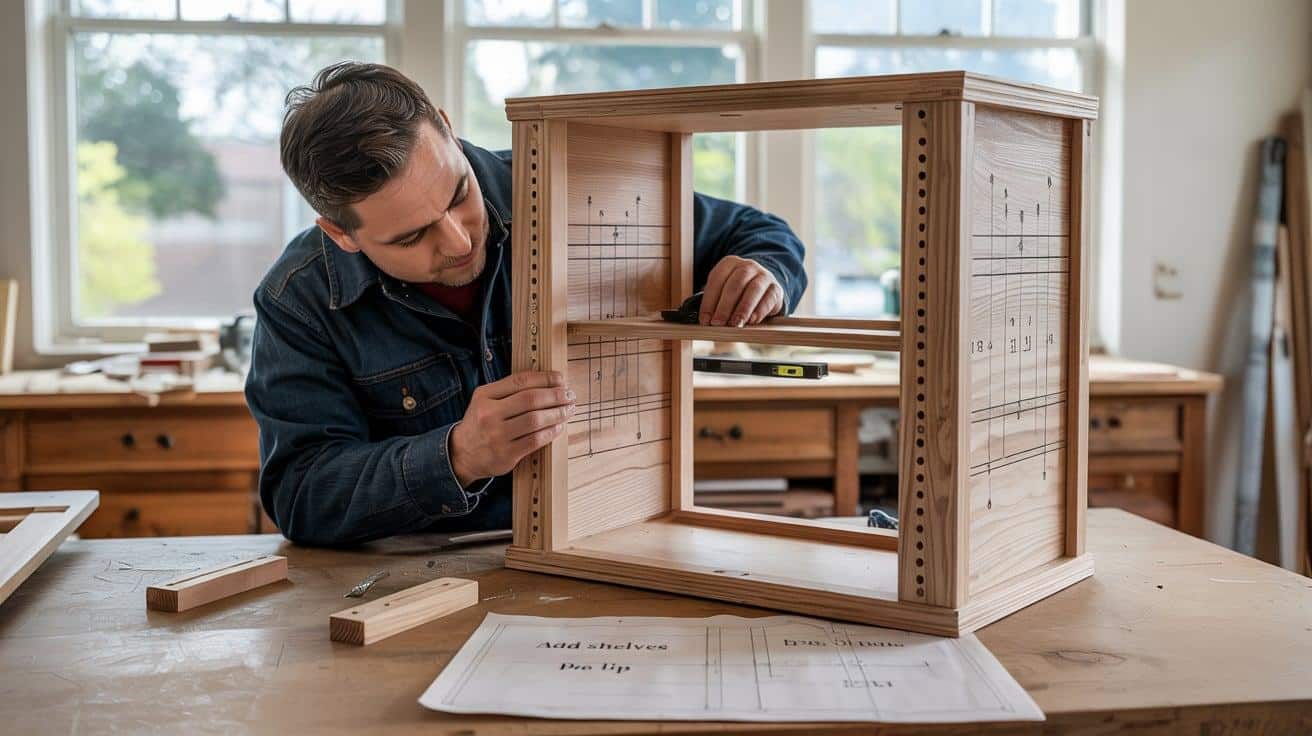
If your cabinet design includes shelves, now’s the time to install them. Mark the shelf locations on both side panels, making sure the marks are at the same height. You can use a pencil and a level for this. If your shelves are adjustable, install shelf pin holes.
If they’re fixed, apply glue to the shelf edges, position the shelf, and drive pocket hole screws up through the pre-drilled pocket holes into the side panels. Check that each shelf is level before securing it completely.
Pro Tip: For fixed shelves, install a small, temporary support strip to hold the shelf at the right height while you attach it.
Step 7: Attach the Back Panel
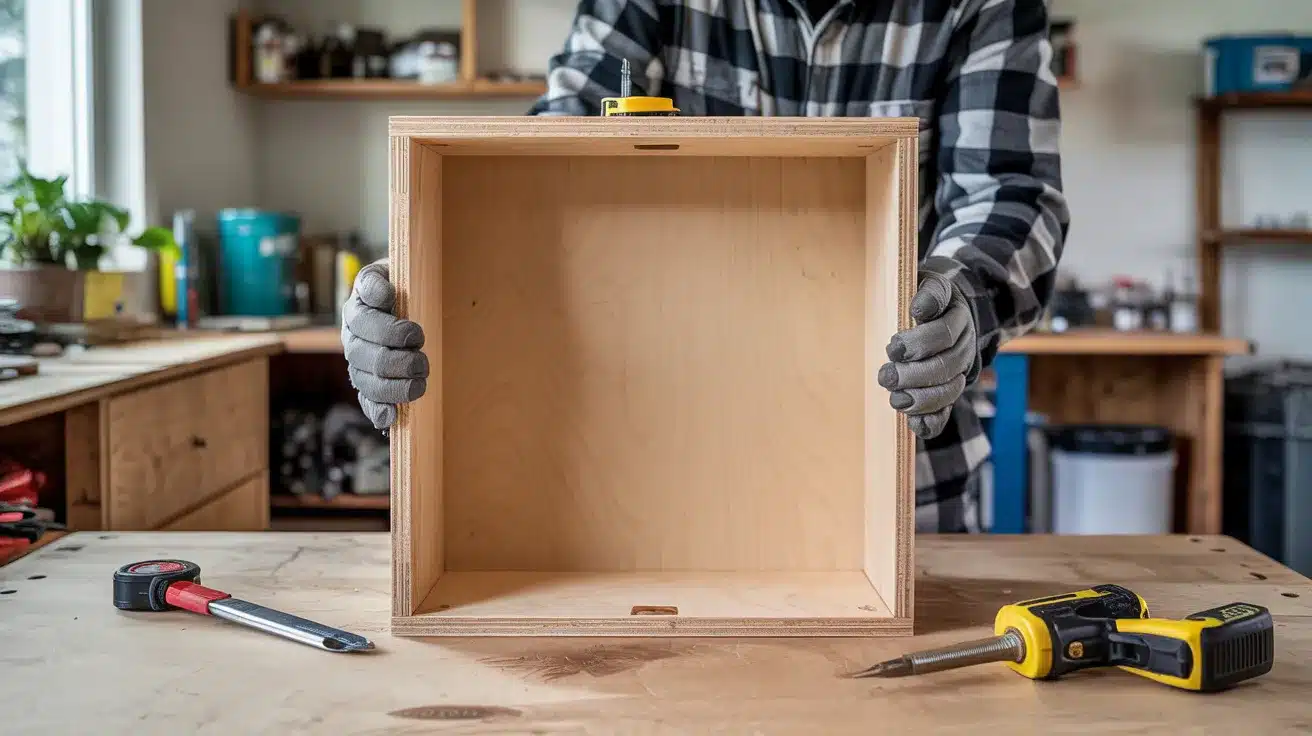
Measure and cut your back panel to fit the cabinet box. The back panel adds significant stability and helps keep your cabinet square. Apply glue to the back edges of your cabinet box. Position the back panel so it’s flush with all edges of the box.
Secure it with 1-inch brad nails every 6 inches around the perimeter, or use screws for extra strength. If using screws, pre-drill to prevent the plywood from splitting.
Pro Tip: For easier installation, lay the cabinet face-down on a flat surface while attaching the back panel.
Step 8: Create and Attach the Face Frame
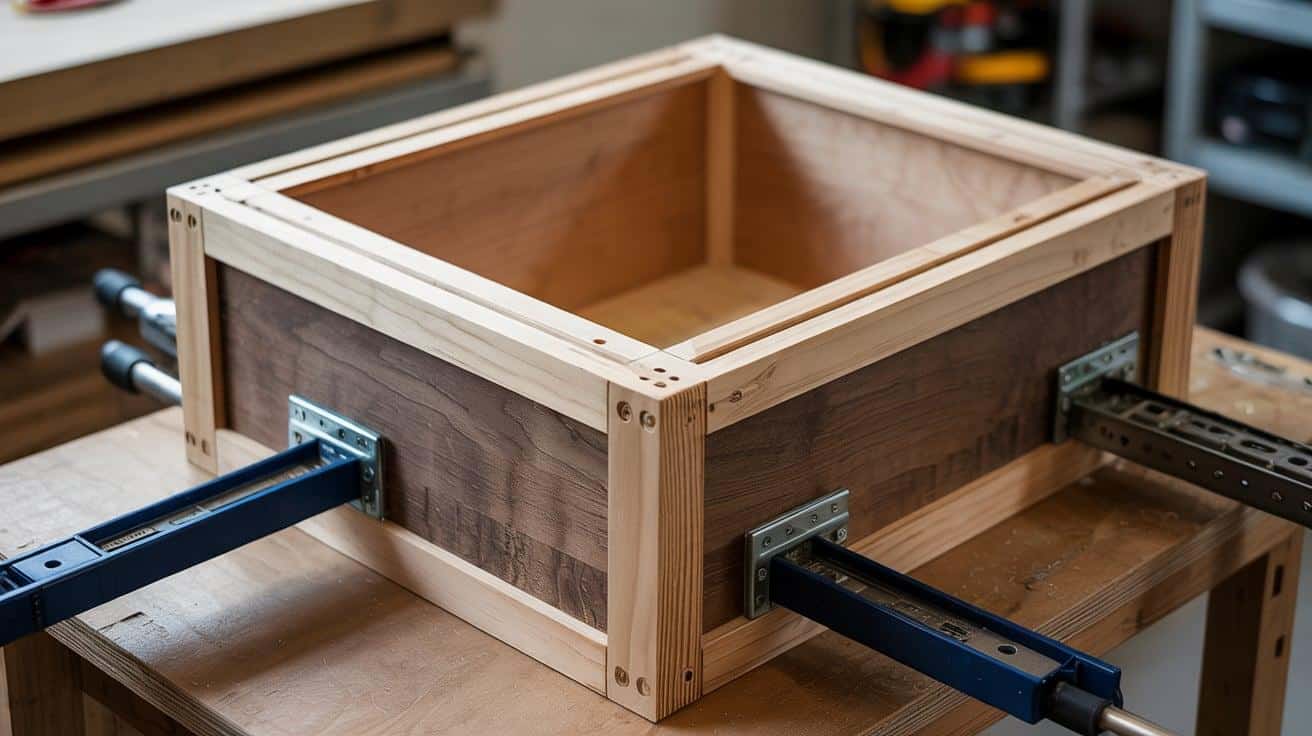
Cut your face frame pieces from solid wood, such as oak or maple. For standard cabinets, 1×2 or 1×3 lumber works well. Join the face frame pieces using pocket holes to create a frame that matches your cabinet’s front dimensions.
Apply glue to the front edges of your cabinet box, position the face frame, and clamp it in place. Make sure it’s aligned properly, then secure it with pocket hole screws from inside the cabinet or brad nails from the front.
Pro Tip: Make your face frame slightly larger than your cabinet box (about 1/4 inch on each side) to create a nice overhang.
Step 9: Finish Your Cabinet Box

Fill any visible pocket holes with wood filler and let it dry completely. Sand the entire cabinet with 180-grit sandpaper to smooth the surface and prepare it for finishing. Wipe away all dust with a tack cloth.
Apply your chosen finish, such as paint, stain, or clear polyurethane. For durability, particularly in a kitchen, apply at least three coats of finish, sanding lightly with 220-grit sandpaper between coats. Allow the finish to cure completely before installing hardware or using the cabinet.
Pro Tip: For cabinet interiors, water-based polyurethane provides a durable, wipeable surface that won’t yellow over time like oil-based finishes.
I’d like to acknowledge Welcome to the Woods for the insightful video, which was a key reference in putting this guide together.
Customizing Your Cabinet Design
Once you’ve mastered the basic cabinet box, it’s time to make it truly yours. Here are some practical ways to customize your cabinet that won’t break the bank or require fancy tools.
1. Add Adjustable Shelving
Don’t limit yourself to fixed shelves. Drill a series of shelf pin holes on the inside of your cabinet sides using a shelf pin jig. This allows you to adjust shelf heights at any time. Space the holes about 2 inches apart vertically for maximum flexibility. I love this setup in my kitchen because I can change the shelves to accommodate taller items or rearrange my space.
2. Install a Pull-Out Cutting Board
Add a handy work surface by installing a pull-out cutting board just below your countertop. Cut a piece of hardwood or high-quality plywood to size, approximately 1-2 inches narrower than your cabinet opening. Mount the drawer slides on the inside of your cabinet, positioning them so that the board sits approximately 1 inch below your counter when closed. I added one to my island and use it daily for quick food prep.
3. Create a Trash/Recycling Center
Transform a basic cabinet into a practical waste station. Mount full-extension drawer slides rated for heavy loads inside your cabinet. Build a simple frame that holds standard kitchen trash cans, allowing them to slide out completely. You can build dividers to separate trash and recycling. My family loves that our trash is hidden but easily accessible.
4. Add Decorative Details
Make your cabinets stand out with simple decorative touches. Apply thin trim molding to the face frame for a more traditional look. Use a router to create a simple edge profile on door panels. For a two-tone finish, paint the cabinet box one color and the face frame a different color. I painted my island base navy blue with a white frame, and it completely changed the feel of my kitchen.
5. Custom Door Styles
Cabinet doors make a huge impact on style. For a modern look, make simple flat-panel doors from good-quality plywood with edge banding. For a shaker-style design, create a frame from 1×3 lumber with a 1/4-inch plywood panel inside. Glass panel doors are ideal for displaying items; replace the center panel with glass and secure it with wooden stops. I switched to glass doors on my upper cabinets, and it made my small kitchen feel much larger.
Conclusion
Building your cabinet boxes isn’t just cost-effective, it’s genuinely satisfying. With basic tools like a Kreg jig and some pocket screws, you can make sturdy, custom cabinets that fit your space perfectly.
Remember, taking time on each step pays off: careful measuring, clean cuts, and proper sanding make all the difference between a wobbly box and professional-quality cabinetry. The skills you’ve learned here can save you thousands on kitchen remodels, laundry rooms, or garage storage.
Want to show off your DIY cabinet projects?
Share photos in the comments below! Ready for your next project? Explore my guide on crafting cabinet doors to complete your custom cabinets. Your woodworking skills are growing with every project. What will you build next?
Frequently Asked Questions
1. Can I Build a Custom Cabinet Without a Table Saw?
Yes! You can build custom cabinets without a table saw. Use a circular saw with a straight edge guide.
2. How do I Ensure My Cabinet Box Is Square During Assembly?
Use corner clamps to hold pieces at 90-degree angles. Check that diagonal measurements across the box are equal.