Are you worried about keeping your goats safe and dry through changing weather? Many first-time goat owners struggle to find good shelter options that won’t empty their wallets.
Good news – you can build a simple, functional goat shelter yourself, even with basic skills and tools. A well-made shelter keeps your animals healthy and makes your daily care routine much easier.
This guide will show you step-by-step how to create a sturdy goat shelter that meets all your animals’ needs. You’ll learn which materials work best, the right size for your herd, and smart design tips that save you time and money.
Let’s start building a goat shelter that works for both you and your four-legged friends.
Essential Shelter Needs for Goats: Protection, Space, and Health
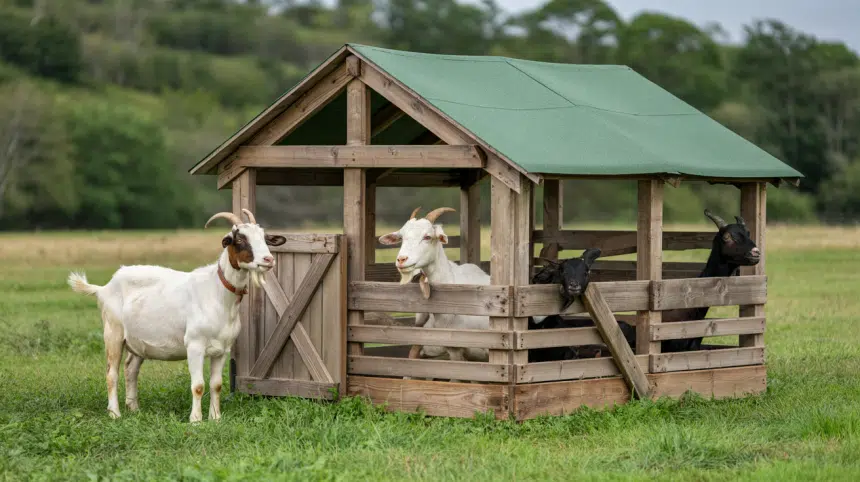
Goats need basic shelters to stay healthy and safe. A good shelter keeps them dry when it rains and offers shade on hot days. It also protects them from wind and predators.
Each adult goat needs about 15 square feet of indoor space. The floor should stay dry with good bedding like straw. Walls must be sturdy but the shelter needs air flow too.
Simple three-sided structures work well for most goat herds. Face the open side away from common wind paths. Make sure the roof doesn’t leak and the entrance blocks driving rain.
Good shelters make daily care easier. They provide spots for feeding, medical checks, and birthing. With the right shelter, goats will stay healthier and happier year-round.
Tools and Materials Needed for a DIY Goat Shelter
These tables gives a quick overview of the essential tools & materials and their purpose when building a goat shelter.
Tools Required
| Tool | Description |
|---|---|
| Drill | A cordless drill offers more freedom of movement for drilling holes. |
| Tape Measure | Used for accurate measurements to ensure proper fit (measure twice, cut once). |
| Marker/Sharpie | Essential for marking cutting and placement spots. |
| Saw | Any saw type works (hand saw, circular saw, or jigsaw). |
Materials Required
| Material | Quantity | Price per Unit | Total Price |
|---|---|---|---|
| 4×4×6 posts | 4 | $7.38 | $29.52 |
| 2×6×8 lumber | 14 | $7.38 | $103.32 |
| Deck boards | 16 | $6.08 | $97.28 |
| 1×6×8 siding boards | 24 | $5.98 | $143.52 |
| Metal tin roofing sheets | 3 | $33.28 | $99.84 |
| Concrete pavers for post bases | 4 | $10.47 | $41.88 |
| Box of 2-inch deck screws | 1 | $35.98 | $35.98 |
| Box of roofing screws | 1 | $14.98 | $14.98 |
Step-by-Step Building Process
This guide breaks down each phase of building your goat shelter. Follow these steps in order for best results.
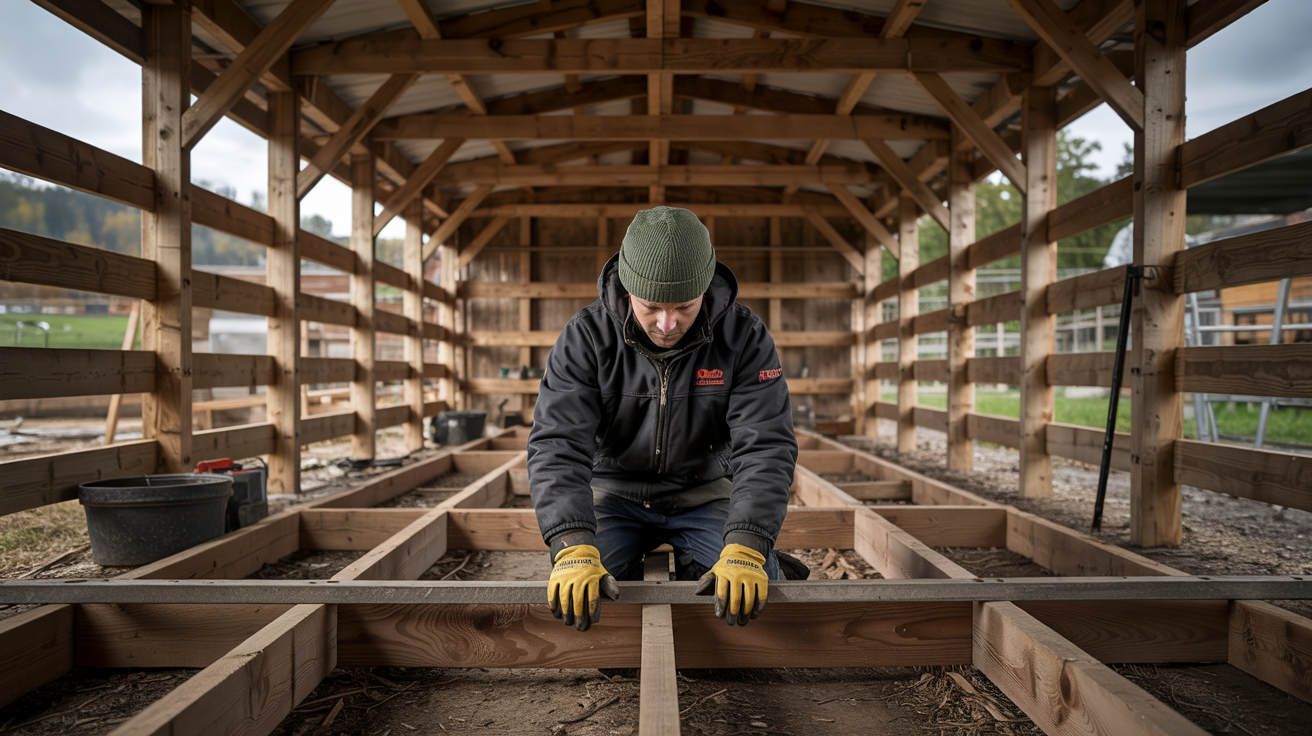
Step 1: Build the Base Frame
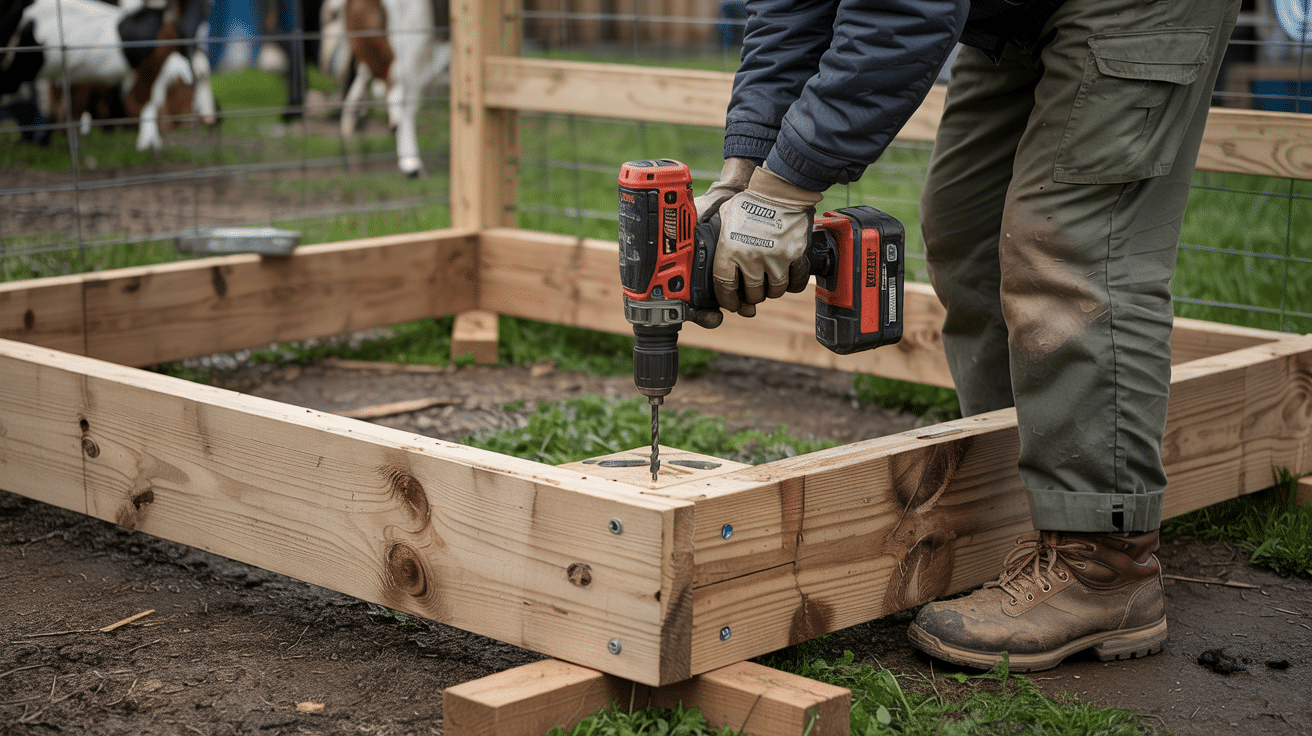
Create a strong foundation for your shelter by building a sturdy base frame.
- Start with the outer box before adding inner supports for better stability
- Pre-drill holes to prevent wood splitting, especially at the corners
Pro Tip: Place your base frame on flat ground and check it’s level before moving to the next step – fixing a crooked base later is much harder.
Step 2: Add Corner Posts
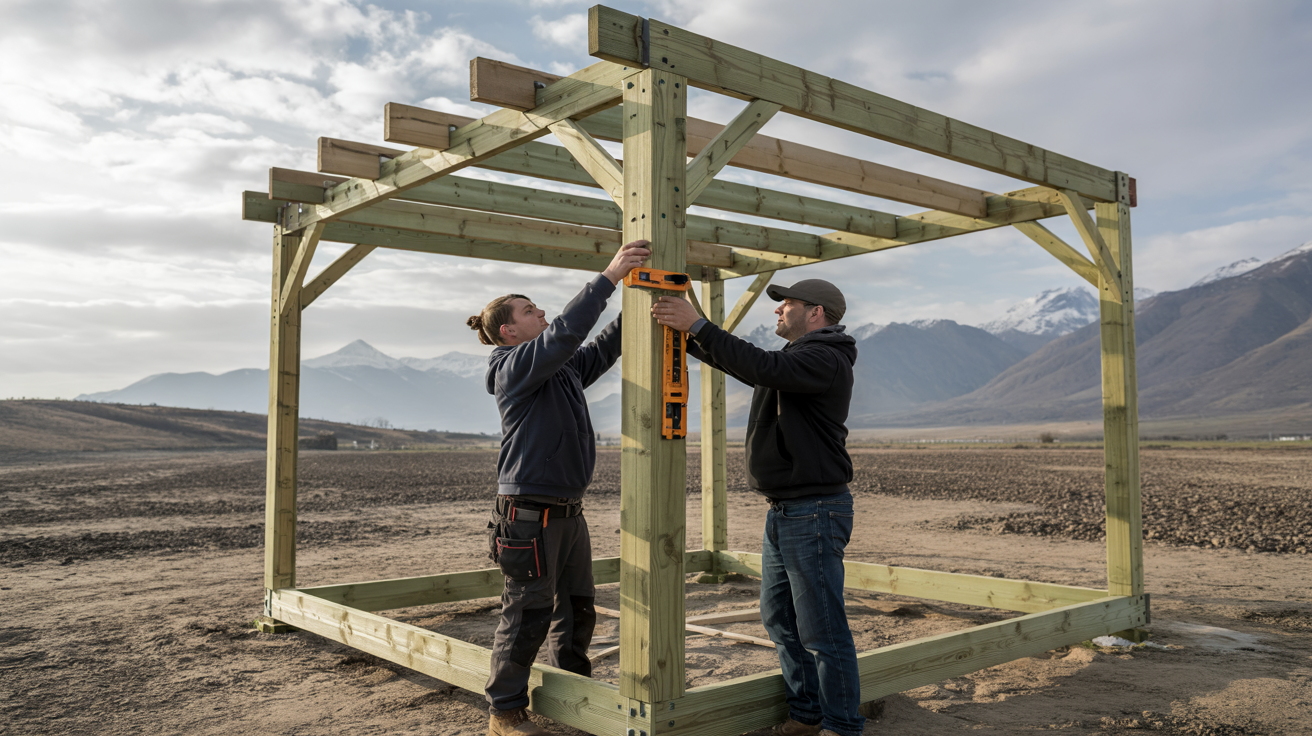
The corner posts give your shelter height and support the roof structure.
- Use a speed square to ensure posts are perfectly vertical
- Number your posts if you pre-cut them, so they go in the right corners
Pro Tip: Have a helper hold each post in place while you attach it – this makes alignment much easier and prevents wobbling.
Step 3: Create the Top Frame
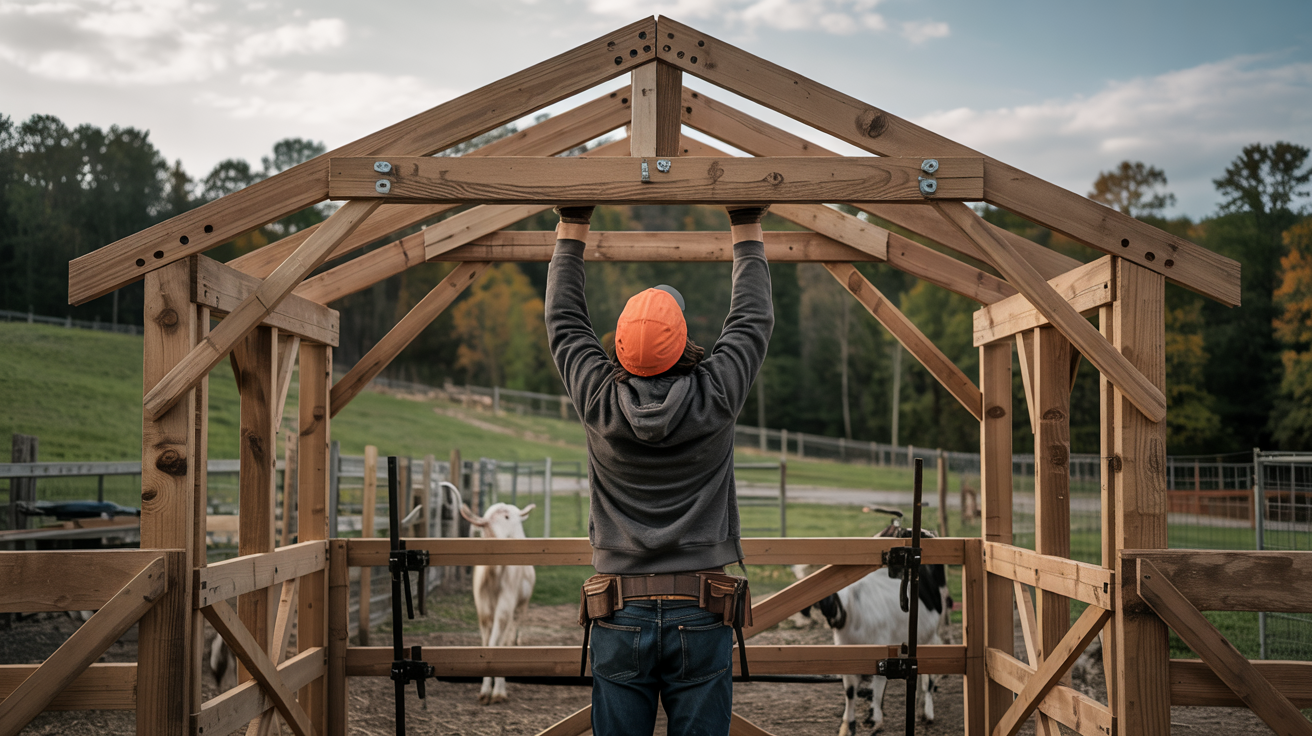
The top frame creates the roof line and completes the main structure.
- Double-check your 48″ measurement on both back posts to ensure a straight roof slope
- Install the front and back beams first, then connect the sides
Pro Tip: If your boards are slightly warped, use clamps to hold them in position while fastening them to the posts.
Step 4: Install the Roof
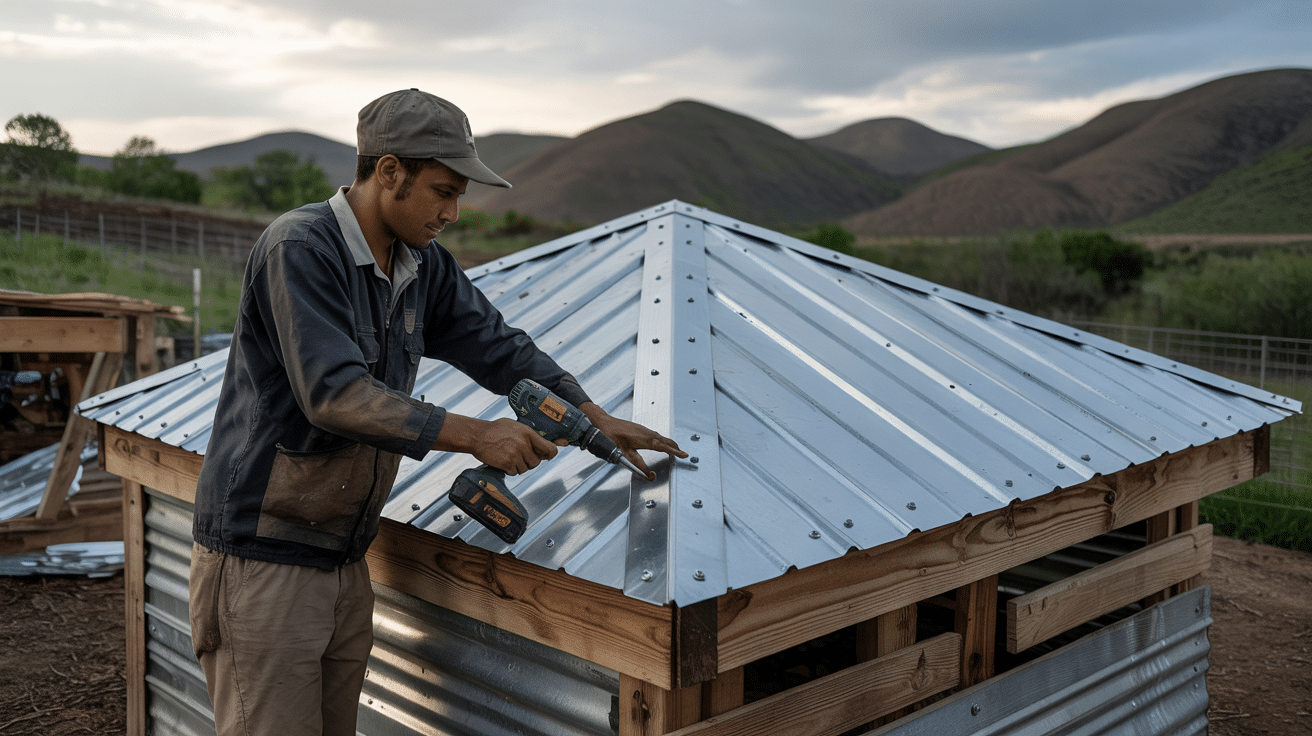
A proper roof protects your goats from rain and provides shade in hot weather.
- Overlap tin sheets by at least one ridge for better water runoff
- Start screwing from the center and work your way outward
Pro Tip: Place roofing screws at the top of ridges, not in the valleys, to prevent leaks.
Step 5: Add Bottom Supports
Extra supports create a stronger foundation for your deck boards.
- Space supports evenly for maximum deck strength
- Check that supports are level with existing frame boards
Pro Tip: Add an extra support in the middle if your shelter is over 6 feet long to prevent deck sagging over time.
Step 6: Install the Deck Boards
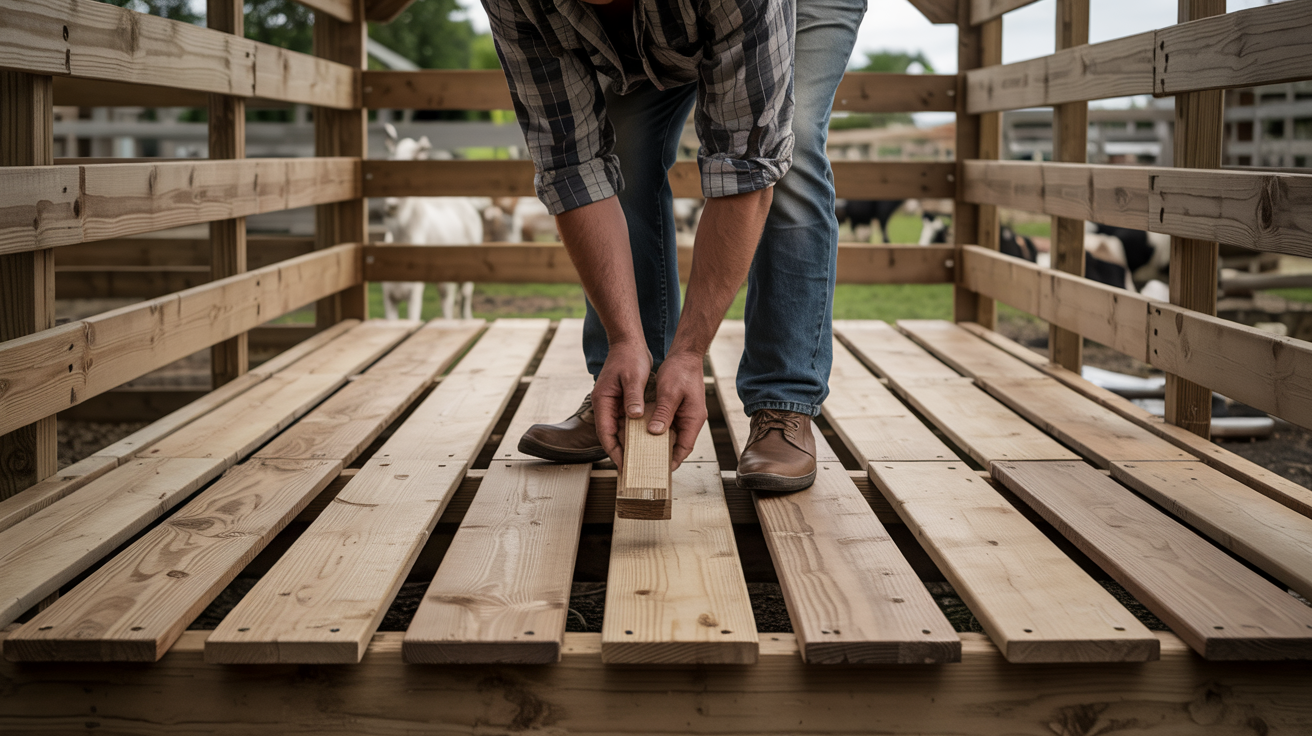
The deck with gaps allows for easy cleaning as waste falls through.
- Cut all deck boards to the same length before installation for a cleaner look
- Start from the outer edges and work toward the center
Pro Tip: Use a scrap piece of wood cut to your desired gap width as a spacer – this ensures perfectly even gaps between boards.
Step 7: Add the Siding
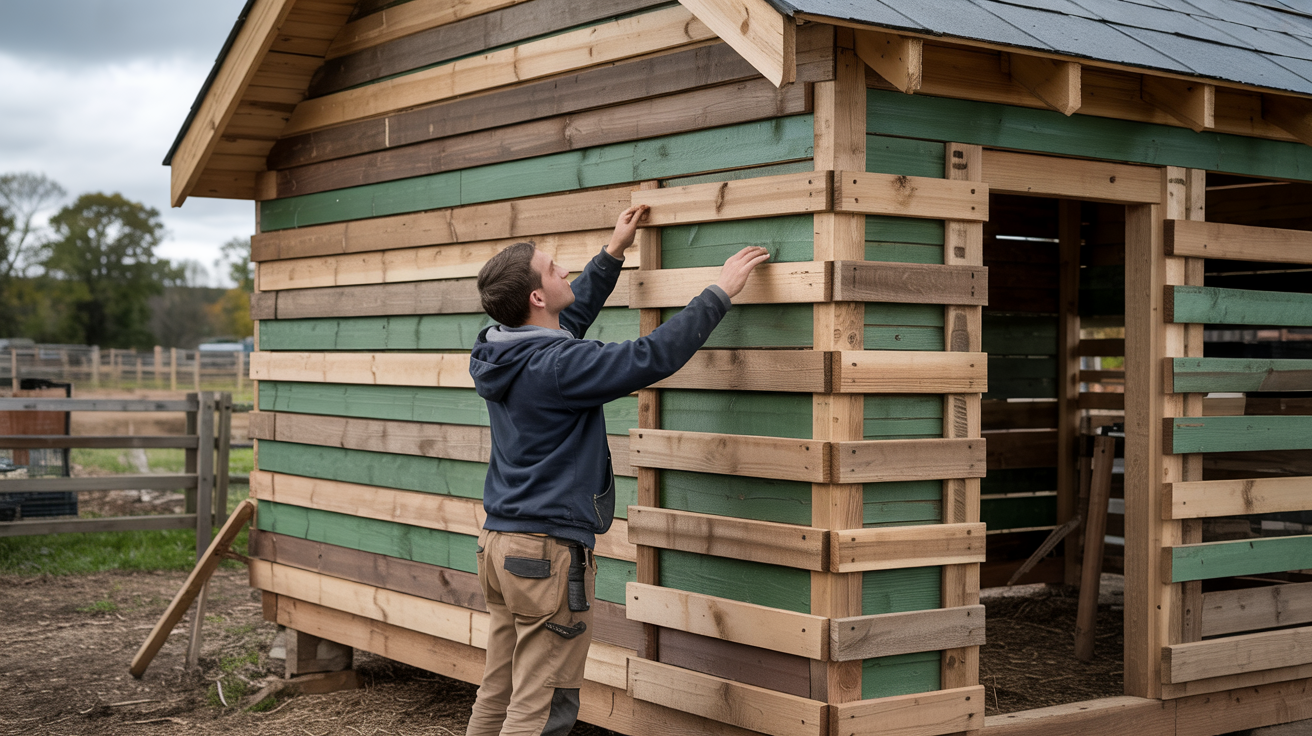
Siding protects your goats from wind and predators while allowing for ventilation.
- Work from bottom to top when installing siding boards
- Check for level after every 2-3 boards to catch any drift early
Pro Tip: Leave the top board loose until all others are installed – this gives you flexibility to make final adjustments.
Step 8: Final Touches

Small finishing details make your shelter more functional and long-lasting.
- Sand any rough edges that could injure your goats
- Check all screw heads to ensure none are sticking out
Pro Tip: Apply a non-toxic water sealer to exposed wood to extend the life of your shelter, but avoid treating areas where goats might chew.
5 Additional Tips for Goat Shelter Maintenance
Proper maintenance keeps your goat shelter safe and extends its life. Here are five key practices:
1. Weekly Cleaning Schedule
Clean your goat shelter once a week to remove waste.
Sweep out any droppings that didn’t fall through the slats and replace soiled bedding. This prevents ammonia buildup that can harm goats’ lungs.
2. Seasonal Deep Cleaning
Every three months, perform a thorough cleaning.
Remove all bedding, wash walls with a mild disinfectant, and let the shelter dry completely before adding fresh bedding. This kills parasites and bacteria.
3. Ventilation Checks
Monthly, clear any cobwebs or debris from vents and openings.
Make sure air can flow freely through the shelter while still blocking direct drafts. Good air flow prevents respiratory issues in your goats.
4. Structure Inspection
Every six months, check all structural elements.
Look for loose screws, warped boards, or water damage. Pay special attention to the roof and floor slats where wear occurs fastest. Fix small issues before they become big problems.
5. Weatherproofing
Before winter and summer, check your shelter’s weather protection.
Add weather stripping or extra insulation for winter. For summer, ensure shade is adequate and ventilation is maximized. Apply wood sealer to exposed surfaces yearly to prevent rot.
7 Mistakes to Avoid When Building a Goat Shelter
1. Overcrowding
Definition: Placing too many goats in a shelter that’s too small for their needs.
Impact: Leads to stress, fighting, poor air quality, and increased disease risk.
Solution: Follow the 10-15 square feet per adult goat rule without exception.
2. Poor Ventilation
Definition: Insufficient airflow through the shelter structure.
Impact: Causes moisture buildup, ammonia concentration, and respiratory problems.
Solution: Include adjustable vents near the roof and gaps between some wall boards.
3. Inadequate Weather Protection
Definition: Shelter design that fails to block wind, rain, or excessive sun.
Impact: Exposes goats to stress, illness, and temperature-related health issues.
Solution: Create solid windbreaks on three sides while allowing for airflow.
4. Unsafe Construction
Definition: Using materials or designs that pose injury risks to goats.
Impact: Results in cuts, scrapes, limb injuries, or more serious accidents.
Solution: Remove all protruding nails, sharp edges, and splinters before use.
5. Improper Flooring
Definition: Floor design that stays wet, slippery, or too hard for comfort.
Impact: Leads to hoof problems, joint pain, and makes cleaning difficult.
Solution: Use slatted floors or proper drainage with adequate bedding.
6. Location Errors
Definition: Placing the shelter in an unsuitable area of your property.
Impact: Results in flooding, excessive mud, or difficult access for humans and goats.
Solution: Choose high ground with good drainage and easy access for daily care.
7. Insufficient Predator Protection
Definition: Shelter design that allows predators to access goats easily.
Impact: Puts goats at risk of injury or death from dogs, coyotes, or other threats.
Solution: Use sturdy materials, secure latches, and consider adding a safety pen.
Wrapping Up
Building your own goat shelter helps keep your animals safe while saving money. With just basic tools and materials, you can create a structure that meets all your goats’ needs.
Remember the key points: each adult goat needs about 15 square feet, good air flow is essential, and sturdy construction keeps both goats and owners happy. Regular maintenance will extend the life of your shelter and keep your animals healthy.
By following our step-by-step guide and avoiding common mistakes, you’ll create a practical shelter that works year-round. Your goats will have protection from bad weather and predators, while you’ll have an easier time with daily care.
Have you built a shelter for your goats?